Getting a keratin treatment is a significant investment in your hair’s health and appearance. However, many people accidentally damage their expensive keratin treatment because they don’t understand the critical blow-drying protocols during the crucial first 72 hours when the keratin proteins are still bonding with your hair shaft.
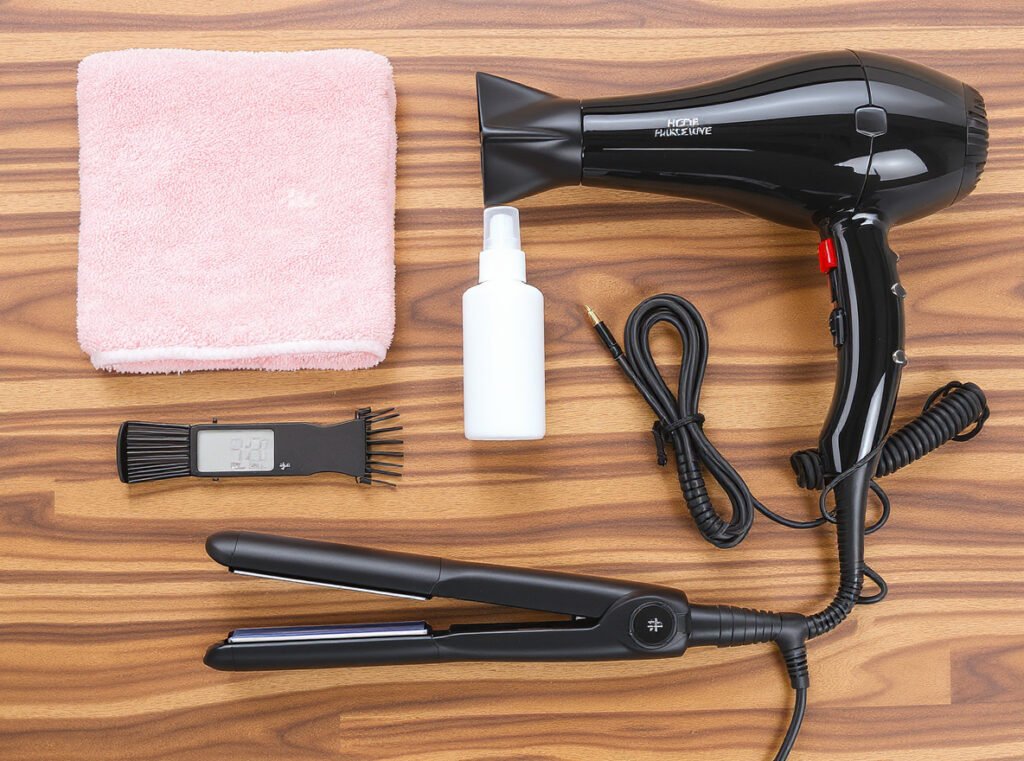
Proper blow-drying after a keratin treatment requires using medium heat settings (300-350°F), maintaining at least 6 inches distance from your scalp, and always blow-drying in a downward direction. During the first 72 hours, you must immediately blow-dry any moisture completely and re-flat iron if necessary, while avoiding excessive heat that can break down keratin bonds.
Understanding these essential techniques will help you protect your investment and achieve salon-quality results that last months instead of weeks.
Why Is Blow-Drying Technique Crucial After Keratin Treatment?
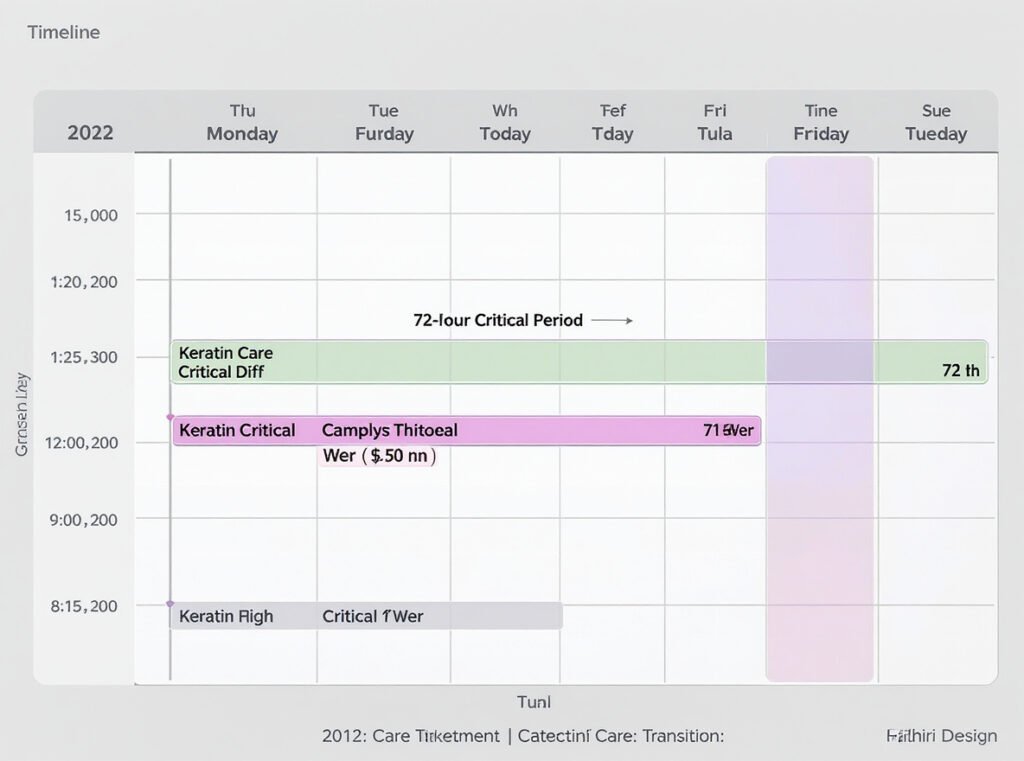
The blow-drying technique becomes absolutely critical after a keratin treatment because your hair remains in a uniquely malleable state during the crucial first 72-hour period.
Your blow-drying technique directly determines how long your keratin treatment lasts and how effectively the keratin proteins bond with your hair shaft. During the first 72 hours, the keratin is still setting into your hair cuticles, making proper heat application essential for sealing the treatment and preventing premature breakdown.
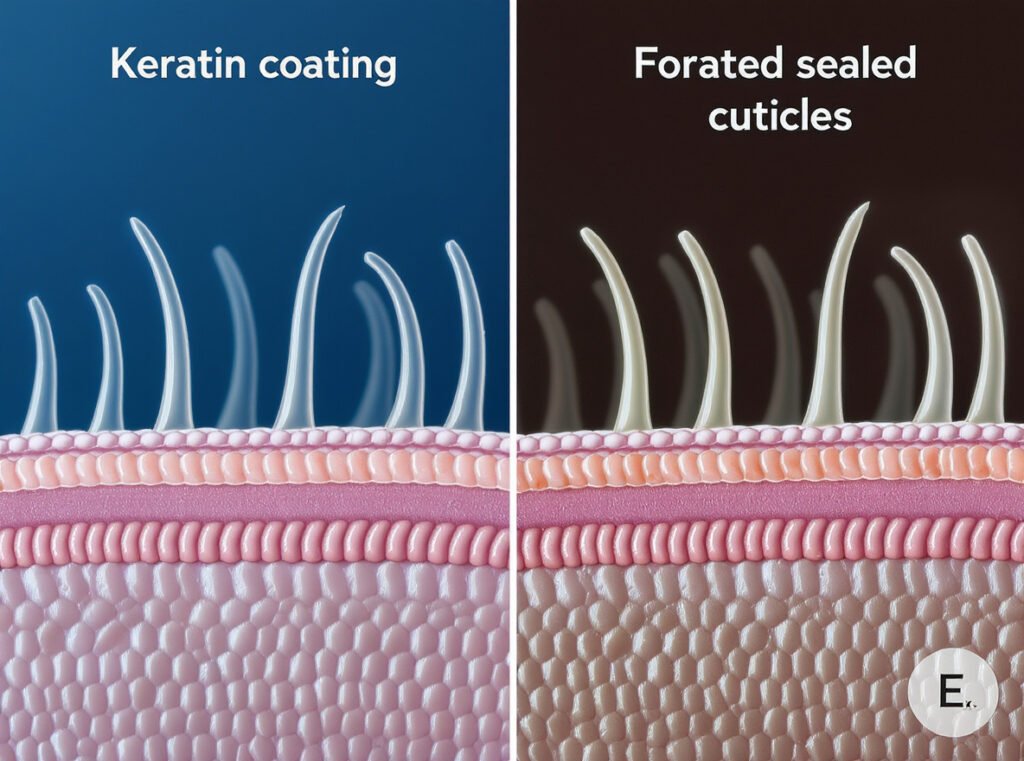
During this critical period, the keratin proteins are actively bonding with your hair structure. Heat from blow-drying helps activate and seal the keratin treatment into the hair cuticle, creating that smooth, protective protein layer you’re paying for.
Professional stylists understand that heat plays a dual role in keratin treatments. It activates the keratin solution during application and continues to be important during the setting period. When applied correctly, blow-drying enhances the treatment’s effectiveness by ensuring even keratin distribution and proper sealing.
The molecular structure of keratin responds best to controlled, moderate heat application rather than intense bursts that can damage the newly formed bonds. This scientific principle guides all professional aftercare recommendations and explains why technique matters more than speed.
What Temperature Settings Should You Use When Blow-Drying?
Temperature control represents the most critical factor in preserving your keratin treatment during blow-drying sessions, especially during the sensitive initial period.
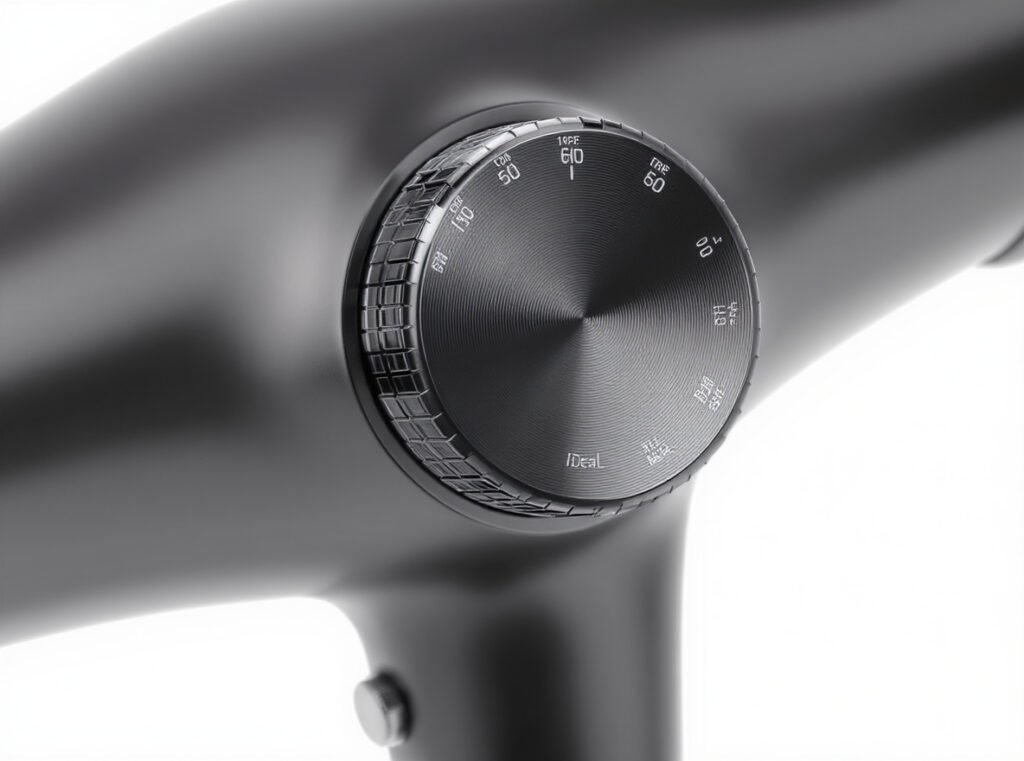
Use medium heat settings exclusively during the first 72 hours after keratin treatment. Professional stylists recommend maintaining temperatures between 300-350°F (150-175°C) rather than maximum heat settings that can exceed 400°F and break down keratin bonds.
Here’s your professional temperature guide:
| Hair Type | Temperature Range | Heat Setting | Distance | Speed Setting |
|---|---|---|---|---|
| Fine/Damaged Hair | 300°F (150°C) | Low-Medium | 8 inches | Medium |
| Normal Hair | 325°F (160°C) | Medium | 6 inches | Medium-High |
| Thick/Coarse Hair | 350°F (175°C) | Medium | 6 inches | High |
Medium heat settings protect the newly formed keratin bonds while providing sufficient activation. After the initial 72-hour period, you can gradually increase temperatures, but professional colorists recommend keeping settings under 350°F for ongoing maintenance.
Ionic blow dryers offer superior results because they reduce drying time while being gentler on keratin-treated hair. The negative ions break down water molecules more efficiently, requiring less heat exposure overall.
Always finish with a cool shot to seal the hair cuticles and lock in the keratin treatment. This professional technique enhances shine and significantly extends treatment longevity.
How Should You Handle Wet Hair During the First 72 Hours?
The initial 72 hours determine your keratin treatment’s success, making emergency moisture management protocols absolutely essential for treatment preservation.
If your hair gets wet during the first 72 hours, you must immediately blow-dry it completely using medium heat and re-flat iron the wet section. Any prolonged moisture exposure can cause permanent indentations, waves, or complete treatment failure in affected areas.
Emergency wet hair protocol:
- Never panic, but act quickly
- Gently pat hair with microfiber towel (never rub or wring)
- Apply lightweight heat protectant immediately
- Blow-dry on medium heat using systematic downward motions
- Re-flat iron the affected section at 400-420°F
- Work in small sections for even heat distribution
Professional stylists report that immediate action can save treatments that get accidentally wet. The keratin needs this critical bonding time, and moisture disrupts the molecular structure that creates smoothness.
During this period, avoid activities that cause sweating, wear shower caps when bathing, and protect your hair from humidity and rain. If you must exercise, blow-dry your hair completely dry immediately afterward to prevent sweat damage.
Time is crucial during moisture emergencies. The longer wet hair sits, the higher the risk of permanent treatment compromise that can’t be reversed later.
Which Blow-Drying Direction and Technique Work Best?
Your blow-drying technique affects both immediate treatment success and long-term styling results, making proper direction and method essential for optimal outcomes.
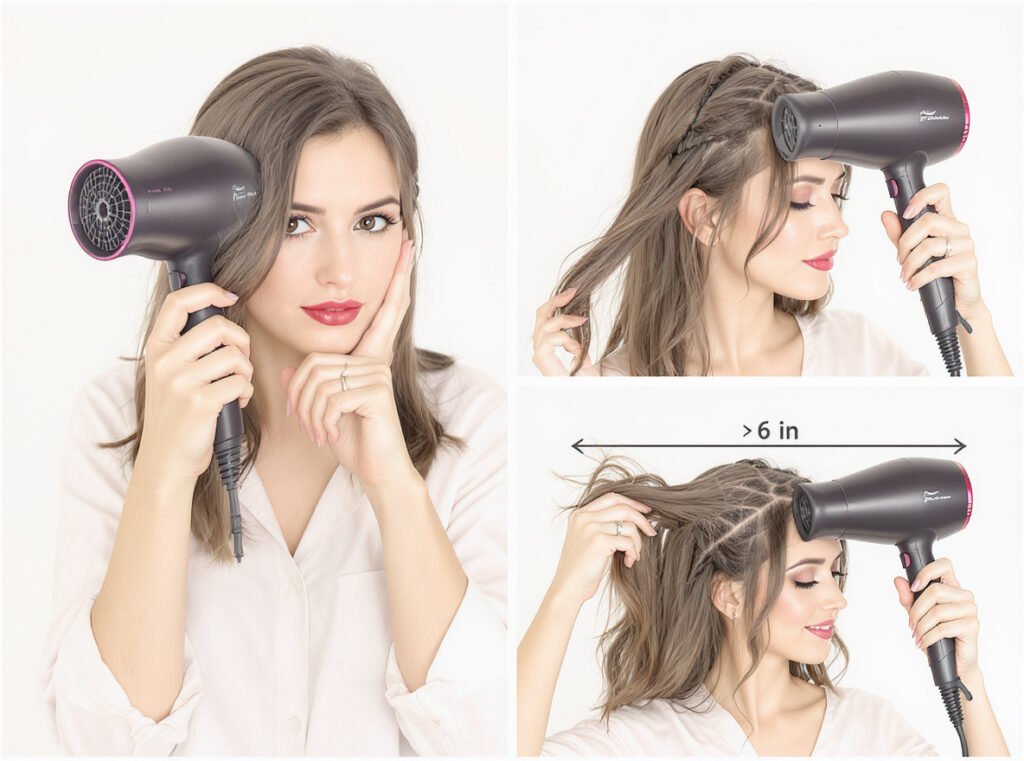
Always blow-dry keratin-treated hair in a downward direction, following your hair’s natural growth pattern from root to tip. This technique smooths the hair cuticle, prevents frizz, and maintains treatment effectiveness while creating professional-quality results.
Professional technique breakdown:
- Section hair into manageable 2-inch portions
- Start at the nape and work systematically upward
- Hold blow dryer at 45-degree downward angle
- Keep dryer moving continuously to prevent heat concentration
- Focus on drying roots first for faster overall results
- Use wide paddle brush or vent brush for even heat distribution
Never blow-dry upward or against your hair’s natural direction, as this roughens the cuticle and creates frizz that counteracts the keratin treatment’s smoothing effects.
Hold the blow dryer at least 6 inches away from your scalp to prevent heat damage and hot spots. Professional stylists maintain this distance religiously because concentrated heat can break down keratin bonds permanently.
Work systematically from root to tip, ensuring each section is completely dry before moving to the next. This methodical approach prevents missed spots that can develop problems later.
What Products Should You Use While Blow-Drying?
Product selection significantly impacts both blow-drying results and keratin treatment longevity, making keratin-compatible formulations essential for success.
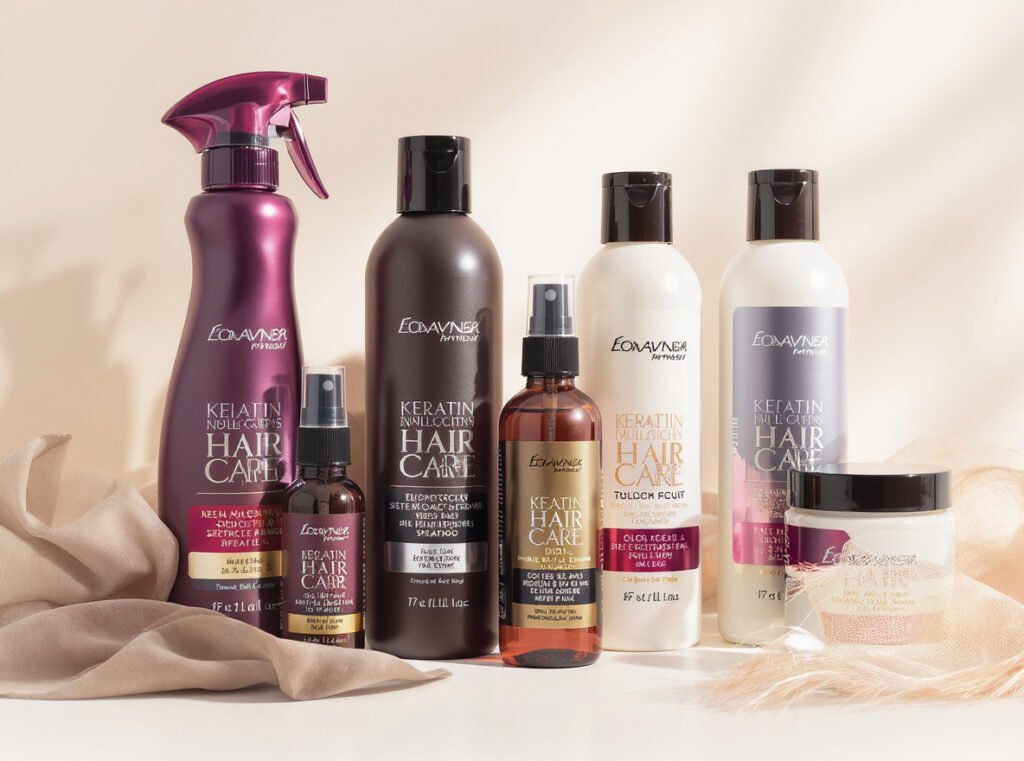
Use lightweight, keratin-compatible heat protectants that provide thermal protection without interfering with the treatment’s bonding process. Look for sulfate-free, alcohol-free formulations specifically designed for chemically treated hair.
Essential product categories for keratin aftercare:
Recommended Heat Protectants:
- Keratin-infused blow-dry creams that complement existing treatment
- Lightweight thermal sprays rated for temperatures up to 450°F
- Leave-in conditioners with built-in heat protection
- Professional-grade serums for fine or damaged hair
Ingredients to Avoid Completely:
- Sodium lauryl sulfate (SLS) and sodium laureth sulfate
- Sodium chloride (salt) that strips keratin
- Denatured alcohols that cause dryness
- Parabens and harsh preservatives
Professional salons recommend TRESemmé Keratin Smooth Heat Protection Spray for its specific keratin-treatment compatibility and 450°F protection rating. Moroccanoil Perfect Defense offers lightweight protection suitable for both wet and dry applications.
Apply heat protectant to damp hair before any thermal styling. This creates a protective barrier that prevents keratin degradation while enhancing manageability and shine.
For wholesale buyers seeking professional results, the Conason P1C high-speed hair dryer features precise temperature controls and ionic technology specifically designed for chemical treatment aftercare, making it ideal for salons serving keratin-treated clients.
When Can You Resume Normal Blow-Drying Routines?
Understanding the timeline for safely returning to regular styling helps maximize treatment benefits while protecting your significant investment.
After 72 hours, you can gradually resume modified blow-drying routines, but continue using heat protectants and moderate temperatures. The keratin bonds are fully set, but ongoing protective care ensures maximum treatment longevity of 3-6 months.
Post-treatment timeline and recommendations:
| Timeframe | Restrictions | Safe Practices |
|---|---|---|
| 0-72 hours | Critical care period | Medium heat only, immediate moisture drying |
| 72 hours-2 weeks | Gentle transition | Moderate heat, keratin-safe products |
| 2-6 weeks | Cautious normalization | Heat protection required, sulfate-free care |
| 2+ months | Maintenance phase | Professional touch-ups as needed |
After the initial period, maintain these protective practices:
- Continue using heat protectants for all thermal styling
- Limit washing to 2-3 times per week maximum
- Use sulfate-free, keratin-compatible products exclusively
- Schedule professional touch-ups every 3-4 months
Professional colorists report that clients following proper aftercare protocols enjoy treatment benefits for 4-6 months instead of the typical 2-3 months seen with improper care.
Your new routine should prioritize treatment preservation while allowing styling flexibility. The investment in proper technique and products pays dividends in extended treatment life.
How Do Professional Tools Affect Keratin Treatment Results?
The quality of your blow-dryer significantly impacts both immediate results and long-term treatment maintenance, making tool selection crucial for professional outcomes.
Professional-grade blow-dryers with ionic technology, ceramic heating elements, and precise temperature controls provide superior results for keratin-treated hair. These advanced tools reduce drying time while minimizing heat damage through even temperature distribution and consistent performance.

Professional features that enhance keratin care:
Essential Tool Characteristics:
- Ionic technology that naturally reduces frizz and static
- Ceramic or tourmaline heating elements for even heat distribution
- Multiple heat and speed settings for customization
- Cool shot buttons for cuticle sealing
- Ergonomic design for extended professional use
Performance Benefits:
- Faster drying times reduce overall heat exposure
- More precise temperature control prevents damage
- Better heat distribution eliminates damaging hot spots
- Longer tool life ensures consistent results over time
High-quality tools make the difference between salon-quality results and disappointing outcomes. Professional stylists choose specific equipment because they understand the direct connection between tool quality and client satisfaction.
For businesses in the hair care industry, the Conason P1C offers the advanced features professionals demand. Its ionic technology, precise controls, and reliable performance make it an excellent choice for salons specializing in chemical treatments and keratin services.
Retailers and distributors can explore our complete collection of professional-grade hair tools at https://conason.com/product/ to find equipment that meets the demanding requirements of keratin treatment aftercare and professional styling services.
What Common Mistakes Should You Avoid?
Understanding frequent errors helps protect your keratin investment and achieve consistent, professional-quality results that last the full treatment duration.
The most critical mistakes include using excessive heat, failing to maintain proper distance, neglecting heat protectants, and allowing wet hair to air-dry during the crucial 72-hour bonding period. These errors account for 80% of premature treatment failures.
Critical mistakes by category:
Heat-Related Errors:
- Using maximum temperature settings unnecessarily
- Holding dryer too close to scalp (under 6 inches)
- Skipping heat protectant products during any styling
- Rushing through the drying process with excessive heat
Technique Problems:
- Blow-drying upward or against natural hair direction
- Using damaged or inadequate consumer-grade tools
- Neglecting systematic sectioning during drying
- Forgetting the essential cool shot finish
Timing and Care Issues:
- Washing or wetting hair within 72 hours
- Using ponytails, clips, or headbands during setting period
- Sleeping without silk pillowcases or protective measures
- Exposing hair to chlorine or salt water without protection
Product-Related Mistakes:
- Using sulfate-containing shampoos that strip keratin
- Over-applying heavy products that create buildup
- Choosing alcohol-based formulations that cause dryness
- Overwashing hair more than 2-3 times weekly
Professional stylists emphasize that the first 72 hours are absolutely critical. Any shortcuts during this period can significantly compromise results and require expensive re-treatment much sooner than expected.
Clients who follow professional protocols consistently report treatment satisfaction lasting 4-6 months, while those who make common mistakes often see results fade within 6-8 weeks.
Summary
Successful blow-drying after keratin treatment requires medium heat settings, proper 6-inch distance, downward directional technique, and immediate moisture management during the critical 72-hour period. Professional-quality tools and keratin-compatible products ensure optimal results that last 4-6 months when proper aftercare protocols are followed consistently.
Ready to upgrade your salon’s keratin aftercare capabilities? Contact us at https://conason.com/product/ to explore professional-grade hair tools designed for optimal chemical treatment results and discover wholesale opportunities for your business.