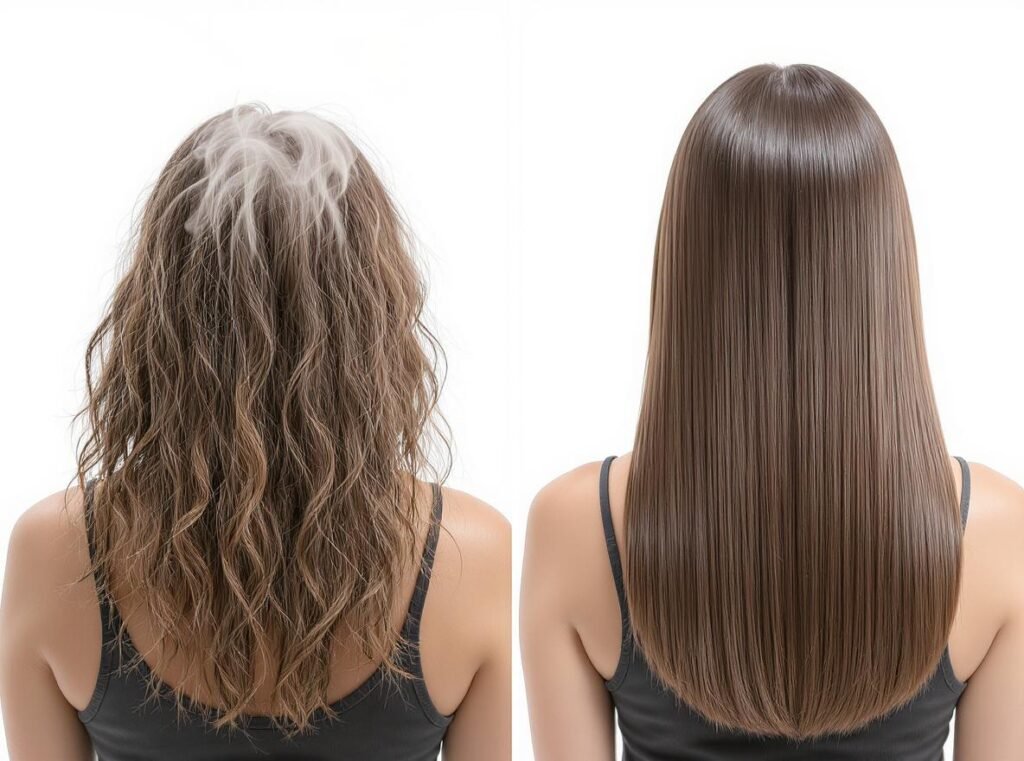
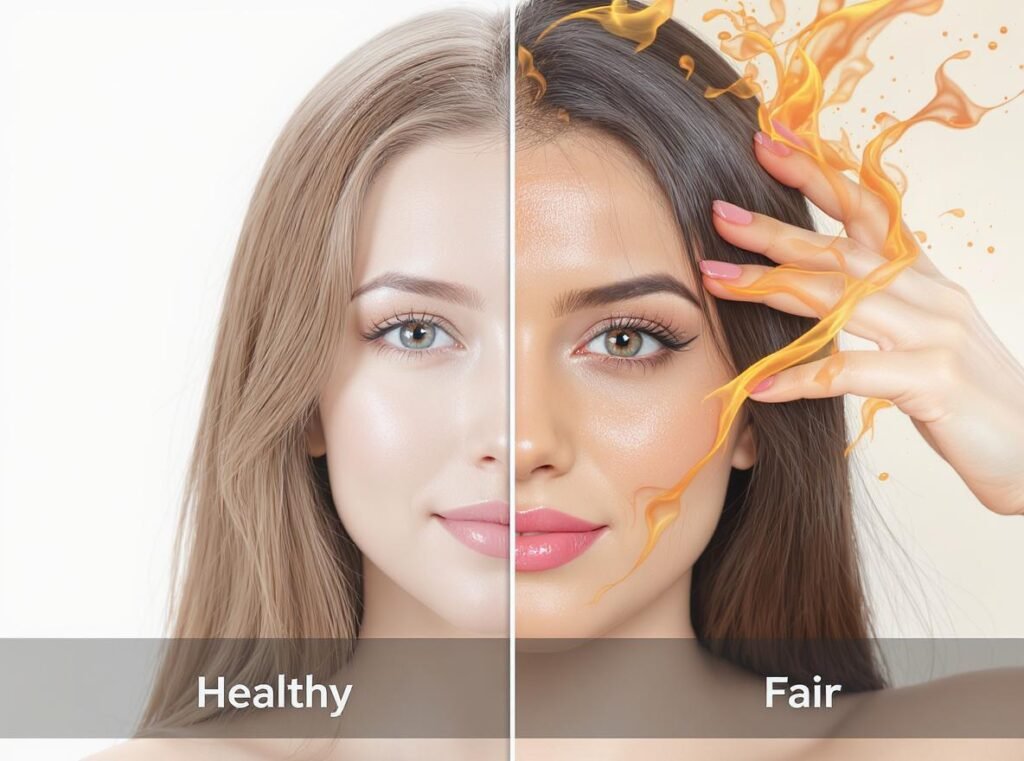
Struggling to achieve salon-quality straight hair at home? You’re not alone. Many people damage their hair by using hot tools in the wrong order, leading to frizz, breakage, and disappointing results.
Always use a hair dryer first, then a straightener. Your hair must be completely dry before applying any flat iron or straightener to prevent damage and achieve the best results. The hair dryer removes moisture and preps your hair, while the straightener is for styling dry hair only.
Understanding the proper sequence will help you achieve smooth, sleek hair while minimizing heat damage and maximizing your styling results.
Why Should I Use a Hair Dryer Before a Straightener?
Using hot tools in the correct order is crucial for both hair health and styling success. Many people make costly mistakes by rushing the process.
Hair dryers should always come first because they remove moisture safely at lower temperatures, while straighteners require completely dry hair to work effectively and prevent damage. Blow drying dries your hair safely, while a straightener applies intense, direct heat that can “boil” water inside wet hair, causing breakage and split ends.
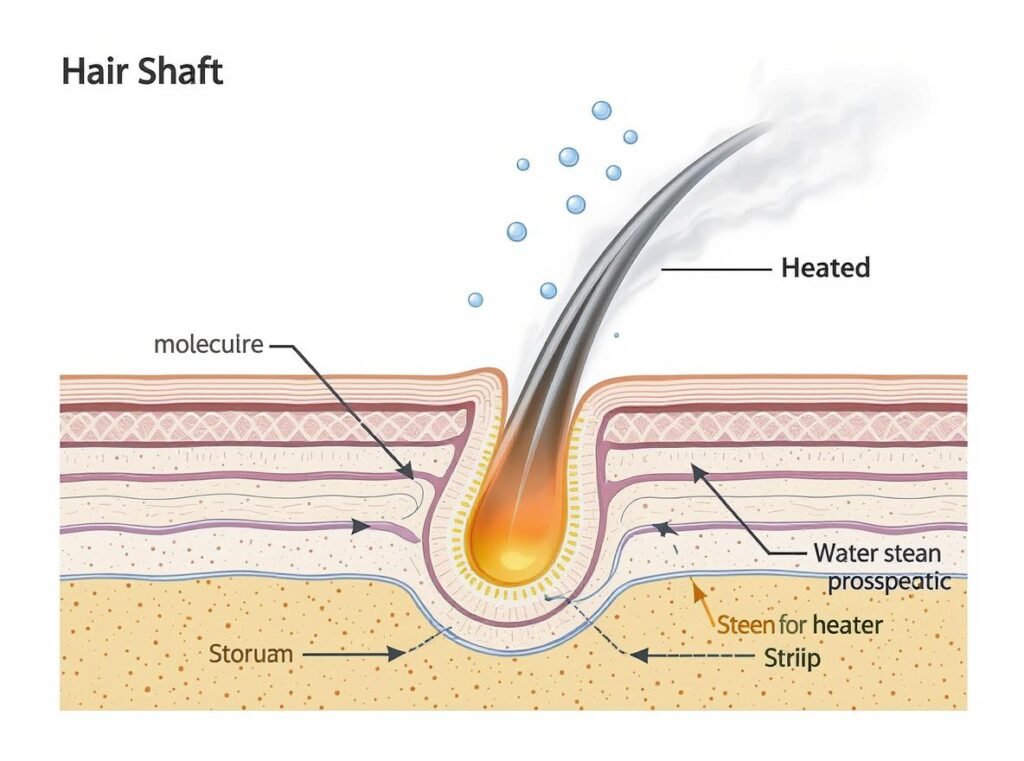
The science behind this sequence is straightforward: when you apply a hot straightener to wet hair, the water literally turns to steam inside your hair shaft. This creates pressure that can burst the hair cuticle, leading to severe structural damage that’s often irreversible.
Professional stylists always follow this order because it delivers superior results. Blow drying smooths and detangles your hair, making the straightening process easier and more effective, especially for curly or textured hair. The pre-drying step also helps set your hair’s shape, so the final straightening lasts longer and looks sleeker.
Additionally, starting with a hair dryer allows you to work with your hair’s natural texture gradually, reducing the overall stress on your strands and creating a foundation for more effective straightening.
What Happens If I Use a Straightener on Wet Hair?
This is one of the most damaging mistakes you can make with your hair. The consequences extend far beyond just poor styling results.
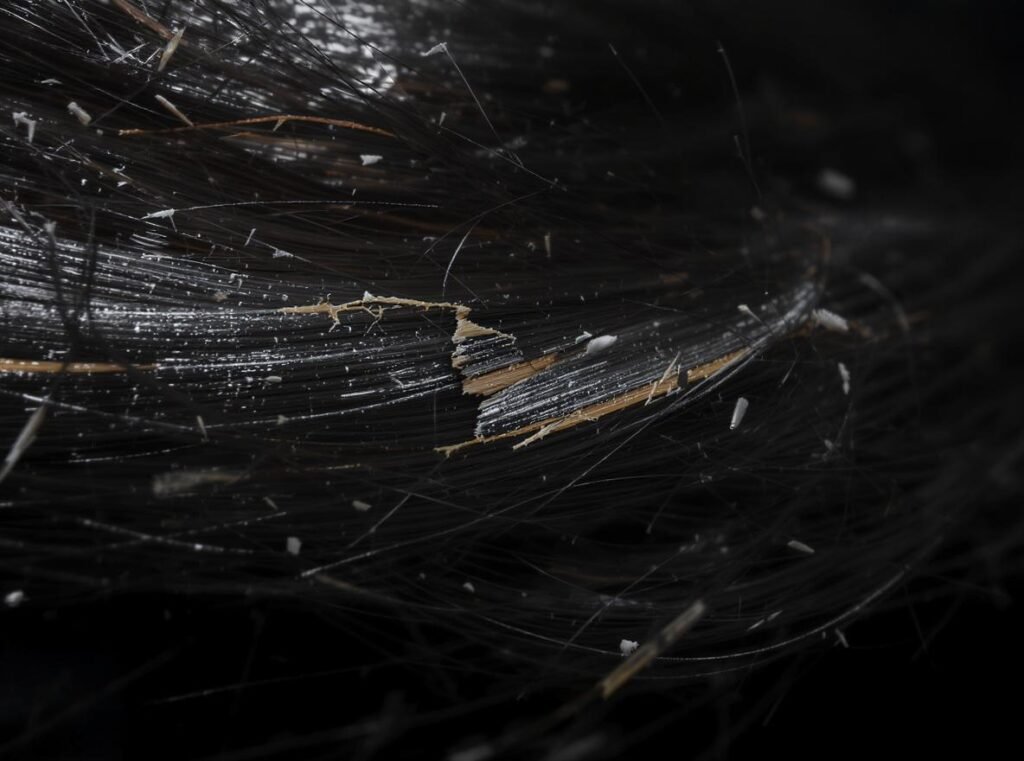
Using a straightener on wet hair causes severe damage including the water inside your hair turning to steam, which can burst the hair shaft, leading to cracks, split ends, and brittleness. This type of damage is often irreversible and requires cutting off damaged sections.
You’ll immediately notice warning signs when making this mistake:
- Audible sizzling sounds when the straightener touches your hair
- Visible steam rising from your hair strands
- Burnt smell that indicates protein damage
- Rough, brittle texture immediately after styling
- Frizz and uneven results that won’t smooth out
The damage occurs at the molecular level. The intense heat causes the water in your hair to expand rapidly, creating microscopic explosions within the hair shaft. This compromises your hair’s protein structure permanently.
Repeatedly straightening wet hair can permanently weaken your hair, requiring you to cut off damaged ends. Unlike other types of hair damage, this structural damage cannot be reversed with deep conditioning treatments or repair masks.
Professional colorists report that clients who regularly straighten wet hair often need corrective treatments or significant length reduction to restore hair health.
How Should I Properly Dry My Hair Before Straightening?
Proper drying technique is just as important as the order of your tools. The method you choose affects both your hair’s health and the final results.
Follow a systematic approach: towel dry gently, air dry until about 70-80% dry, apply heat protectant, then blow dry in sections using proper technique. This minimizes heat exposure while ensuring complete dryness.
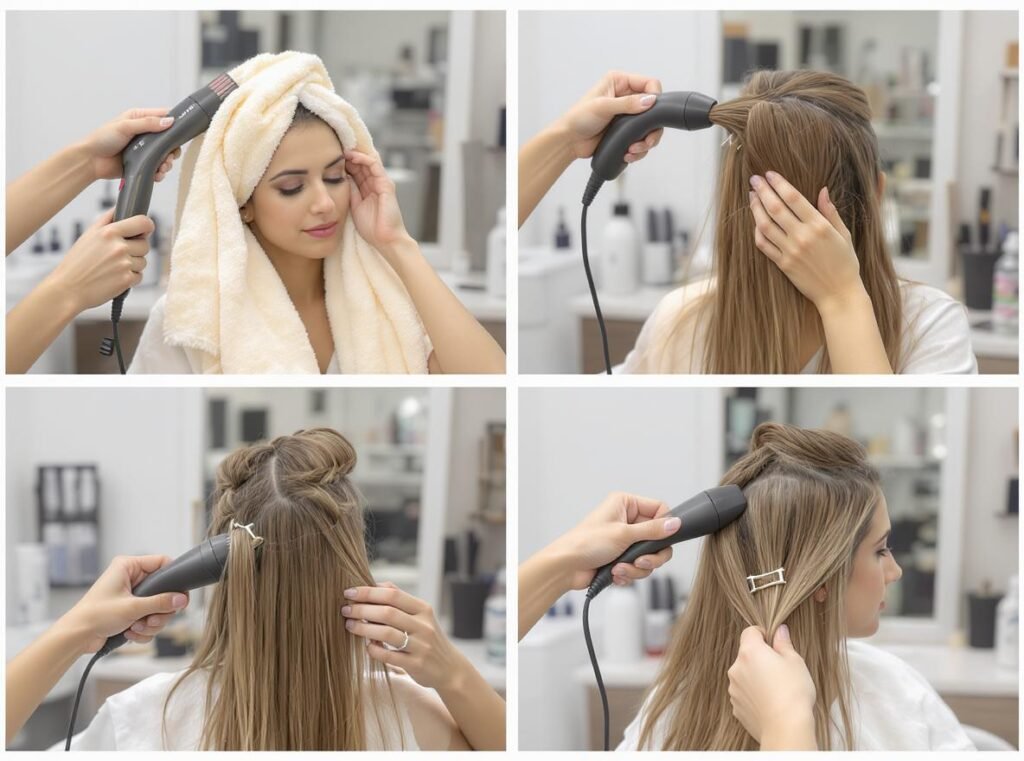
Step-by-Step Drying Process:
Towel Drying Phase:
Start by gently blotting your hair with a microfiber towel. Never rub or scrub, as this causes frizz and breakage. Blot sections methodically to remove excess water without disturbing the hair cuticle.
Air Drying Stage:
Let your hair air dry until it’s about 70-80% dry. This reduces your total heat exposure time significantly while still allowing you to style effectively. This preliminary step is crucial for hair health.
Heat Protectant Application:
Apply a quality heat protectant spray or serum evenly throughout your hair, focusing on mid-lengths and ends. This creates a barrier between your hair and the high temperatures to come.
Sectional Blow Drying:
Divide your hair into manageable sections using clips. Use a blow dryer with a concentrator nozzle and a round or paddle brush. Work from roots to ends, keeping the dryer about 5 inches from your hair. Dry each section completely before moving to the next.
Cool Shot Finish:
Complete the blow drying process with a blast of cool air to set the style, seal the cuticle, and add shine. This step is often skipped but crucial for long-lasting results.
What’s the Complete Step-by-Step Process?
Following a systematic approach ensures consistent results and minimizes damage. This professional sequence has been proven effective across all hair types.
The complete process involves seven distinct stages, each with specific techniques and timing for optimal results and hair health.
| Stage | Tool/Product | Key Technique | Time Required |
|---|---|---|---|
| 1. Prep | Gentle shampoo/conditioner | Cleanse without over-stripping | 5-10 minutes |
| 2. Initial drying | Microfiber towel | Blot, don’t rub | 2-3 minutes |
| 3. Air drying | Natural air | Wait until 70-80% dry | 15-30 minutes |
| 4. Protection | Heat protectant | Even distribution | 2-3 minutes |
| 5. Sectioning | Hair clips | Divide into 4-6 sections | 2 minutes |
| 6. Blow drying | Dryer + brush | Root to tip, 5 inches away | 10-15 minutes |
| 7. Straightening | Flat iron | Small sections, one pass | 10-20 minutes |
Detailed Process Breakdown:
Washing and Conditioning: Use a gentle shampoo and moisturizing conditioner appropriate for your hair type. This foundation step affects how well your hair responds to styling.
Initial Drying: Gently blot hair with a microfiber towel, which is less damaging than regular terry cloth. Focus on removing excess water without creating friction.
Strategic Air Drying: Allow hair to air dry until damp but not dripping. This step significantly reduces the heat exposure time needed later.
Heat Protection: Apply heat protectant evenly throughout your hair, ensuring complete coverage. This is your hair’s only defense against high temperatures.
Systematic Sectioning: Divide hair into 4-6 manageable sections using clips. Smaller sections ensure more thorough drying and better results.
Professional Blow Drying: Use a concentrator nozzle and appropriate brush. Work methodically from bottom sections to top, ensuring each area is completely dry.
Final Straightening: Once hair is completely dry, use your straightener on small sections with single, smooth passes. Use the lowest effective temperature for your hair type.
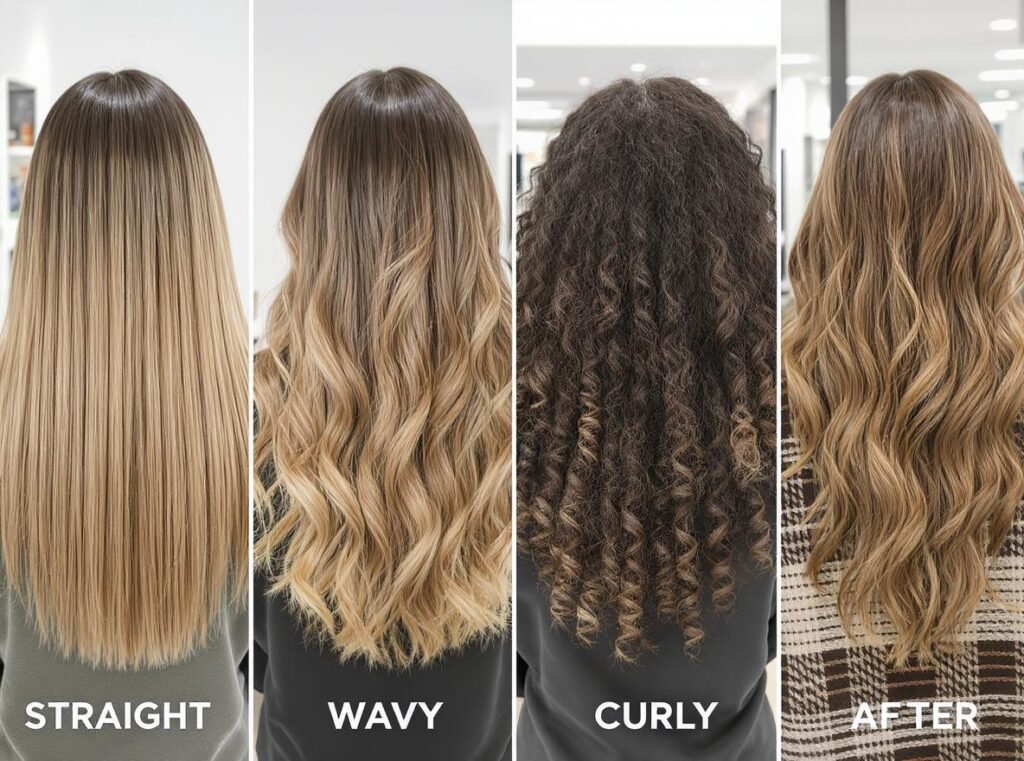
Does Hair Type Affect the Drying and Straightening Order?
Different hair types have varying needs, but the fundamental order remains the same. Understanding your hair type helps you adjust techniques and products accordingly.
All hair types benefit from the dryer-first approach, but the specific techniques and settings should be adjusted based on your hair’s texture, thickness, and current condition.
Hair Type Specifications:
Type 1 (Straight Hair):
May air dry fully before straightening, but blow drying adds volume and smoothness. Use medium heat settings and focus on adding body at the roots.
Type 2 (Wavy Hair):
Can air dry until almost completely dry, then blow dry for smoothness before straightening. The natural wave pattern benefits from tension during drying.
Type 3/4 (Curly/Kinky Hair):
Blow drying is essential before straightening to avoid tangling and frizz, and to achieve a smooth finish. These hair types require more thorough sectioning and longer drying times.
Fine or Damaged Hair:
Requires lower heat settings throughout the entire process and minimized heat exposure. Consider using ionic technology to reduce drying time.
Thick or Coarse Hair:
Needs higher heat settings and more sectioning for effective drying. May require 6-8 sections instead of the typical 4-6.
The key principle remains consistent: regardless of hair type, complete drying before straightening is non-negotiable for hair health and styling effectiveness.
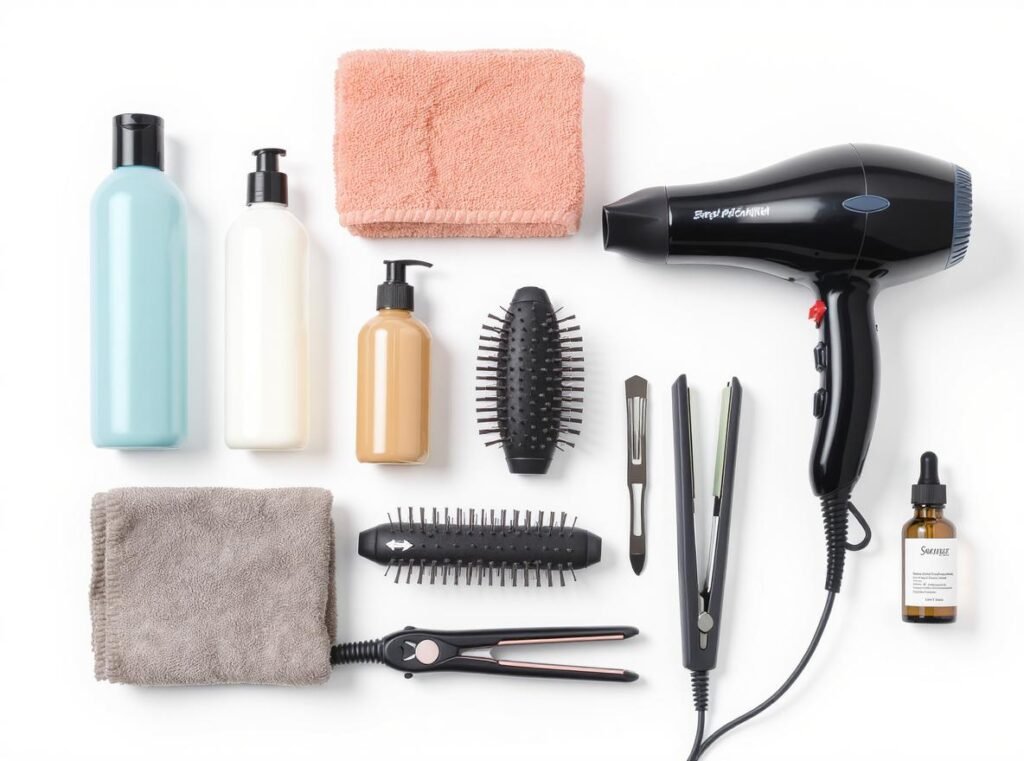
What Are the Best Tools for This Process?
Professional results require professional-quality tools. Investing in good equipment pays off in better results and healthier hair over time.
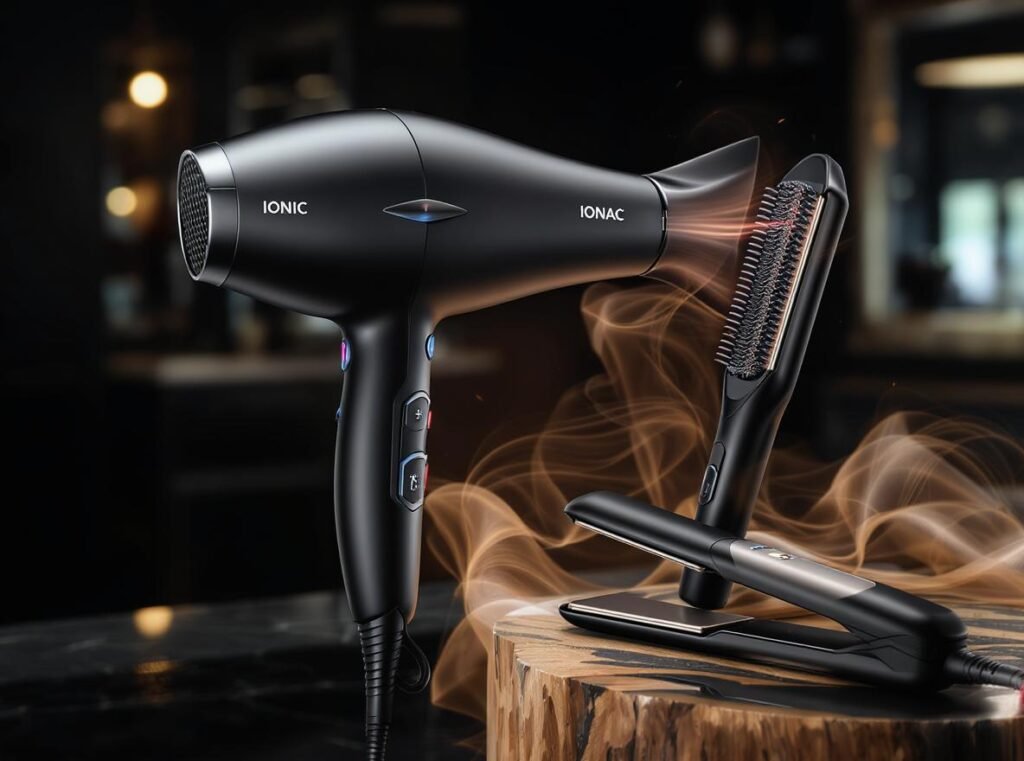
High-quality ionic hair dryers with ceramic or tourmaline technology, combined with adjustable-temperature straighteners featuring ceramic or titanium plates, provide the best results while minimizing damage.
Hair Dryer Essentials:
For wholesale buyers looking to stock quality products, consider these essential features:
- Ionic Technology: Reduces frizz and speeds drying time by breaking down water molecules
- Multiple Heat Settings: Allows customization for different hair types and styling needs
- Concentrator Nozzle: Focuses airflow for precise styling and smoother results
- Cool Shot Button: Essential for setting styles and adding shine
- Powerful Motor: Ensures adequate airflow for efficient drying
- Lightweight Design: Reduces arm fatigue during extended styling sessions
The Conason P1C high-speed hair dryer incorporates all these professional features, offering salon-quality results with advanced ionic technology and multiple heat settings. Its powerful motor and ergonomic design make it perfect for both professional salons and home use.
Straightener Selection Guide:
| Feature | Benefit | Recommended for |
|---|---|---|
| Ceramic plates | Even heat distribution | All hair types |
| Titanium plates | Fast heating, durability | Thick, coarse hair |
| Adjustable temperature | Customized heat levels | All hair types |
| Floating plates | Even pressure distribution | Damaged or fine hair |
| Auto shut-off | Safety feature | All users |
Supporting Tools:
Quality round brushes with natural or high-grade synthetic bristles help achieve smoother results. Paddle brushes work well for longer hair. Sectioning clips keep hair organized and prevent re-wetting of styled sections.
How Can I Minimize Heat Damage During This Process?
Protecting your hair from heat damage should be your top priority. Even when using tools in the correct order, excessive heat can cause long-term damage.
Always use heat protectant, employ the lowest effective temperature settings, limit heat styling frequency, and invest in quality tools with even heat distribution to minimize damage while achieving your desired style.
Temperature Guidelines by Hair Type:
| Hair Type | Dryer Setting | Straightener Temperature | Max Frequency |
|---|---|---|---|
| Fine/Damaged | Low-Medium | 250-300°F | 2-3 times per week |
| Normal | Medium | 300-350°F | 3-4 times per week |
| Thick/Coarse | Medium-High | 350-400°F | 4-5 times per week |
| Very Thick/Resistant | High | 400-450°F | Daily if needed |
Damage Prevention Strategies:
Heat protectant is non-negotiable – it’s your hair’s only defense against thermal damage. Look for products that offer protection up to 450°F and provide additional benefits like moisture or shine.
Start with the lowest temperature setting that’s effective for your hair type. You can always increase if needed, but you can’t undo heat damage once it’s done.
Limit heat styling frequency to allow your hair time to recover between sessions. Rotate with protective styles like braids, buns, or air-drying methods.
Professional Damage Prevention Tips:
Keep tools moving continuously – never leave a hot tool in one spot for more than 2-3 seconds. Static heat causes the most damage.
Use the cool shot feature on your dryer to seal the cuticle and set your style. This adds shine and helps the style last longer.
Finish with a blast of cool air to seal the cuticle and add shine. This step is crucial for maintaining hair health and style longevity.
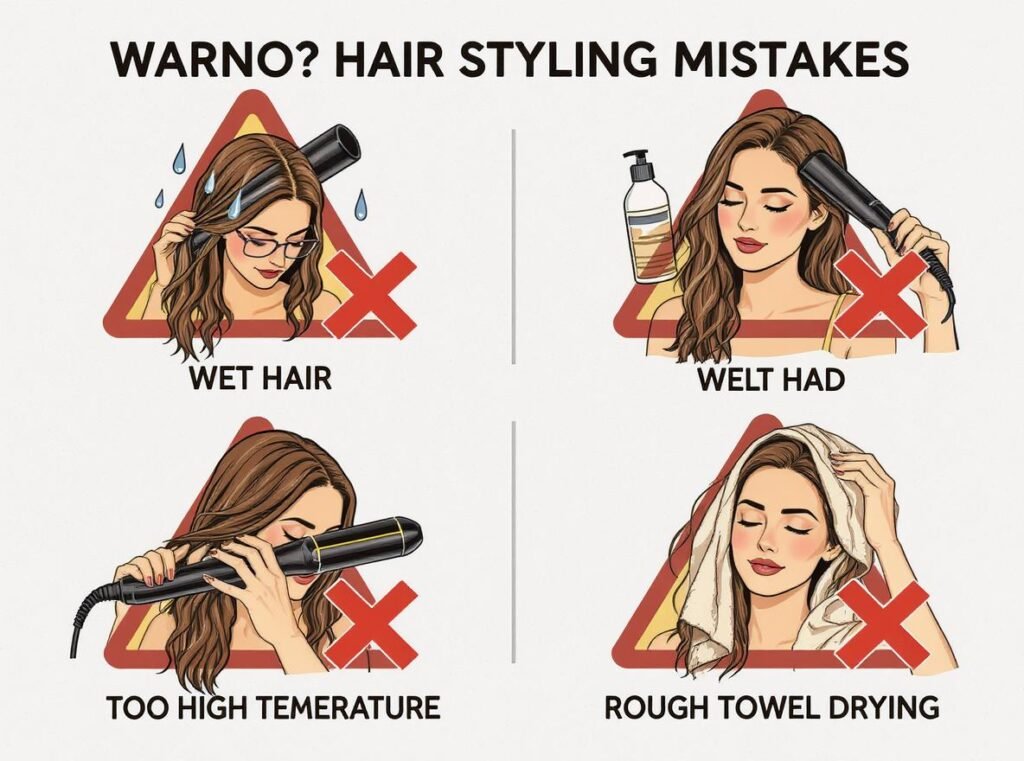
What Common Mistakes Should I Avoid?
Learning from others’ mistakes can save your hair from unnecessary damage. These common errors can completely undermine your styling efforts.
Avoid straightening wet or damp hair, skipping heat protectant, using unnecessarily high heat settings, and failing to section hair properly – these mistakes cause the most damage and poor results.
Critical Mistakes That Cause Damage:
Straightening Wet or Damp Hair: This is the most damaging mistake, causing severe and often irreversible damage to your hair structure. Always ensure hair is completely dry first.
Skipping Heat Protectant: This increases the risk of dryness, breakage, and split ends. Heat protectant is essential for every heat styling session.
Using High Heat Unnecessarily: Always start with the lowest effective setting. High heat doesn’t necessarily mean better results, but it does mean more damage.
Poor Sectioning: Not dividing hair into manageable sections leads to uneven results and requires multiple passes with heat tools, increasing damage.
Rough Towel Drying: Aggressive rubbing with regular towels causes frizz and breakage. Always blot gently with microfiber towels.
Over-Styling: Using heat tools too frequently weakens hair over time. Give your hair recovery days between styling sessions.
Technique Errors:
Moving tools too slowly or stopping in one spot creates hot spots that damage hair. Keep tools moving in smooth, continuous motions.
Using dirty tools reduces effectiveness and can transfer product buildup to clean hair. Clean your tools regularly for optimal performance.
Ignoring your hair’s condition leads to accumulated damage. Pay attention to how your hair feels and adjust your routine accordingly.
Product Application Mistakes:
Using too much product weighs hair down and creates buildup. A little goes a long way with most styling products.
Applying heat protectant to wet hair dilutes its effectiveness. Apply to towel-dried hair for better protection.
Summary
The correct order is crucial for healthy, beautiful hair: always use a hair dryer first to achieve completely dry hair, then follow with a straightener for final smoothing. This sequence prevents severe damage, ensures better results, and helps your style last longer while maintaining hair health.
Ready to achieve professional results for your clients? The Conason P1C high-speed hair dryer offers the advanced ionic technology and precise temperature control needed for safe, effective hair drying. Explore our complete product collection for wholesale opportunities and contact us for bulk pricing on professional-grade hair styling tools.