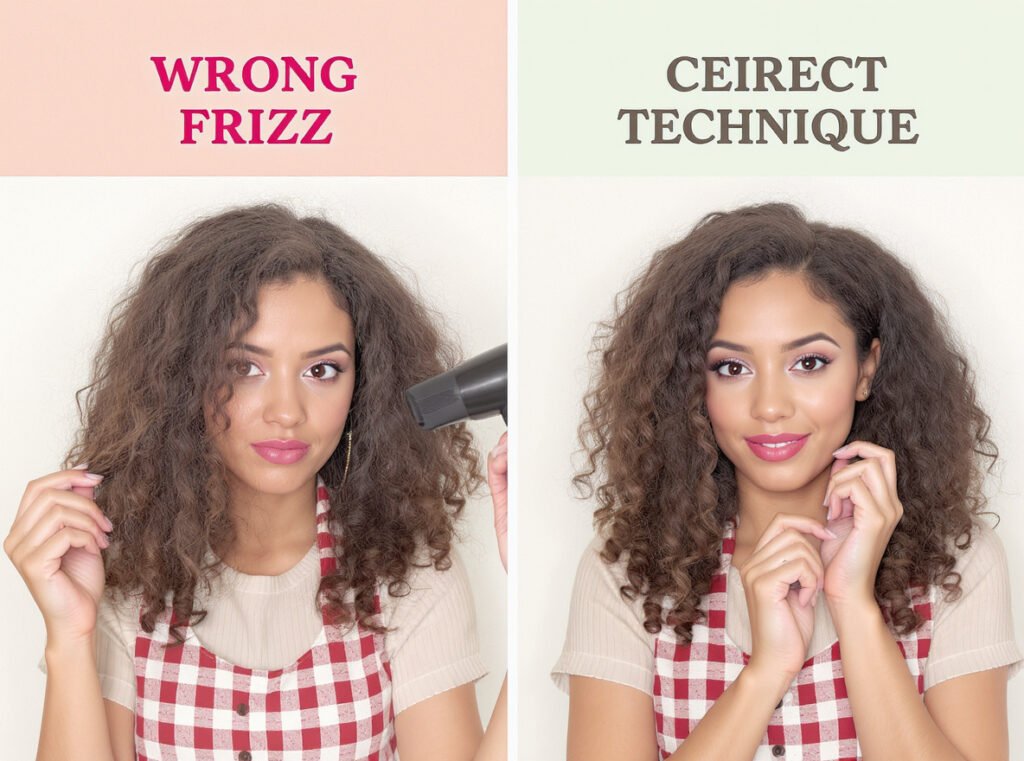
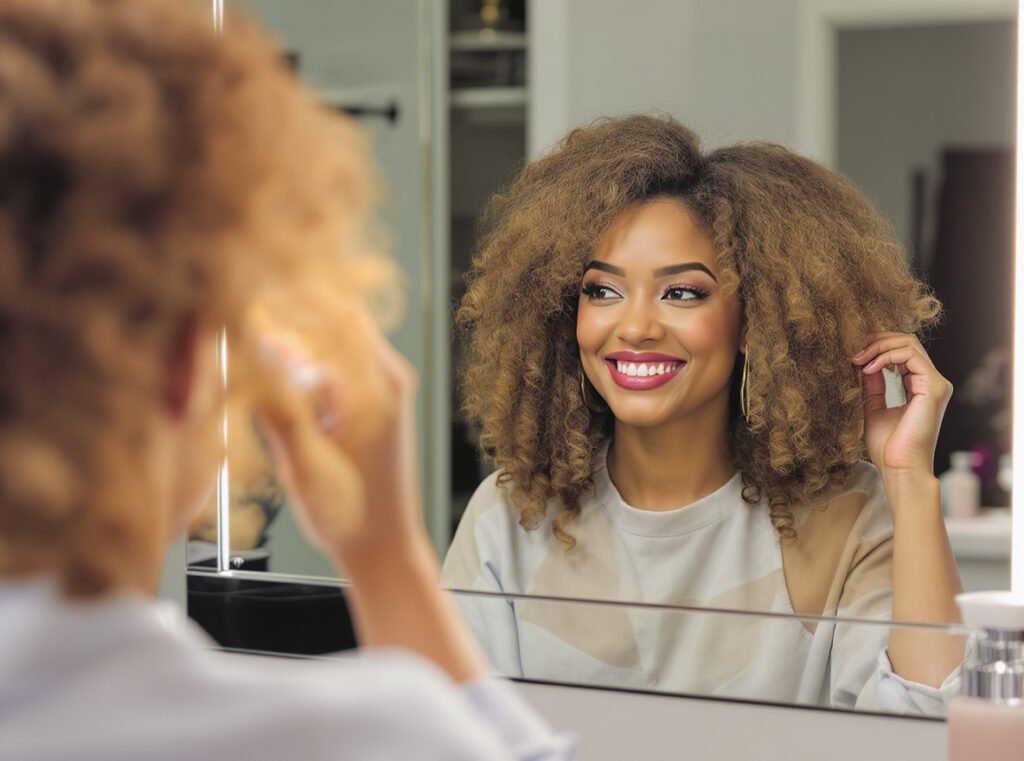
Struggling with frizzy, undefined curls every time you try to dry your hair? You’re battling one of the most common hair frustrations – traditional blow dryers destroy your natural curl pattern with concentrated airflow. The result is disappointing frizz that lacks the bounce, definition, and shine your curls deserve.
Using a diffuser attachment properly involves cupping sections of hair in the bowl, pressing upward toward your scalp, and using low-medium heat with low speed settings. The key is the “pixie diffusing” method: cup hair, turn on dryer for 20-30 seconds, turn off before moving to prevent frizz-causing air disruption.
Master this technique, and you’ll transform your curly hair routine from frustrating to fabulous.
What Exactly Is a Hair Diffuser and How Does It Transform Curl Drying?
Many curl enthusiasts buy diffusers without understanding the science behind why they work so dramatically better than regular drying methods.
A hair diffuser is a circular, bowl-shaped attachment with holes and prongs that disperses concentrated airflow over a wider surface area. Unlike regular blow dryer nozzles that create frizz-inducing direct streams, diffusers distribute gentle, controlled airflow that preserves your natural curl pattern while drying efficiently.
Think of the difference between standing under a gentle rainfall versus being blasted by a fire hose. Both deliver water, but only one preserves delicate structures underneath.
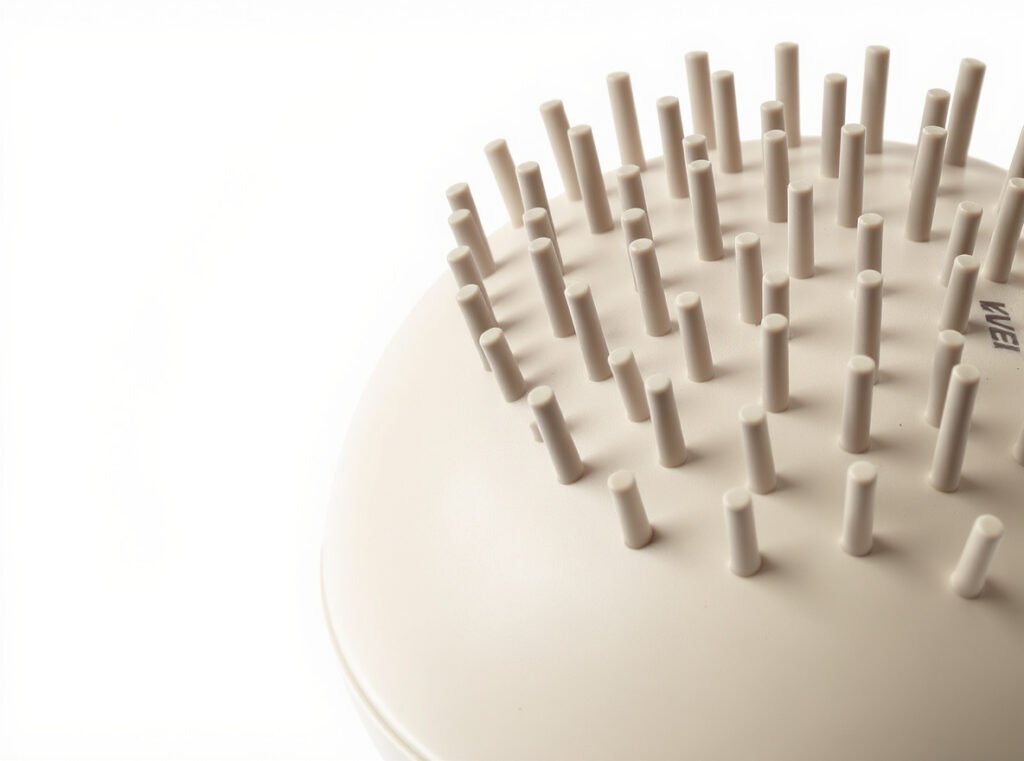
The engineering behind diffusers involves several critical components. The bowl shape creates a larger surface area for air distribution, preventing the concentrated streams that break apart curl clumps. Multiple small holes scatter airflow in various directions rather than one powerful stream. The finger prongs serve dual purposes: they lift hair sections away from your scalp for volume and help gather curls into the bowl for even drying.
Key benefits include:
- Preserved curl clumps: Gentle airflow keeps natural groupings intact
- Reduced drying time: More efficient than air drying without the damage
- Enhanced volume: Prongs lift roots away from scalp during drying
- Consistent results: Even heat distribution prevents hot spots and over-drying
Why Do Traditional Blow Dryers Sabotage Your Natural Curls?
Understanding why regular blow dryers create frizz helps you appreciate why the diffusing technique works so effectively for curly hair types.
Traditional blow dryers produce concentrated airflow at speeds exceeding 50 mph, which literally blows apart delicate curl formations and disrupts hydrogen bonds in curly hair. This forceful air stream breaks up natural curl clumps, lifts the hair cuticle, and creates the flyaways and frizz that curly-haired individuals dread.
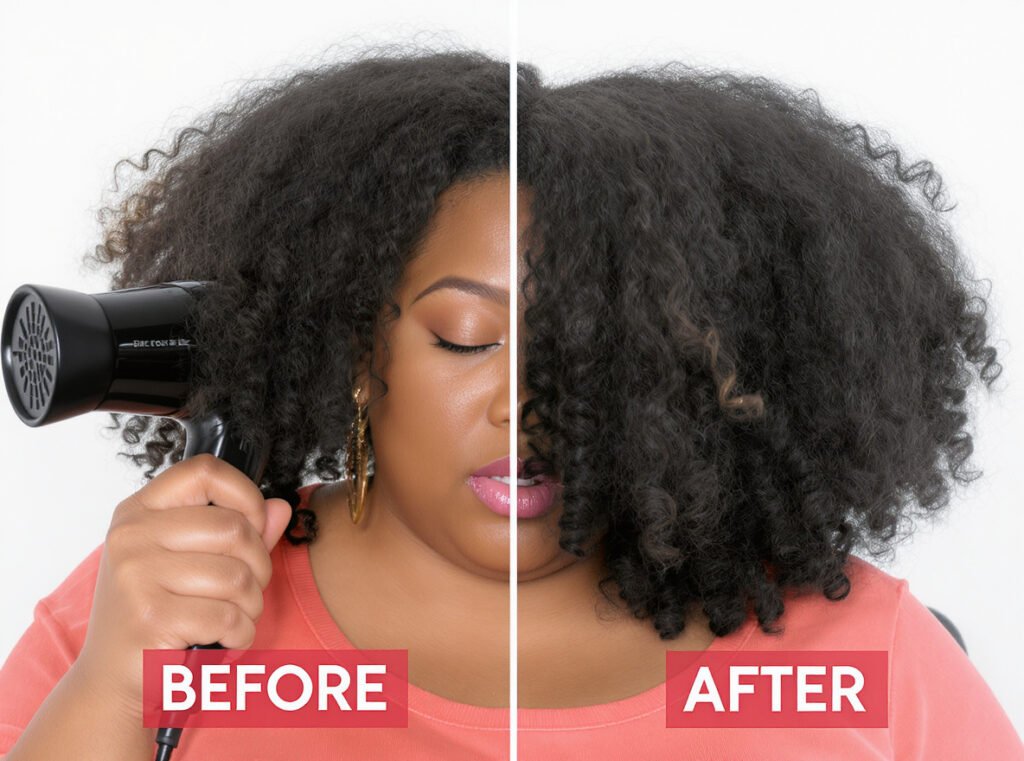
Curly hair has a unique vulnerable structure that makes it particularly susceptible to damage from direct heat and airflow. Each curl contains natural weak points where the hair bends, creating areas of increased porosity. When you blast these delicate structures with concentrated heat, several destructive processes occur simultaneously.
The cuticle layers lift and separate under the force of direct airflow, creating a rough surface that reflects light irregularly and appears frizzy. Moisture evaporates too rapidly from the hair shaft, causing immediate shrinkage and distortion of your natural curl pattern. The intense airflow literally separates individual strands that should remain grouped together in defined curl clumps.
| Damage Type | Traditional Dryer Impact | Diffuser Protection |
|---|---|---|
| Curl Clump Integrity | Blown apart by concentrated air | Gently preserved in dispersed airflow |
| Moisture Balance | Rapid, uneven evaporation | Controlled, gradual moisture removal |
| Cuticle Health | Lifted by harsh directional force | Protected by gentle, multi-directional air |
| Volume Creation | Flattened against scalp | Naturally lifted through proper technique |
What Are the Critical Pre-Diffusing Preparation Steps?
Success with diffusing begins long before you turn on your hair dryer. These preparation steps create the foundation for frizz-free, long-lasting curl definition.
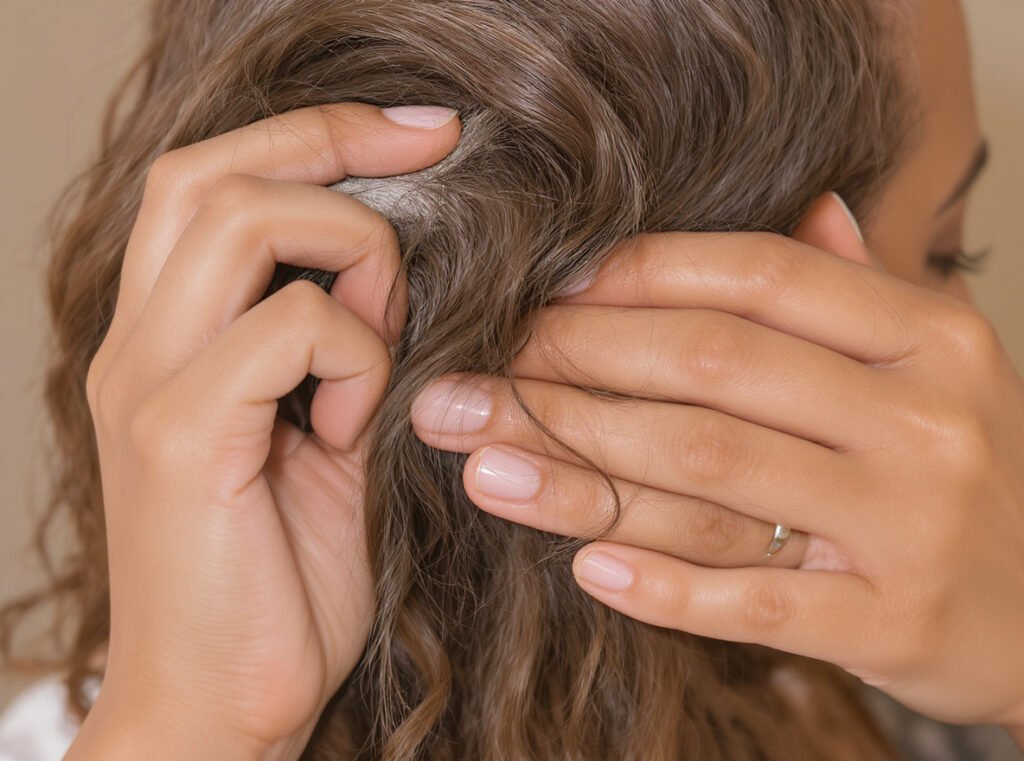
Proper preparation involves starting with clean, well-conditioned hair, gentle water removal using microfiber towels or cotton t-shirts, and strategic product application to damp (not soaking) hair. Never brush wet curls, as this instantly destroys your natural curl pattern and creates immediate frizz.
Start your routine with sulfate-free shampoo and a moisturizing conditioner rich in ingredients like shea butter, coconut oil, or argan oil. Curly hair requires extra hydration to prevent the dryness that leads to frizz formation.
The water removal process requires gentle techniques that preserve your curl pattern. Avoid rough towel drying at all costs. Instead, use the “microplopping” technique: gently press hair between microfiber towel layers to absorb excess moisture without disrupting curl formation. Your goal is damp hair rather than soaking wet hair before product application.
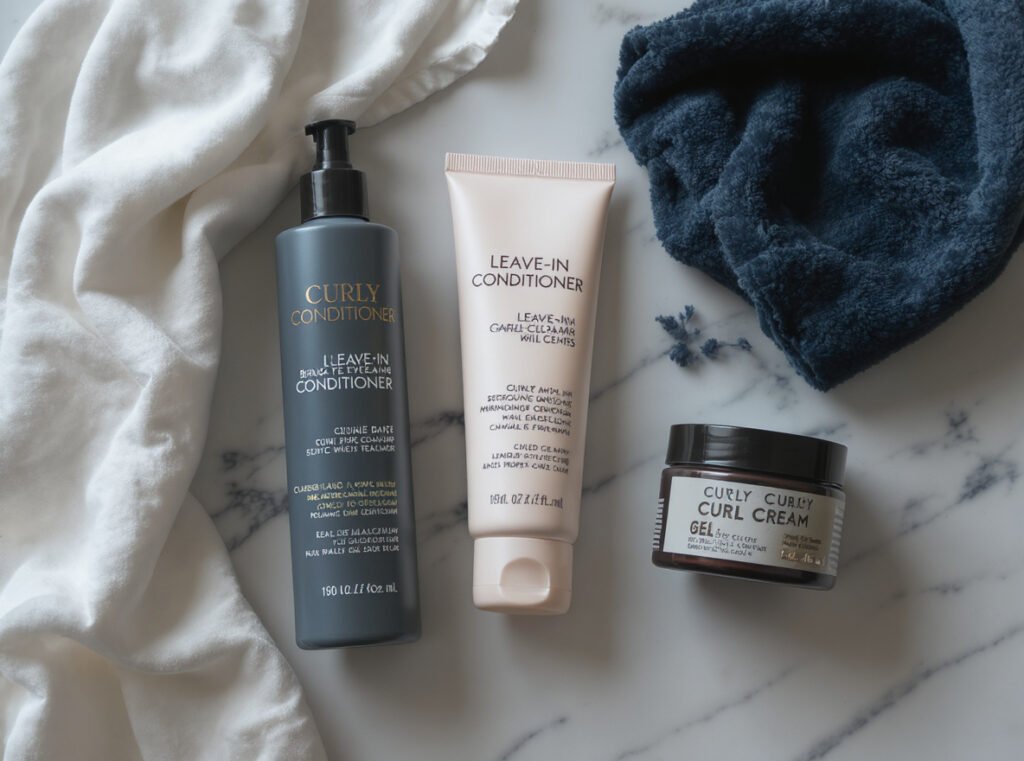
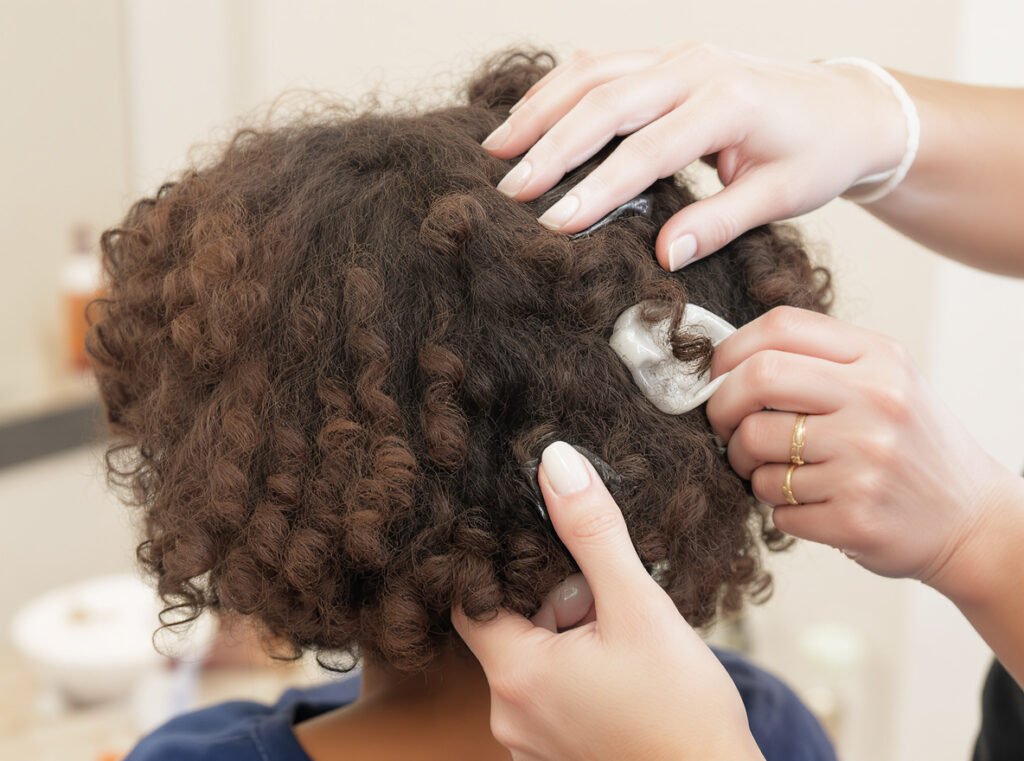
Product application sequence matters enormously:
- Leave-in conditioner first: Provides moisture base and heat protection
- Curl cream second: Enhances definition and provides flexible hold
- Gel or mousse last: Creates protective cast for curl setting
- Heat protectant throughout: Essential for any heat styling
Apply products using the “praying hands” method: smooth products down the hair shaft with palms pressed together, then scrunch upward to encourage curl formation. Work in sections to ensure even distribution throughout your entire head.
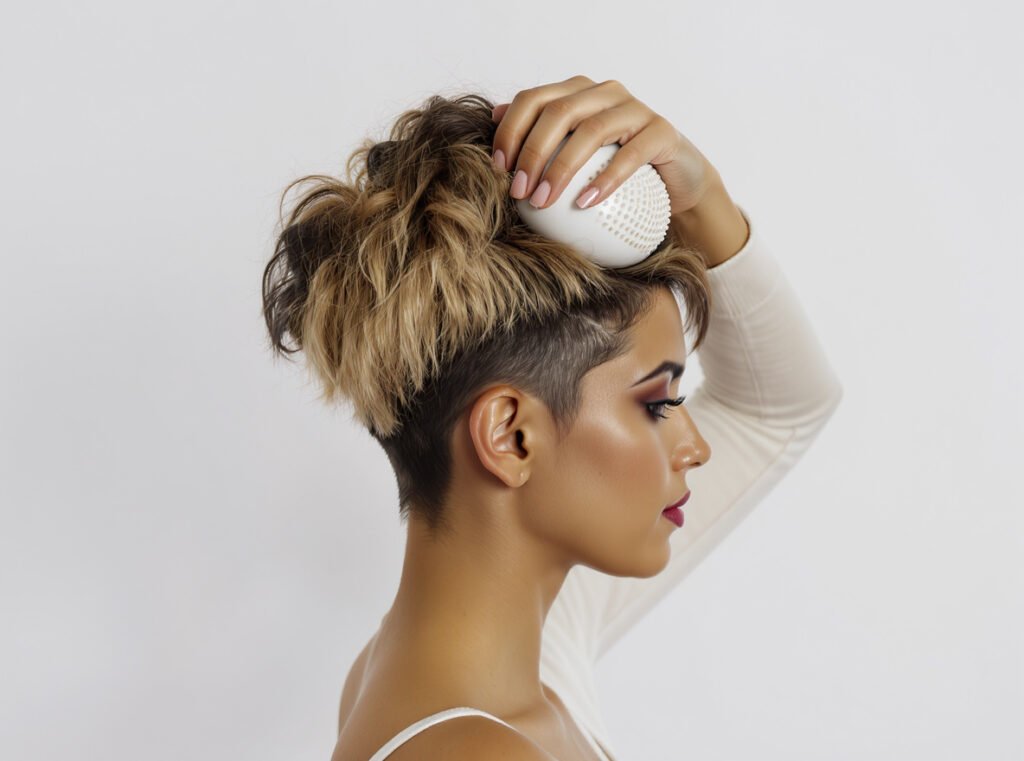
How Should You Position and Hold Your Diffuser for Maximum Results?
Proper diffuser positioning separates beginners from professionals. Small adjustments in angle and technique create dramatically different results.
Use the “pixie diffusing” method: cup sections of hair in the diffuser bowl before turning on the dryer, press the diffuser upward toward your scalp to encourage curl formation, hold for 20-30 seconds, then turn off the dryer completely before moving to the next section. Never move the diffuser while airflow is active.
The pixie method revolutionizes diffusing because it mimics the natural curl formation process. By cupping curls and pressing upward, you encourage the shrinkage and curl memory that creates defined, bouncy results.
Position yourself for success by flipping your head upside down or tilting to various sides during the process. This positioning uses gravity to your advantage, lifting roots away from your scalp as they dry and creating maximum volume throughout your style.
Critical positioning principles:
Upward pressure: Always press the diffuser toward your scalp rather than holding it away. This encourages curl formation and prevents elongation that leads to limp results.
Section management: Work in manageable sections about the size of your diffuser bowl. Smaller sections ensure even drying and better curl definition.
Root focus: Concentrate on roots first, as they take longest to dry and create the volume foundation for your entire style.
Angle awareness: Point your diffuser toward your head rather than straight up to prevent frizz-causing air disruption along the hair shaft.
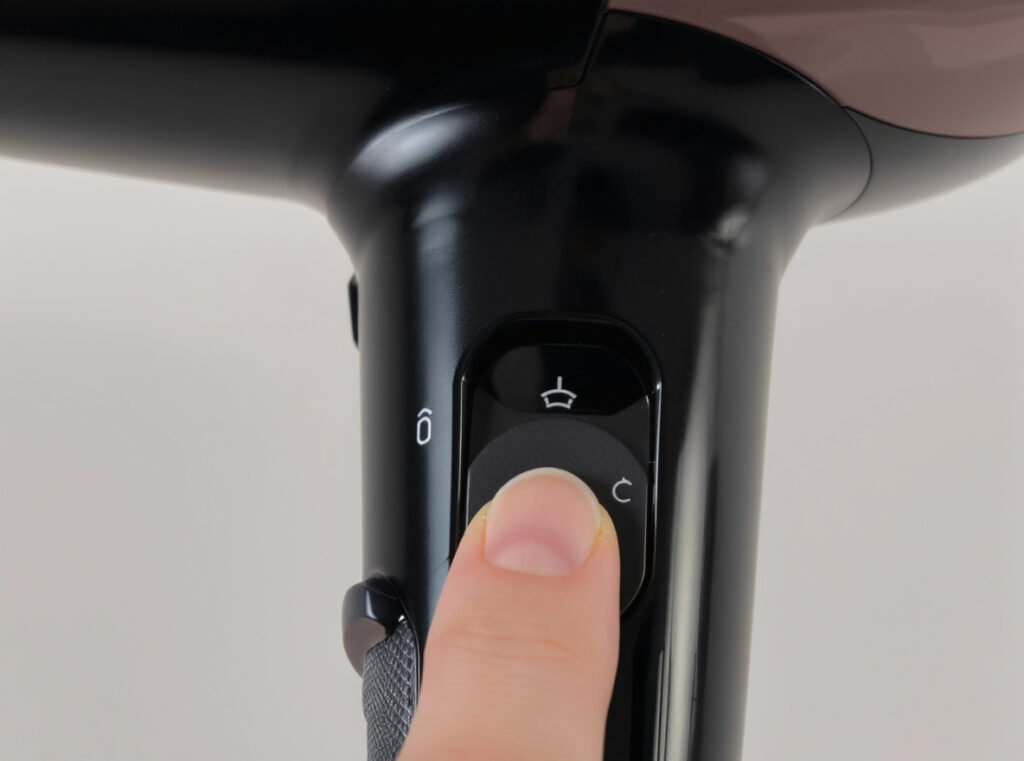
What Are the Optimal Heat and Speed Settings for Professional Results?
Temperature and airflow settings can make or break your diffusing session. Professional stylists follow specific protocols to achieve consistent, frizz-free results.
Always use low-medium heat combined with low speed settings. Start with medium heat for initial moisture removal, reduce to low heat as hair begins setting, and finish with cool shots to lock in curl pattern and add shine. Never use high speed settings, as they create excessive air movement that disrupts curl formation.
The ideal progression follows a specific pattern designed to optimize curl formation while minimizing damage potential. Medium heat kickstarts the drying process without shocking delicate curl structures. As your hair begins setting into its pattern, reduced heat prevents over-drying while maintaining efficiency.
Speed settings require even more careful consideration than temperature. High speed creates turbulent airflow that instantly destroys curl clumps and creates frizz. Low speed provides the controlled environment necessary for proper curl setting.
Professional setting progression:
- Phase 1 (First 5 minutes): Medium heat, low speed for initial setup
- Phase 2 (Main drying 10-15 minutes): Low-medium heat, low speed for controlled drying
- Phase 3 (Final setting 5 minutes): Low heat, low speed for completion
- Phase 4 (Cool finish 30 seconds): Cool shot, low speed to seal cuticle
| Hair Density | Initial Heat | Initial Speed | Final Settings | Total Time |
|---|---|---|---|---|
| Fine/Low | Low-Medium | Low | Low heat, low speed | 15-20 min |
| Medium | Medium | Low-Medium | Low-medium heat, low speed | 20-25 min |
| Thick/High | Medium | Medium | Low-medium heat, low-medium speed | 25-30 min |
What’s the Complete Step-by-Step Professional Diffusing Process?
Professional stylists follow a systematic approach that ensures consistent results every time. This method eliminates guesswork and creates reproducible success.
Begin with hover diffusing for 5-10 minutes to set initial curl pattern, focus on root drying for volume foundation, then work systematically through sections using the pixie method. Alternate head positions throughout the process and finish with cool air to seal your style.
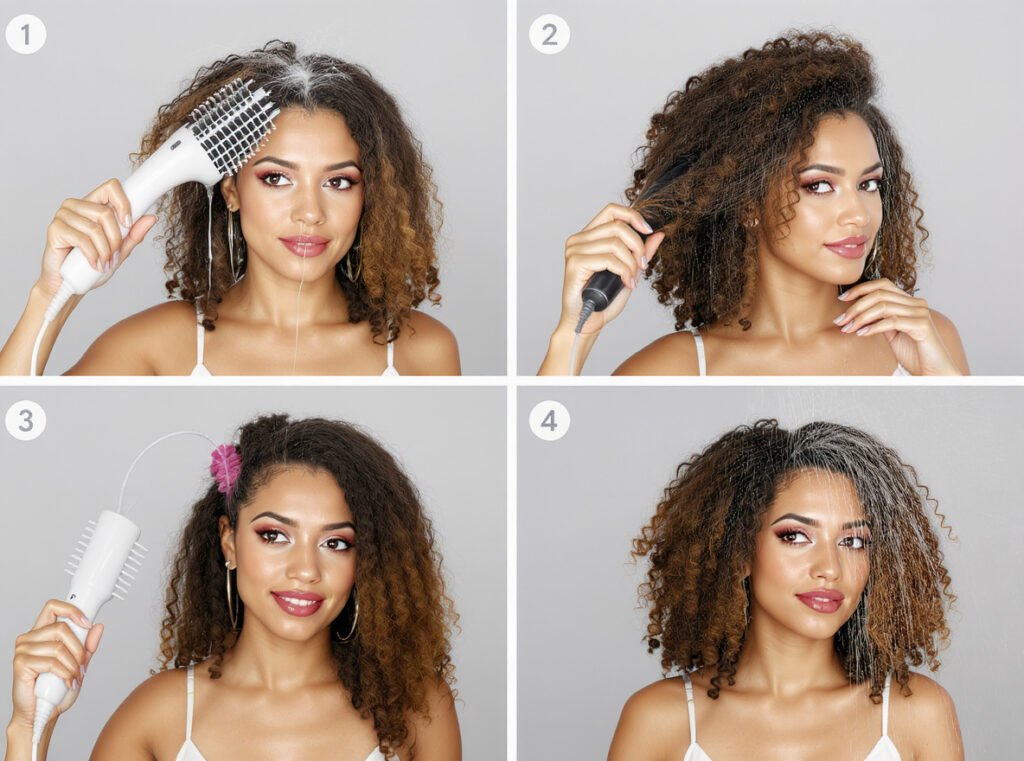
Step 1: Hover diffusing setup – Begin by hovering your diffuser 2-3 inches above your hair without direct contact. Move slowly around your head for 5-10 minutes to start setting your gel cast and reduce frizz potential. This mimics air drying while beginning heat activation of your styling products.
Step 2: Root foundation work – Focus intensive attention on your roots, which take longest to dry and create volume foundation. Place the diffuser directly against your scalp with prongs extended to lift hair away from your head. This ensures even root drying and maximum volume creation.
Step 3: Systematic sectional work – Divide your hair into manageable sections roughly the size of your diffuser bowl. Cup each section in the bowl, press upward toward your scalp, turn on the dryer for 20-30 seconds, then turn off completely before moving. This prevents air disruption between sections.
Step 4: Position rotation strategy – Alternate between upside down, side-to-side, and upright positioning throughout your session. Each position allows access to different areas and ensures comprehensive coverage without missed spots.
Step 5: Completion assessment – Check for proper dryness by touch-testing throughout your hair. Properly dried curls should feel completely dry to the touch and cool when handled. Warm areas indicate residual moisture requiring additional attention.
Step 6: Cool setting finish – Use cool air for 30-60 seconds all over to seal the hair cuticle and lock in your curl pattern. This final step adds shine and helps your style last longer throughout the day.
How Do You Determine Proper Dryness Without Over-Processing?
Knowing when to stop prevents both under-drying that leads to curl drop and over-drying that creates frizz and damage. Professional timing creates long-lasting results.
Properly diffused curls should feel completely dry to the touch, cool when handled, and spring back immediately when gently stretched. Look for visible gel cast formation if using styling gel, and ensure roots feel dry when you lift sections. Aim for 80-90% dryness rather than bone dry to prevent damage.
Visual and tactile assessment requires multiple checkpoint methods to ensure accuracy. The bounce test provides immediate feedback about curl formation: gently stretch a curl downward and release. Healthy, properly dried curls spring back to original position within 1-2 seconds.
Cast formation indicates proper product activation. Your styling products should create slight “crunch” feeling that will be scrunched out later. This cast formation shows that products have set properly and will provide lasting hold.
Temperature testing reveals hidden moisture. Lift sections throughout your hair and feel near the scalp. Properly dried areas feel cool to the touch, while warm sections indicate ongoing moisture evaporation requiring additional drying time.
Assessment indicators:
- Bounce response: Immediate spring-back when stretched
- Surface texture: Smooth but with slight product cast
- Temperature: Cool throughout, not warm
- Weight distribution: Light, voluminous feel without heaviness
- Visual definition: Clear curl separation and pattern
What Product Combinations Optimize Diffuser Performance?
Strategic product layering creates the foundation for successful diffusing. The right combination provides moisture, hold, and heat protection without weighing down your curls.
Layer products strategically: water-based leave-in conditioner for moisture foundation, lightweight curl cream for definition, and finishing gel or mousse for hold. Always include heat protectant when using thermal tools. Avoid heavy oils or thick creams that can create buildup or excessive weight.
Product chemistry plays a crucial role in diffusing success. Water-based formulations absorb better and don’t create the heavy coating that interferes with heat penetration. Lightweight formulas provide benefits without the weight that causes curl drop during the drying process.
Essential product categories:
Moisture base layer: Choose leave-in conditioners with humectants like glycerin or honey that help retain moisture during heat styling. Avoid products with heavy oils or butters as primary ingredients.
Definition enhancement: Curl creams with light hold properties help separate and define individual curl clumps without stiffness. Look for products containing proteins for structure and natural oils for shine.
Hold establishment: Gels create stronger hold and frizz control, while mousses provide volume and lighter hold. Choose based on your desired finish and natural curl strength.
Heat protection: Essential for any thermal styling. Look for products that specifically mention heat protection up to the temperatures you’ll be using.
Beneficial ingredients to seek:
- Proteins (keratin, silk, wheat) for curl structure
- Humectants (glycerin, honey) for moisture retention
- Film-forming agents for hold and protection
- Natural oils in small amounts for shine and smoothness
What Critical Mistakes Sabotage Your Diffusing Results?
Even perfect technique can be undermined by common errors that create frizz and destroy curl definition. Avoiding these mistakes ensures consistent success.
Never move the diffuser while airflow is active, avoid high heat or speed settings, and don’t start with hair that’s too wet or too dry. Also prevent touching hair during drying, over-diffusing already dry sections, and pointing the diffuser straight up instead of toward your scalp.
Movement during airflow: The single most damaging mistake involves moving your diffuser while air is flowing. This action instantly disrupts curl formation and creates widespread frizz throughout the affected area.
Temperature and speed errors: High settings seem faster but consistently produce inferior results. High heat damages hair and creates frizz, while high speed disrupts curl clumps and prevents proper setting.
Moisture level mistakes: Starting with soaking wet hair creates excessive drying time and potential product dilution. Starting with hair that’s too dry prevents proper product activation and curl formation.
Technique inconsistencies: Inconsistent pressure, timing, or positioning between sections creates uneven results and unpredictable curl patterns throughout your style.
Less obvious but equally damaging mistakes:
- Insufficient product distribution leading to uneven hold
- Inadequate sectioning creating missed areas
- Wrong diffuser size for your curl type and density
- Failure to clean diffuser regularly, affecting airflow
- Rushing through sections without proper timing
Recovery strategies for common problems:
- Over-dried sections: Lightly mist and re-scrunch with additional product
- Under-dried roots: Focus additional heat directly on problem areas
- Uneven curl pattern: Re-wet and start over with problem sections
- General frizz: Use cool air and gentle smoothing with minimal product
How Do You Maintain Diffused Curls for Multi-Day Wear?
Creating beautiful curls is only the beginning – maintaining them requires specific strategies that preserve definition and prevent deterioration throughout wear time.
Once completely dry and cool, gently scrunch out product cast using your hands or microfiber cloth. Apply minimal lightweight oil to smooth flyaways, avoid touching hair throughout the day, and use silk or satin pillowcases to prevent friction damage overnight.
Immediate post-diffusing care: Allow hair to cool completely before any manipulation. The cooling process sets your curl pattern permanently, and disturbing this process can undo your styling work.
Cast removal technique requires gentle handling. Once hair feels completely dry and cool, scrunch sections gently to break the product cast and reveal soft, defined curls underneath. This process should feel satisfying, not damaging.
Daily maintenance strategies:
- Hands-off approach throughout the day to prevent frizz
- Light oil application only to palms before smoothing over frizzy areas
- Environmental protection using anti-humidity products when needed
- Strategic hair positioning to prevent flattening during activities
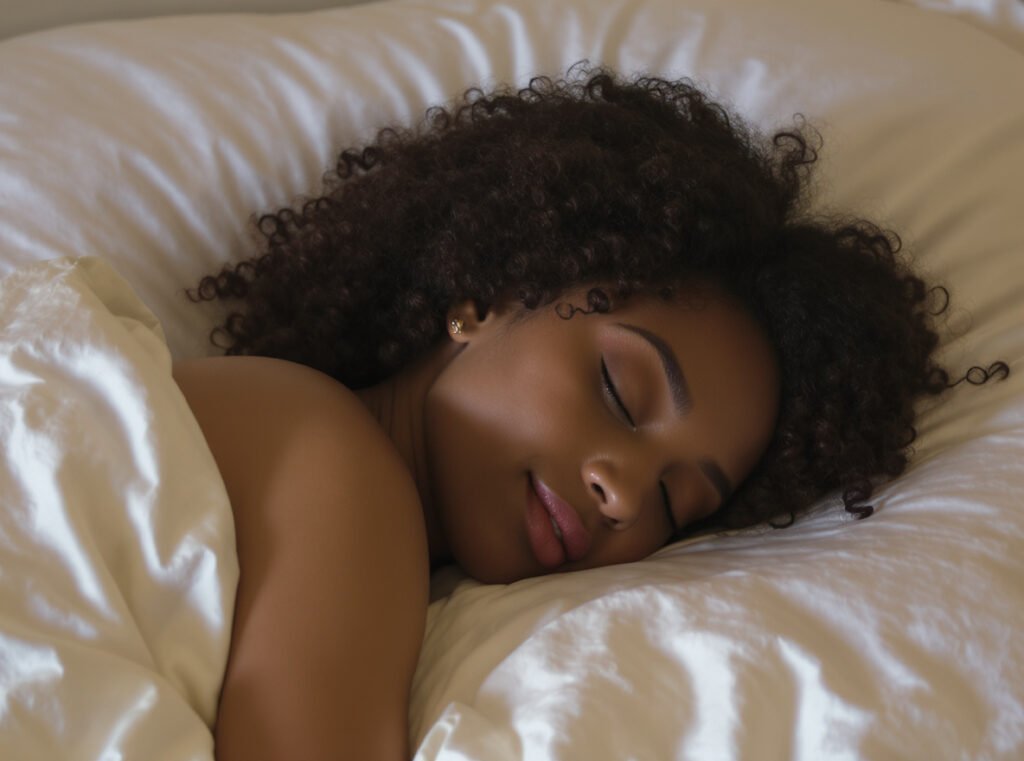
Overnight preservation methods:
- Silk or satin pillowcases reduce friction and prevent tangles
- Medusa clipping technique maintains volume by securing sections on top of head
- Silk scarves or bonnets provide comprehensive protection
- Loose pineapple technique prevents crushing while sleeping
Multi-day refresh techniques:
- Light water misting mixed with leave-in conditioner
- Spot-diffusing problem areas on cool settings
- Curl refresher sprays designed for reactivation
- Strategic re-scrunching to reactivate curl memory
How Do You Select the Perfect Diffuser for Your Specific Curl Type?
Diffuser selection dramatically impacts your results. Using the wrong diffuser can actually worsen frizz problems and prevent proper curl formation.
Choose deep bowl diffusers with long prongs for thick, coarse, or long curls, while fine or loose curl types work better with shallow bowls and shorter prongs. Universal diffusers suit most curl types, but avoid diffusers with very short prongs that can’t properly lift and cup your hair.
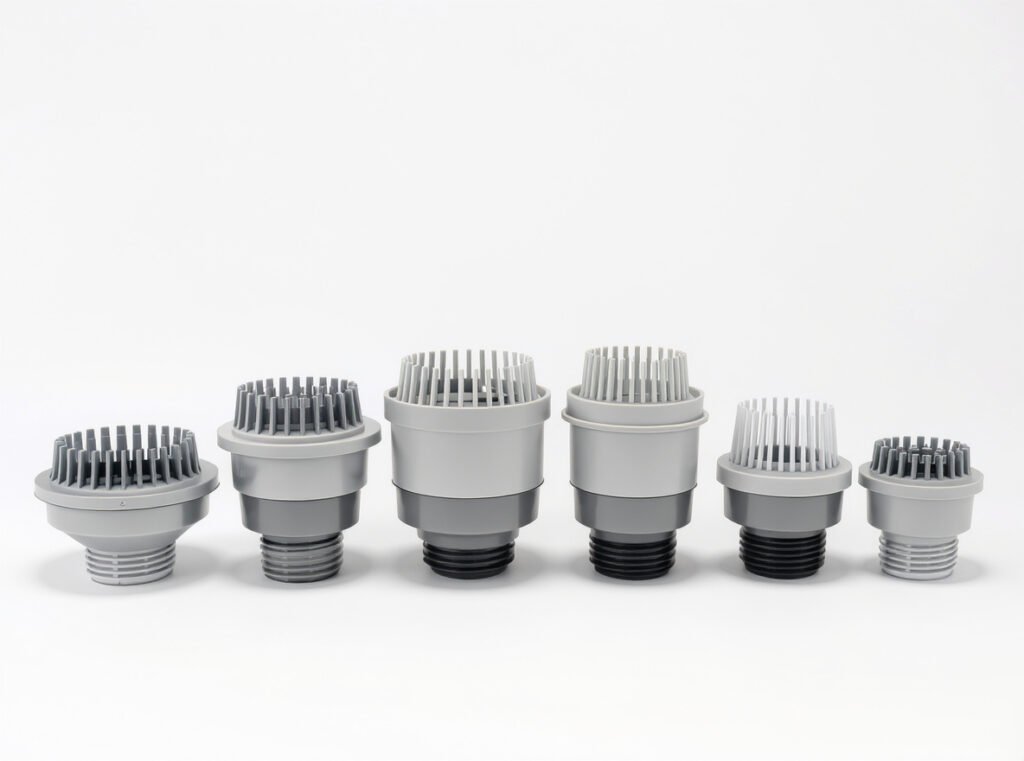
Curl type considerations:
Fine, low-density hair requires smaller, shallow diffusers that won’t overwhelm delicate curl structures. The Dyson diffuser works excellently for this hair type due to its compact design and gentle airflow distribution.
Thick, high-density hair needs large, deep diffusers with long prongs that can accommodate substantial hair volume. The Curlsmith Defrizzion or professional salon diffusers provide the capacity needed for thorough drying.
Tight curls (3C-4C) benefit from deep bowl designs that allow complete curl cupping without flattening. Look for diffusers with adjustable or retractable prongs that accommodate various curl sizes.
Loose waves (2A-2C) work best with shallow diffusers and medium-length prongs that enhance wave formation without creating excessive volume.
| Curl Pattern | Bowl Depth | Prong Length | Recommended Features |
|---|---|---|---|
| 2A-2B Waves | Shallow | Short-Medium | Gentle airflow holes |
| 2C Strong Waves | Medium | Medium | Balanced air distribution |
| 3A-3B Curls | Deep | Long | Volume-enhancing prongs |
| 3C-4A Tight Curls | Deep | Long, adjustable | Maximum lift capability |
| 4B-4C Coils | Extra Deep | Long, wide-spaced | Gentle, dispersed airflow |
Quality considerations:
- Material composition (ceramic or tourmaline for even heat)
- Attachment security to prevent detaching during use
- Prong flexibility to prevent hair catching
- Overall durability for regular use
Brand compatibility: While universal diffusers offer affordability, brand-specific diffusers often provide superior fit and performance. If investing in a high-quality dryer like the Conason P1C, consider matching professional attachments for optimal results.
Summary
Mastering diffuser technique transforms your curly hair routine from unpredictable frustration into reliable success. The key lies in understanding that gentle, controlled drying preserves your natural curl pattern while harsh, direct heat destroys it completely.
Ready to achieve professional-quality curls at home? The Conason P1C high-speed hair dryer features advanced ionic technology and precision heat control specifically designed for curl enhancement. Explore our complete collection of professional hair dryers with diffuser compatibility, or contact our team to discuss wholesale opportunities that can revolutionize your customers’ styling routines.