
Struggling with frizzy, undefined curls after blow-drying? You’re not alone. Many people with curly hair find that traditional blow-drying methods leave their curls looking more like a poodle than polished ringlets. The frustration of spending money on expensive products only to have your curls fall flat or become a frizzy mess is real.
Using a diffuser correctly can transform your curl game by dispersing airflow evenly, maintaining your natural curl pattern, and significantly reducing frizz. The key is understanding your specific curl type (3A vs. 4C) and adjusting your technique accordingly.
Keep reading to discover the exact techniques that will help you achieve salon-quality, defined curls at home without breaking your curl pattern.
What’s the Real Difference Between 3A and 4C Curls?
Understanding your curl type is crucial for choosing the right diffusing approach. 3A curls are characterized by large, loose curls with a defined “S” shape and a circumference similar to a piece of chalk. These curls have natural body and volume but can be prone to dryness and frizz.
3A curls feature loose, springy spirals about the size of sidewalk chalk, while 4C curls represent the tightest curl pattern with densely packed coils that follow a zigzag pattern almost imperceptible to the naked eye.

4C curls represent the tightest curl pattern, with densely packed coils that have little scalp visibility and tight spirals. These curls follow a zigzag pattern that’s almost imperceptible to the naked eye and experience significant shrinkage—about 75%.
The structural differences between these curl types mean they respond dramatically differently to heat and air movement. Here’s what you need to know:
| Curl Type | Pattern | Size | Shrinkage | Fragility Level |
|---|---|---|---|---|
| 3A | Large S-shaped spirals | Chalk circumference | 10-25% | Moderate |
| 4C | Tight Z-pattern coils | Almost invisible | Up to 75% | Highest |
4C hair is the most fragile hair type and requires rich oils and heavy curl creams for optimal moisture and protection. This fragility means your diffusing technique needs to be gentler and more moisture-focused than other curl types.
How Do I Choose the Perfect Diffuser for My Curl Type?
Not all diffusers are created equal, and your curl type determines which features will make or break your results. The wrong diffuser can actually increase frizz instead of reducing it.
For 3A curls, choose diffusers with wider bowls and longer prongs to accommodate larger curl circumference. For 4C curls, opt for shorter prongs and gentler airflow distribution to minimize manipulation of delicate coils.

For 3A curls, choose a diffuser with wider bowl and longer prongs to accommodate the larger curl circumference, with medium-length prongs that can reach deeper into the hair for better volume.
Essential diffuser features by curl type:
For 3A Curls:
- Wider bowl diameter for volume enhancement
- Medium to longer prongs for deeper penetration
- Universal compatibility with most hair dryers
- Multiple venting holes for controlled airflow
For 4C Curls:
- Shorter prongs to prevent excessive manipulation of delicate coils with gentler airflow distribution to minimize frizz
- Wider surface area for even heat distribution
- Compact design for better control
- Enhanced venting for consistent temperature
Popular professional options include the Dyson Supersonic diffuser for its controlled airflow, the DevaCurl DevaFuser for its 360-degree airflow, and the Xtava Black Orchid for thick, dense curls.
What’s the Essential Prep Routine Before Diffusing?
Your pre-diffusing routine can make or break your results. Skipping proper preparation is the #1 reason people experience frizz, regardless of their technique.
Start with clean, soaking wet hair and apply styling products to dripping wet hair. The “squish test” is crucial—when you scrunch your hair, you should hear a squishy noise indicating adequate moisture.

Start with clean, soaking wet hair. Apply your styling products to dripping wet hair—this is crucial for preventing frizz. The “squish test” is key: when you scrunch your hair, you should hear a squishy noise indicating adequate moisture.
Step-by-step preparation process:
- Cleanse and Deep Condition: Use sulfate-free shampoo and moisturizing conditioner
- Apply Products in Order: Heat protectant (essential for thermal protection), leave-in conditioner or lightweight curl cream for moisture, then medium to strong-hold gel to create a protective cast
- Use Praying Hands Technique: Apply products using the praying hands technique when applying products to maintain curl pattern
- Microplop Excess Water: Microplop with a microfiber towel or t-shirt to absorb excess water and speed drying time. This prevents the hair from being too waterlogged during diffusing
For 4C hair specifically, consider adding extra moisture with a leave-in conditioner before applying your gel. The extra hydration helps protect fragile coils during the heat styling process.
How Do I Master the Pixie Diffusing Method for 3A Curls?
3A curls respond beautifully to the pixie diffusing method, which enhances natural curl definition while creating volume. This technique works with your curl’s natural S-shape pattern.
The pixie diffusing method involves gathering hair ends into the diffuser bowl and pressing up toward the scalp using low speed and low-to-medium heat, holding for 20-30 seconds per section.

This technique enhances curl definition and creates volume by gathering hair ends into the diffuser bowl and pressing up toward the scalp, using low speed and low-to-medium heat, holding for 20-30 seconds then releasing.
Perfect pixie diffusing technique:
- Sectioning: Work in small to medium sections for better control
- Cupping Motion: Place curl sections gently in the diffuser bowl
- Upward Pressure: Lift toward scalp without excessive force
- Timing: Hold each section for 20-30 seconds maximum
- Heat Settings: Low speed, low-to-medium heat only
Always start with hover diffusing first. Start with hover diffusing to set the gel cast by holding diffuser 6 inches away from hair, hovering for 15 minutes to set the cast. This initial step is crucial for preventing frizz during the more intensive pixie diffusing phase.
What’s the Best Stretch Diffusing Technique for 4C Curls?
4C curls require the most specialized approach due to their fragile nature and extreme shrinkage. The stretch diffusing method is particularly beneficial for reducing shrinkage while maintaining curl integrity.
Stretch diffusing involves gently stretching a section of hair with one hand while aiming the diffuser at the stretched section, applying heat while maintaining the stretch to temporarily elongate the hair.

This technique is particularly beneficial for 4C hair as it reduces shrinkage by gently stretching a section of hair with one hand, aiming the diffuser at the stretched section, applying heat while maintaining the stretch to temporarily elongate the hair.
Step-by-step stretch diffusing:
- Section Management: Work with small sections for better control
- Gentle Stretching: Use minimal tension to avoid breakage
- Heat Application: Apply low heat while maintaining stretch
- Rotation Pattern: Move systematically around the head
- Patience: Allow 2-3 minutes per section for proper drying
For 4C curls, hover diffusing is often the gentlest approach by holding diffuser around coils without touching the hair, using low heat settings to prevent damage. This technique minimizes manipulation while still providing effective drying.
How Long Should I Diffuse Each Section for Optimal Results?
Timing is absolutely crucial for achieving perfect curl definition without over-drying. Different curl types require vastly different time investments for optimal results.
Start with 15 minutes of hover diffusing to set the cast, then cup diffuse for 20-30 seconds per section. Total diffusing time should be 35-45 minutes, aiming for 80-90% dryness.

Start with 15 minutes of hover diffusing to set the cast, cup diffuse for 20-30 seconds per section after the initial hover phase, with total diffusing time of 35-45 minutes for thorough drying. Aim for 80-90% dryness then let air dry completely.
Detailed timing breakdown:
| Phase | 3A Curls | 4C Curls | Purpose |
|---|---|---|---|
| Hover Diffusing | 15 minutes | 20 minutes | Set gel cast |
| Section Diffusing | 20-30 seconds | 2-3 minutes | Define curls |
| Total Time | 35-40 minutes | 45-60 minutes | Complete drying |
Work in small to medium sections for better control, starting with the crown and working outward for optimal volume. Never over-diffuse already dry sections as this leads to frizz and curl disruption.
What Are the 8 Most Critical Diffusing Mistakes to Avoid?
Even with the right technique, common mistakes can completely sabotage your results. Understanding these pitfalls helps you avoid the frustration of frizzy, undefined curls.
The biggest mistakes include not having enough product hold, too much water in hair, using high heat settings, and moving the diffuser too much. These errors lead to frizz, undefined curls, and potential heat damage.

Critical errors include not having enough product hold (insufficient gel leads to frizz), too much water in hair (makes drying take too long and creates frizz), using high heat settings (causes damage and frizz), and moving the diffuser too much (disrupts curl formation).
Complete list of mistakes to avoid:
- Insufficient product hold: Always use enough gel to create a protective cast
- Over-saturated hair: Remove excess water before diffusing
- High heat settings: Stick to low-medium heat maximum
- Excessive movement: Keep diffuser stable during drying
- Touching during process: Touching hair during the process breaks the protective cast
- Wrong starting technique: Starting with pixie diffusing should hover diffuse first
- Ends-first approach: Diffusing ends first should start with roots
- Incorrect angle: Pointing diffuser parallel to hair should point toward the scalp
Which Products Give the Best Diffusing Results?
Product selection can make or break your diffusing results. The right combination enhances your natural curl pattern while providing essential heat protection and hold.
For 3A curls, use lightweight leave-in conditioners and medium-hold gels. For 4C curls, choose rich curl creams, heavy oils, and strong-hold gels for deep moisture and protection.

For 3A curls, use lightweight leave-in conditioners for moisture without weight and medium-hold gels for definition and frizz control. For 4C curls, use rich curl creams and heavy oils for deep moisture and strong-hold gels for protection during diffusing.
Essential product categories by curl type:
For 3A Curls:
- Lightweight leave-in conditioners
- Curl enhancing creams for moisture and definition
- Medium-hold gels for frizz control
- Heat protectants for thermal protection
For 4C Curls:
- Butter-based products with shea and cocoa for nourishment
- Heavy oils for deep moisture retention
- Strong-hold gels for maximum protection
- Rich curl creams for hydration
Apply products in thin layers to avoid weighing down your curls. The key is building layers of protection and hold without creating heaviness that disrupts your curl pattern.
How Do I Perfect the Finishing Process After Diffusing?
The finishing touches can elevate your curls from good to great. Post-diffusing care is especially critical for maintaining definition and preventing frizz throughout the day.
Let hair cool completely before touching, then break the cast gently by scrunching with hands. Apply a small amount of hair oil for shine and use a pick to lift roots for volume.

Let hair cool completely before touching, break the cast gently by scrunching with hands, apply a small amount of hair oil to add shine and reduce frizz, and use a pick to lift roots for volume.
Complete finishing process:
- Cool Shot Setting: Use cool shot button to set curls in place
- Hands-Off Approach: Avoid touching hair until completely dry
- Cast Breaking: Scrunch out the crunch once fully dry for soft, defined curls
- Oil Application: Use lightweight oils for shine and moisture
- Volume Enhancement: Gently lift roots with a wide-tooth pick
The cool shot button is particularly important for setting your curl pattern. This final step locks in your definition and helps your curls last longer throughout the day.
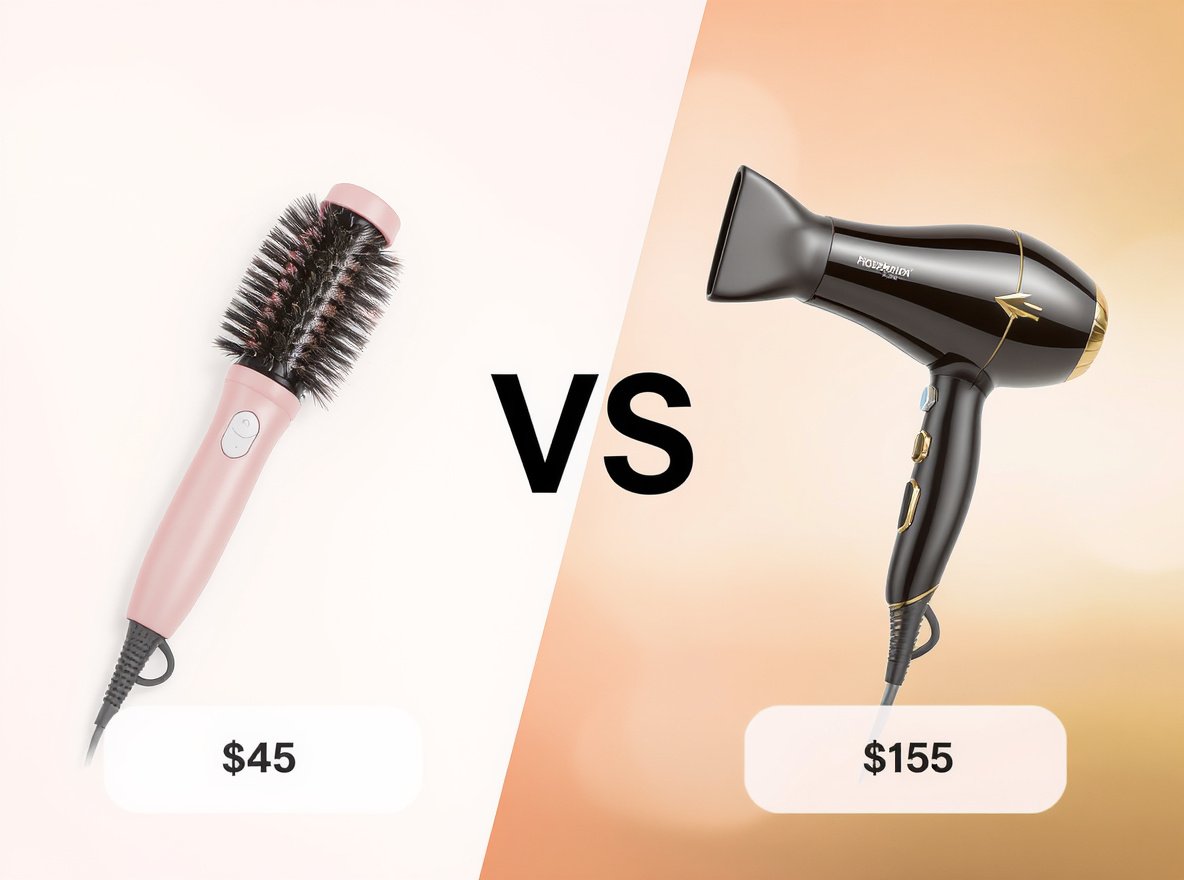
Will Any Hair Dryer Work with a Diffuser Attachment?
While most modern hair dryers can accommodate diffuser attachments, compatibility varies significantly and affects your results. The right dryer makes a substantial difference in your diffusing success.
Most hair dryers work with diffusers, but universal diffusers fit hair dryers with nozzles between 1.4 to 2.6 inches. For best results, choose a dryer with multiple heat and speed settings, a cool shot button, and ionic technology.

Most modern hair dryers can accommodate diffuser attachments, but compatibility varies. Universal diffusers fit hair dryers with nozzles between 1.4 to 2.6 inches.
Essential dryer features for optimal diffusing:
- Multiple heat and speed settings for complete customization
- Cool shot button for setting curl patterns
- Ionic technology to reduce frizz and static
- Consistent airflow for even heat distribution
- Lightweight design to reduce arm fatigue
Consider professional-grade options like the Conason P1C high-speed hair dryer, which features ionic technology and multiple heat settings specifically designed for various hair types. Its controlled airflow system helps reduce frizz while maintaining moisture—perfect for curly hair diffusing. Browse our professional diffuser-compatible hair dryers at https://conason.com/product/.
How Do I Maintain My Curls Between Washes?
Proper maintenance extends the life of your diffused curls and reduces the need for frequent restyling. This is especially important for 4C hair, which shouldn’t be washed daily.
Use the pineapple method before sleeping, sleep on silk pillowcases, and refresh with light water misting. Type 3A curls need washing once a week, while 4C curls can go up to two weeks between washes.

Use the pineapple method (gather hair high on head before sleeping) and silk pillowcases or bonnets to reduce friction. Type 3A curls should be washed once a week and refreshed every 2-3 days, while type 4C curls can be washed every 2 weeks and refreshed weekly.
Daily maintenance techniques:
- Pineapple method: Loosely gather curls at the crown before bed
- Silk protection: Use silk pillowcases or bonnets
- Light refreshing: Light water misting to reactivate products and finger coiling to redefine individual curls
- Gentle reshaping: Use praying hands method for frizz control
Use dry shampoo foam (not spray) for cleansing without stripping oils. This helps extend time between washes while maintaining scalp health and curl definition.
Summary
Mastering the art of diffusing 3A and 4C curls requires understanding your specific curl type and adjusting your technique accordingly. Start with proper preparation using the right products, choose the appropriate diffuser for your curl type, and follow the specific timing and techniques outlined for your hair pattern. Remember that patience and practice are key to achieving consistent, frizz-free results.

Ready to elevate your curl game with professional-grade equipment? Explore our range of diffuser-compatible hair dryers at https://conason.com/product/ or contact us for wholesale inquiries to help your customers achieve salon-quality results at home.