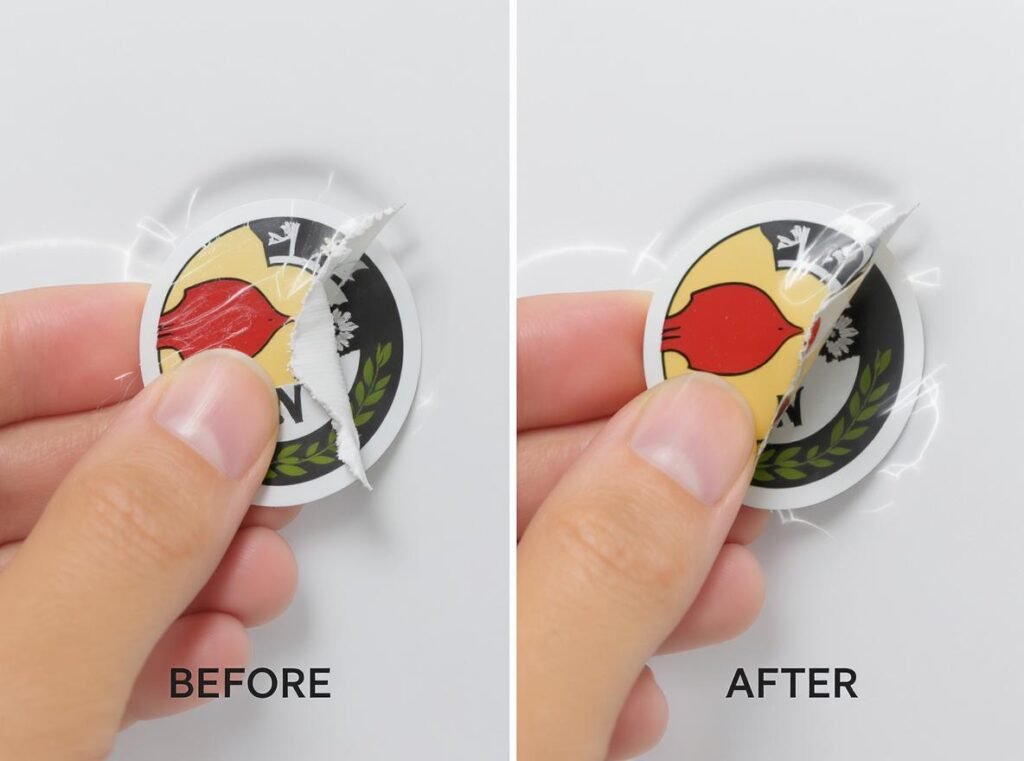
Sticky stickers leaving stubborn residue on your glass jars, furniture, or appliances? You’re not alone in this frustrating battle. Many people struggle with removing adhesive labels without damaging surfaces or leaving behind that annoying gummy mess.
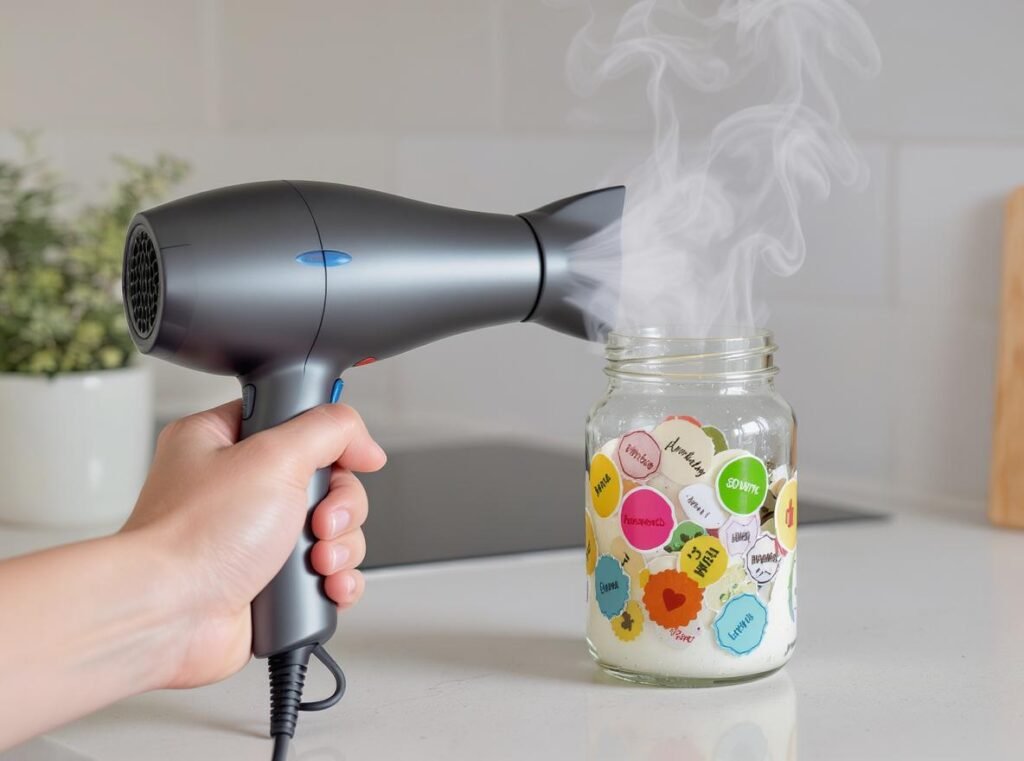
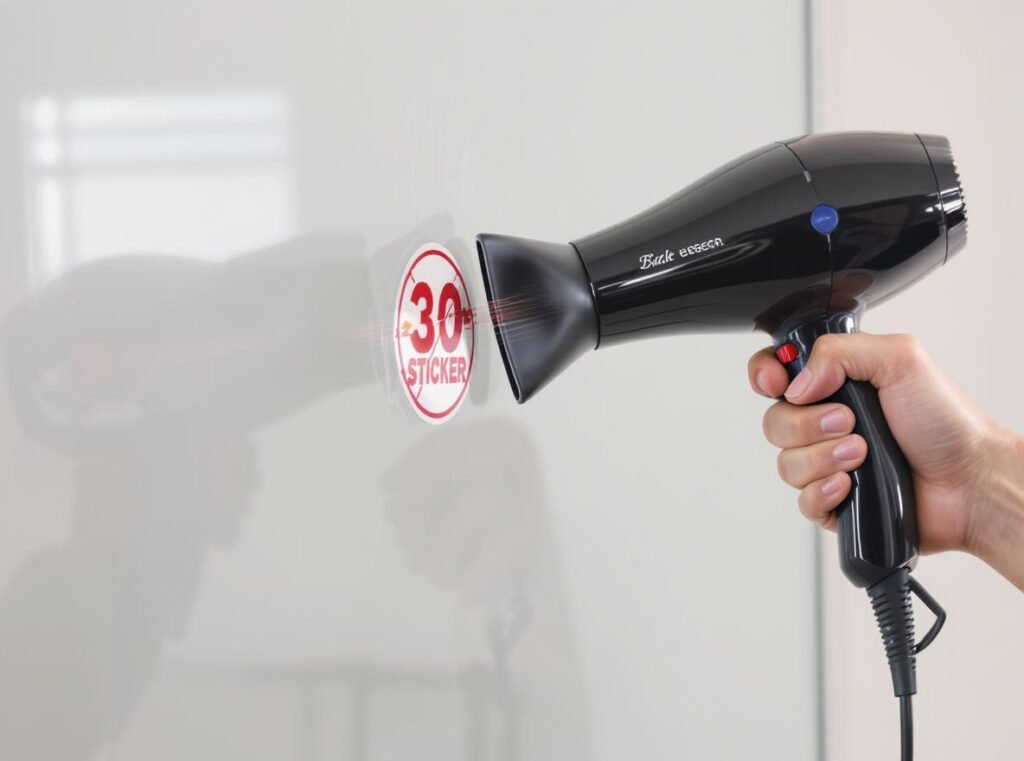
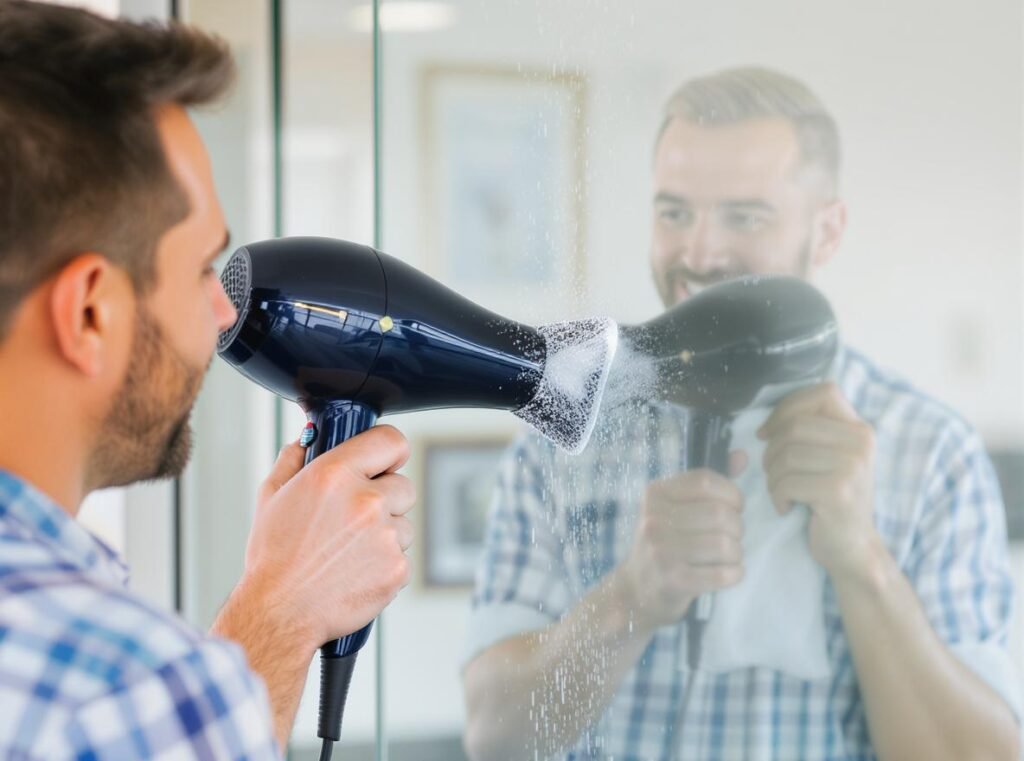
Yes, you can absolutely use your hair dryer to remove stickers effectively and safely. The heat from a hair dryer softens the adhesive, making stickers peel off easily without damaging most surfaces. This method works particularly well on glass, plastic, and metal items, offering a chemical-free solution that’s both convenient and cost-effective.
Keep reading to discover the complete guide to using your hair dryer for sticker removal, including step-by-step instructions, safety tips, and professional techniques that will save you time and frustration.
How Does Heat Help Remove Stickers?
Understanding the science behind heat-based sticker removal helps you use this method more effectively.
Heat works by softening the adhesive used on stickers. When the glue is warmed, it becomes more pliable and less sticky, allowing the sticker to be peeled away more easily and reducing the risk of tearing or leaving residue behind. This method is especially useful for stickers that have been in place for a long time or have strong adhesives.
The process is similar to warming up cold honey – heat makes sticky substances more fluid and manageable. Most sticker adhesives are thermoplastic materials that respond predictably to temperature changes.
When you apply controlled heat through a hair dryer, you’re essentially reversing the adhesive’s grip without using harsh chemicals or abrasive tools. The heat softens the adhesive compounds, reducing their bonding strength and making them easier to peel away.
Professional removal services often use this principle with specialized heat guns, but your regular hair dryer can achieve similar results for household applications. The key is applying consistent, moderate heat rather than intense bursts that might damage surfaces.
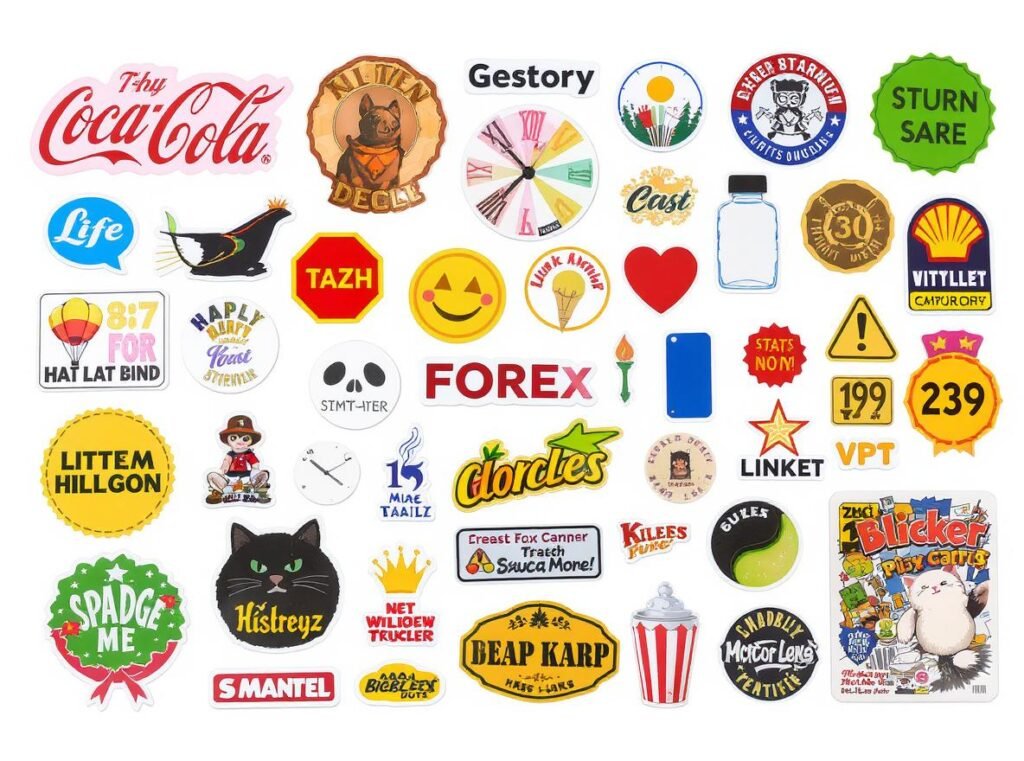
What Types of Stickers Can Be Removed With a Hair Dryer?
Not all stickers respond equally to heat treatment, so knowing which types work best helps set realistic expectations.
Hair dryers work best on vinyl stickers, paper labels, decals, temporary promotional stickers, and price tags. Most stickers with standard or removable adhesives respond well to heat, though stickers with hi-tack (permanent) adhesives may still leave some residue that can usually be cleaned afterward.
Here are the most responsive sticker types:
- Vinyl Stickers: Wall decals, bumper stickers, and decorative elements
- Paper Labels: Price tags, shipping labels, and product stickers
- Decals: Window clings, automotive decals, and temporary graphics
- Temporary Promotional Stickers: Event passes, inspection stickers, and removable labels
- Price Tags: Retail labels and adhesive pricing stickers
| Sticker Type | Heat Effectiveness | Recommended Duration | Success Rate |
|---|---|---|---|
| Vinyl Stickers | Excellent | 30-60 seconds | 90-95% |
| Paper Labels | Very Good | 30-45 seconds | 85-90% |
| Decals | Very Good | 45-60 seconds | 85-90% |
| Price Tags | Good | 30-45 seconds | 80-85% |
| Permanent Adhesives | Moderate | 60-90 seconds | 70-75% |
For stickers that are more stubborn, such as those with permanent adhesives, heat from a hair dryer is still very effective. The method works because most consumer adhesives are designed to be removable under the right conditions.
However, some industrial-grade adhesives, weatherproof stickers, or very old labels might require additional steps or alternative methods. Don’t get discouraged if the first attempt doesn’t work perfectly – sometimes multiple heat applications or combining heat with other techniques yields better results.
Which Surfaces Are Safe for Hair Dryer Heat?
Surface compatibility is crucial for successful sticker removal without damage.
Glass, metal, most types of plastic, treated wood, and heat-resistant ceramics are generally safe for hair dryer heat treatment. However, avoid using this method on electronics, untreated wood, or painted/delicate surfaces unless you test first on a small, inconspicuous area.
Safe surfaces for hair dryer sticker removal include:
- Glass: Windows, mirrors, jars, and glass containers
- Metal: Stainless steel appliances, aluminum surfaces, and metal signs
- Plastic (most types): Hard plastic containers, cases, and durable synthetic materials
- Treated Wood: Sealed wood surfaces with protective finishes
- Heat-Resistant Ceramics: Tiles, pottery, and ceramic appliances
| Surface Type | Suitability for Hair Dryer Heat | Precautions |
|---|---|---|
| Glass | Safe | None required |
| Metal | Safe | Check for painted coatings |
| Plastic (most types) | Generally safe | Avoid delicate plastics |
| Treated Wood | Usually safe | Test first on hidden area |
| Heat-Resistant Ceramics | Safe | Ensure surface is stable |
| Electronics | Not recommended | Risk of component damage |
| Untreated Wood | Not recommended | May cause warping |
| Painted/Delicate Surfaces | Use caution | Always test first |
Always test on a small, inconspicuous area first to ensure the surface won’t warp, discolor, or get damaged by heat. The general rule is: if the surface can handle the heat from a hair dryer during normal use, it’s probably safe for sticker removal.
Step-by-Step Guide: Using Your Hair Dryer to Remove Stickers
Following the proper technique ensures maximum effectiveness while protecting your surfaces.
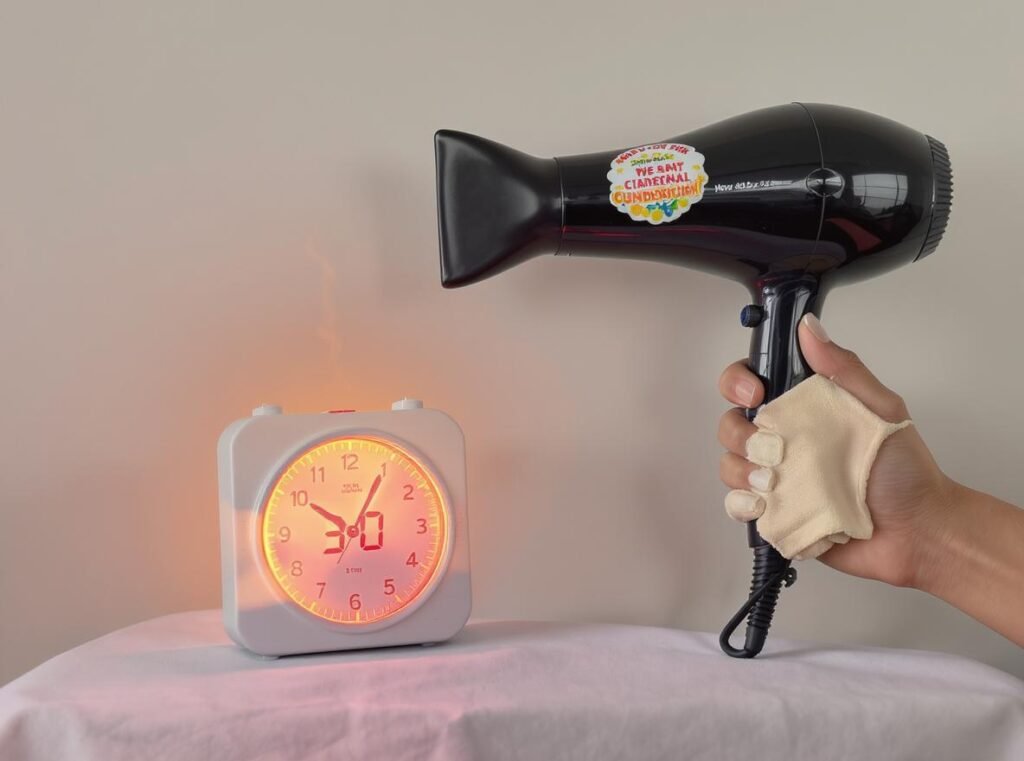
Set your hair dryer to medium or high heat and hold it 2-6 inches away from the sticker. Heat for 30-60 seconds while moving the dryer back and forth to distribute heat evenly. Test a corner of the sticker – if it peels easily, continue removing. If not, reapply heat in 30-60 second intervals.
Preparation Steps
Before starting, gather these materials:
- Hair dryer with variable heat settings
- Plastic scraper or old credit card
- Soft cloth or paper towels
- Cleaning solution (rubbing alcohol, vinegar, or soapy water)
The Complete Removal Process
- Plug in and set your hair dryer to a medium or high heat setting based on surface sensitivity.
- Position the dryer correctly: Hold the dryer 2-6 inches from the sticker. Use closer distance (2-3 inches) for tougher adhesives, farther distance (4-6 inches) for delicate surfaces.
- Apply heat systematically: Heat the sticker for 30-60 seconds, moving the dryer back and forth to distribute heat evenly and prevent overheating one spot.
- Test the sticker response: After heating, test a corner of the sticker. If it peels easily, continue. If resistance remains, reapply heat in 30-60 second intervals.
- Remove the sticker carefully: Gently peel off the sticker using your fingers or a plastic scraper. Avoid sharp tools that could damage the surface.
- Clean any residue: Remove remaining adhesive with a cloth and soapy water, rubbing alcohol, or vinegar.
Pro Tips for Success
- Work in sections for large stickers, heating and peeling progressively
- Keep the dryer moving to prevent hot spots and surface damage
- Use steady, consistent pressure while peeling to avoid tearing
- Reheat as needed if the sticker starts to resist during removal
How Long Should You Heat Stickers?
Timing is critical for effective sticker removal without surface damage.
Most stickers need 30-60 seconds of continuous heat to soften adequately. For stubborn adhesives, you may need to heat for up to 1-2 minutes, checking frequently to avoid overheating the surface. Always start with shorter intervals and gradually increase based on the sticker’s response.
Recommended Heating Times by Application
| Sticker Category | Initial Heat Time | Maximum Heat Time | Best Heat Setting |
|---|---|---|---|
| Fresh Paper Labels | 30-45 seconds | 60 seconds | Medium |
| Vinyl Stickers | 30-60 seconds | 90 seconds | Medium-High |
| Old Price Tags | 45-60 seconds | 90 seconds | High |
| Permanent Adhesives | 60-90 seconds | 120 seconds | High |
| Delicate Surfaces | 30-45 seconds | 60 seconds | Medium |
Signs that heating time is adequate:
- Sticker edges start to lift naturally
- Surface feels warm but not burning hot
- Adhesive appears slightly glossy or wet
- Corner peels away easily when tested
If you notice any surface discoloration, warping, or excessive heat buildup, stop immediately and let the area cool before continuing with a gentler approach. Remember that patience yields better results than rushing with excessive heat.
What to Do If Sticker Residue Remains?
Sometimes heating alone isn’t enough to achieve completely clean removal.
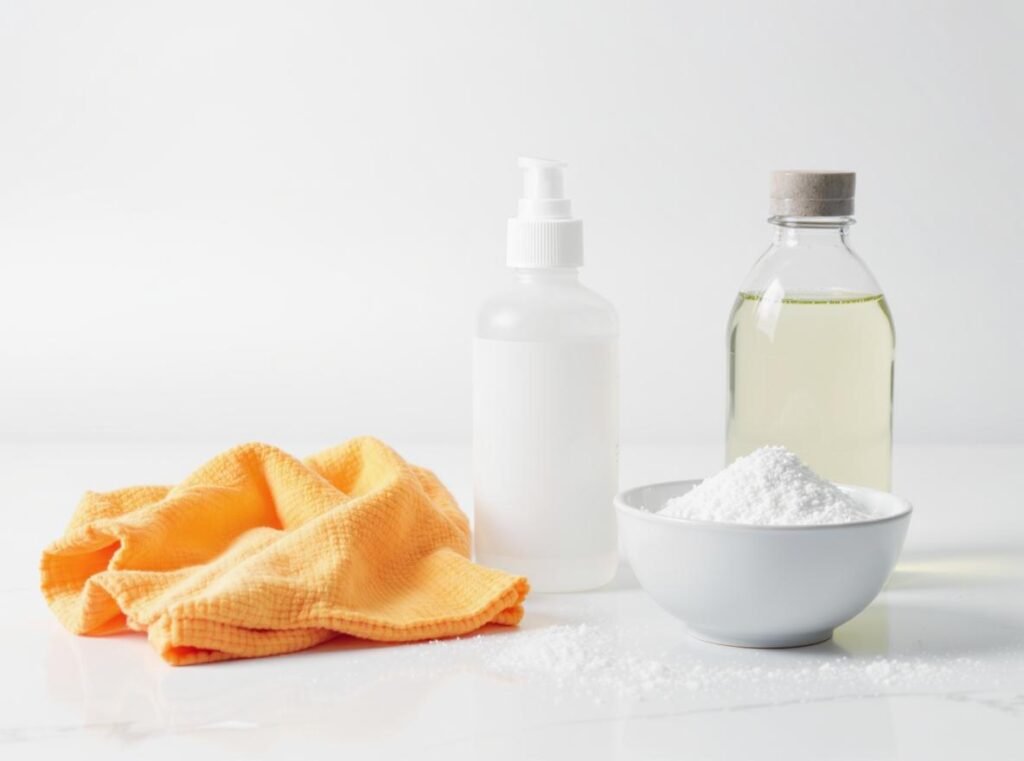
For remaining adhesive residue, try wiping with rubbing alcohol or window cleaner first. For stubborn spots, use warm soapy water and a soft cloth, or try vinegar or a baking soda paste. Always test cleaning agents on a hidden area first to avoid damaging the surface.
Effective Residue Removal Methods
Rubbing Alcohol Method:
- Apply rubbing alcohol to a soft cloth
- Gently rub the residue in circular motions
- Wipe clean with a damp cloth
- Works excellent on glass and metal surfaces
Vinegar Solution:
- Mix equal parts white vinegar and warm water
- Apply with a cloth and let sit for 5 minutes
- Gently scrub and wipe clean
- Natural and safe for most surfaces
Baking Soda Paste:
- Mix baking soda with small amount of water
- Apply paste to residue and let sit for 10 minutes
- Scrub gently with soft cloth
- Rinse thoroughly with clean water
| Cleaning Method | Best For | Effectiveness | Safety Level |
|---|---|---|---|
| Rubbing Alcohol | Glass, Metal | Excellent | High |
| Vinegar Solution | Most Surfaces | Very Good | Very High |
| Soapy Water | Delicate Surfaces | Good | Very High |
| Baking Soda Paste | Tough Residue | Very Good | High |
| Commercial Removers | Stubborn Adhesives | Excellent | Medium |
For glass surfaces, you can also try window cleaner or commercial glass cleaners for final polishing. Always clean thoroughly after using any removal method to ensure no residue from cleaning products remains.
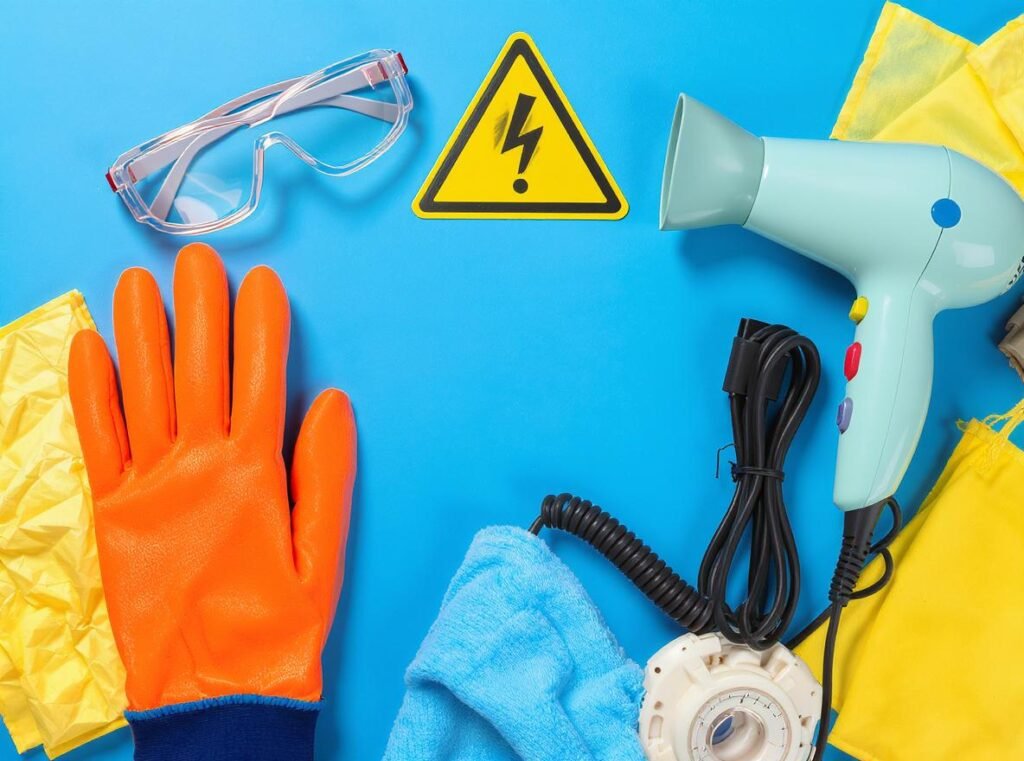
Safety Precautions When Using Hair Dryers for Sticker Removal
Safety should always be your top priority when using electrical appliances for unconventional purposes.
Keep flammable materials away from your work area and wear gloves and safety goggles to protect from hot air and debris. Don’t point the dryer at skin or allow it to overheat one spot for too long. Avoid using on electronics or heat-sensitive materials, and always test heat on a small area before proceeding.
Essential Safety Guidelines
Electrical Safety:
- Check that your hair dryer is in good working condition
- Ensure the cord has no damage or fraying
- Keep the device away from water and wet surfaces
- Use a GFCI outlet if working in kitchens or bathrooms
Heat Safety:
- Never touch heated surfaces immediately after treatment
- Allow cooling time between heating sessions
- Keep the hair dryer moving to distribute heat evenly
- Don’t exceed manufacturer’s recommended continuous use time
Personal Protection:
- Wear gloves to protect hands from hot surfaces
- Use safety goggles if debris might fly during removal
- Keep fingers away from the heating element
- Maintain good posture to avoid fatigue during extended use
Surface Protection:
- Test heat tolerance on hidden areas first
- Watch for signs of surface damage during heating
- Stop immediately if you notice discoloration or warping
- Have a cool, damp cloth ready for emergency cooling
When to Stop and Seek Alternatives
Discontinue the hair dryer method if you notice:
- Surface bubbling, warping, or discoloration
- Excessive heat buildup that doesn’t dissipate
- Electrical issues with the hair dryer
- No progress after multiple attempts
- Any signs of surface damage
Alternative Methods vs. Hair Dryer Approach
Understanding how hair dryer removal compares to other methods helps you choose the best approach for your situation.
The hair dryer method is generally the quickest and cleanest approach for glass, metal, and plastic surfaces. It offers fast, effective results with minimal mess, though it’s not suitable for heat-sensitive surfaces where alternative methods may be necessary.
Comprehensive Method Comparison
| Method | Pros | Cons | Best For |
|---|---|---|---|
| Hair Dryer | Fast, effective, minimal mess | Not for heat-sensitive surfaces | Glass, metal, plastic |
| Heat Gun | More powerful for tough adhesives | Can damage delicate surfaces | Industrial applications |
| Warm Water | Gentle, safe for some materials | Not suitable for electronics/metal | Water-safe surfaces |
| Rubbing Alcohol/Vinegar | Effective on many adhesives | May require scrubbing, test first | Residue removal |
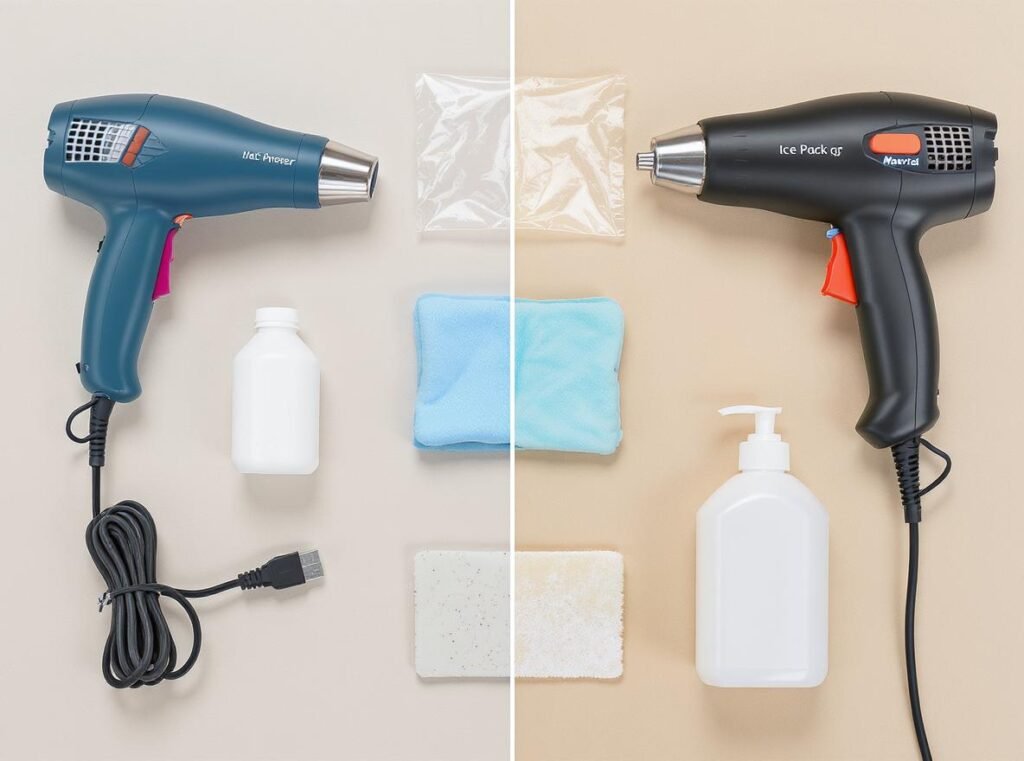
| Ice/Cold Pack | Good for delicate/painted/wood | Slower, less effective on strong glue | Heat-sensitive items |
Advantages of Hair Dryer Method:
- No chemical exposure or fumes
- Precise temperature control available
- Most households already own one
- Works on multiple surface types
- Minimal risk of surface damage when used correctly
When to Consider Alternatives:
- Heat Gun: For large-scale projects or industrial adhesives
- Chemical Solvents: For very old or weatherproof stickers
- Cold Methods: For heat-sensitive surfaces like painted walls
- Professional Services: For valuable or delicate antique items
The hair dryer method excels as a first-line approach because it’s safe, accessible, and effective for the majority of household sticker removal tasks.
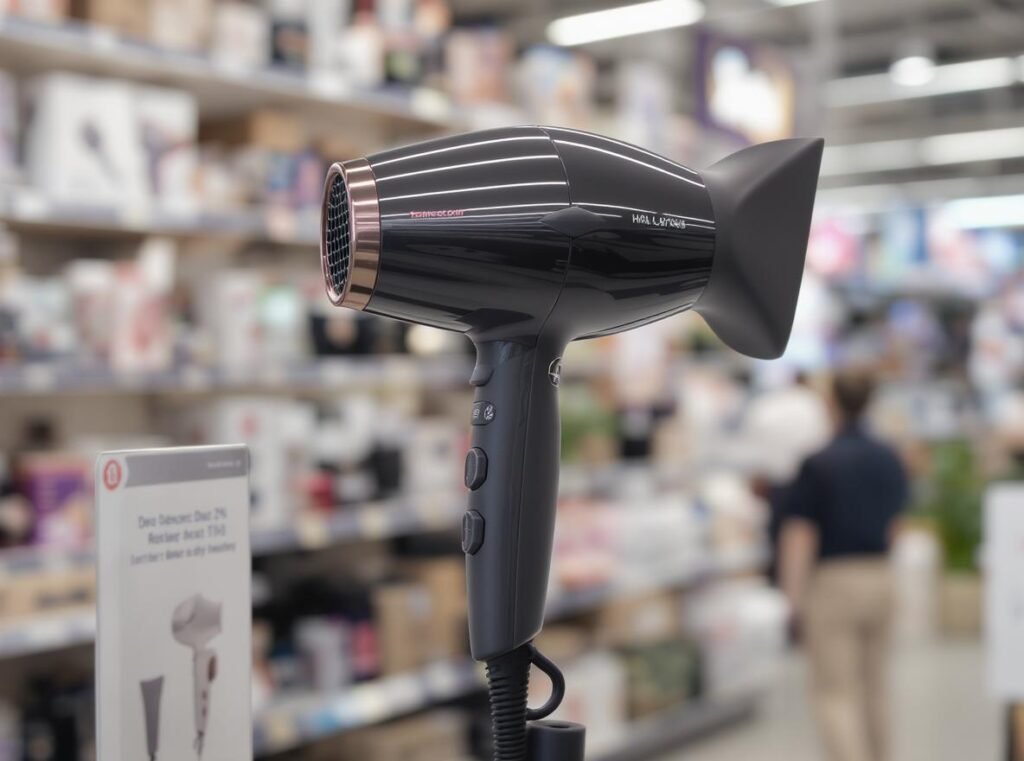
Professional Tips for Wholesale Buyers
For businesses in the beauty and appliance industry, understanding versatile product applications can enhance customer value and satisfaction.
Choose hair dryers with variable heat settings and precise temperature controls for optimal sticker removal performance. Features like ionic technology, ceramic heating elements, and ergonomic designs provide better results for both hair styling and household utility applications.
Key Features for Dual-Purpose Applications
When sourcing hair dryers for retail, consider these features that enhance both hair styling and household utility:
- Variable Heat Settings: Allow users to match temperature to surface sensitivity
- Precise Temperature Control: Prevents accidental overheating and surface damage
- Ionic Technology: Provides more consistent heat distribution for better results
- Ceramic Heating Elements: Offer even heat distribution and longer lifespan
- Ergonomic Design: Reduces user fatigue during extended household applications
- Safety Features: Auto shut-off and overheating protection for peace of mind
Market Opportunities and Customer Education
Wholesale Business Advantages:
- Highlight versatility in product descriptions and marketing materials
- Include household application tips in user manuals and packaging
- Create content marketing around alternative uses to differentiate products
- Appeal to budget-conscious consumers seeking multi-purpose tools
Customer Education Strategies:
- Provide comprehensive safety guidelines for non-traditional uses
- Include temperature recommendations for different surface applications
- Offer troubleshooting tips for various household scenarios
- Create video demonstrations of proper techniques for maximum effectiveness
For retailers and distributors, the Conason P1C high-speed hair dryer exemplifies the quality and versatility that modern consumers demand. Its advanced temperature control, durable construction, and professional-grade performance make it ideal for both salon-quality styling and effective household applications.
The growing trend toward multi-functional appliances represents significant market potential. Consumers increasingly appreciate products that provide value beyond their primary purpose, making this an excellent selling point for wholesale buyers.
Troubleshooting Common Issues
Even with proper technique, you might encounter challenges during sticker removal.
The most common issues include stickers that won’t peel, stickers that tear during removal, surface heat damage, and residue that remains after removal. Most problems stem from inadequate heating time, excessive heat application, or using the wrong technique for the surface type.
Comprehensive Problem-Solution Guide
Sticker Won’t Peel After Heating:
- Apply more heat in short intervals rather than one long session
- Try a higher heat setting if the surface can tolerate it
- Heat from multiple angles to ensure even adhesive softening
- Use a plastic scraper to gently lift corners and edges
Sticker Tears During Removal Process:
- Slow down the peeling process significantly
- Apply additional heat to remaining sections before continuing
- Use steady, consistent pressure rather than quick jerking motions
- Work in smaller sections rather than trying to remove the entire sticker at once
Surface Shows Heat Damage:
- Stop immediately and allow the area to cool completely
- Reduce heat setting for any future attempts
- Increase distance between hair dryer and surface
- Consider switching to alternative removal methods for that surface type
Residue Remains After Sticker Removal:
- Reapply brief heat to soften remaining adhesive
- Use appropriate cleaning solutions (alcohol, vinegar, or commercial removers)
- Try the ice/cold method for stubborn spots as an alternative approach
- Clean thoroughly after residue removal to prevent attracting dirt
Prevention Strategies for Better Results
- Always test removal techniques on inconspicuous areas first
- Start with lower heat settings and shorter durations, increasing gradually
- Keep the hair dryer moving constantly to prevent hot spots
- Have backup removal methods ready before starting
- Document successful techniques for future reference on similar materials
Understanding these common issues and their solutions helps ensure successful sticker removal while protecting your valuable surfaces and achieving professional-quality results.
Summary
Using a hair dryer to remove stickers is an effective, safe, and convenient method that works well on most surfaces. The heat softens adhesive bonds, making removal easier without harsh chemicals or aggressive scraping. Success depends on proper technique, appropriate timing, and understanding surface limitations.
Ready to upgrade your hair dryer for both professional styling and versatile household applications? Our premium hair dryers are designed with the precision and durability that wholesale buyers demand. Explore our complete product collection or discover the advanced features of our P1C high-speed hair dryer – perfect for retailers seeking quality appliances that deliver exceptional value to customers. Contact us today to discuss wholesale opportunities and find the right products for your market.