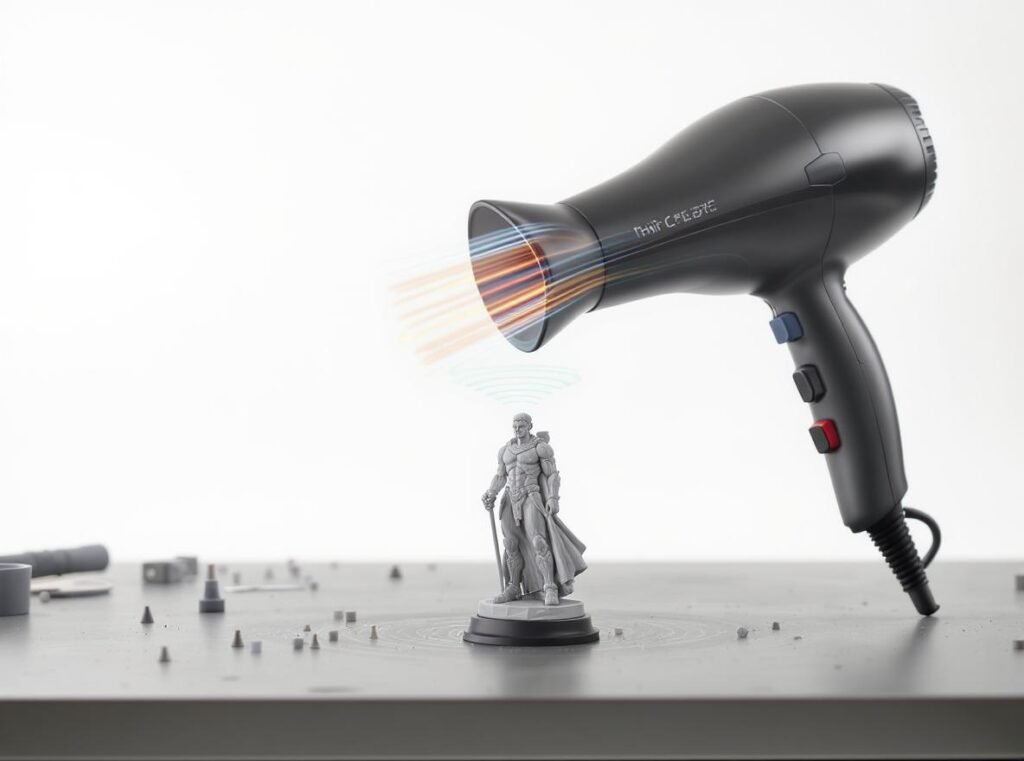
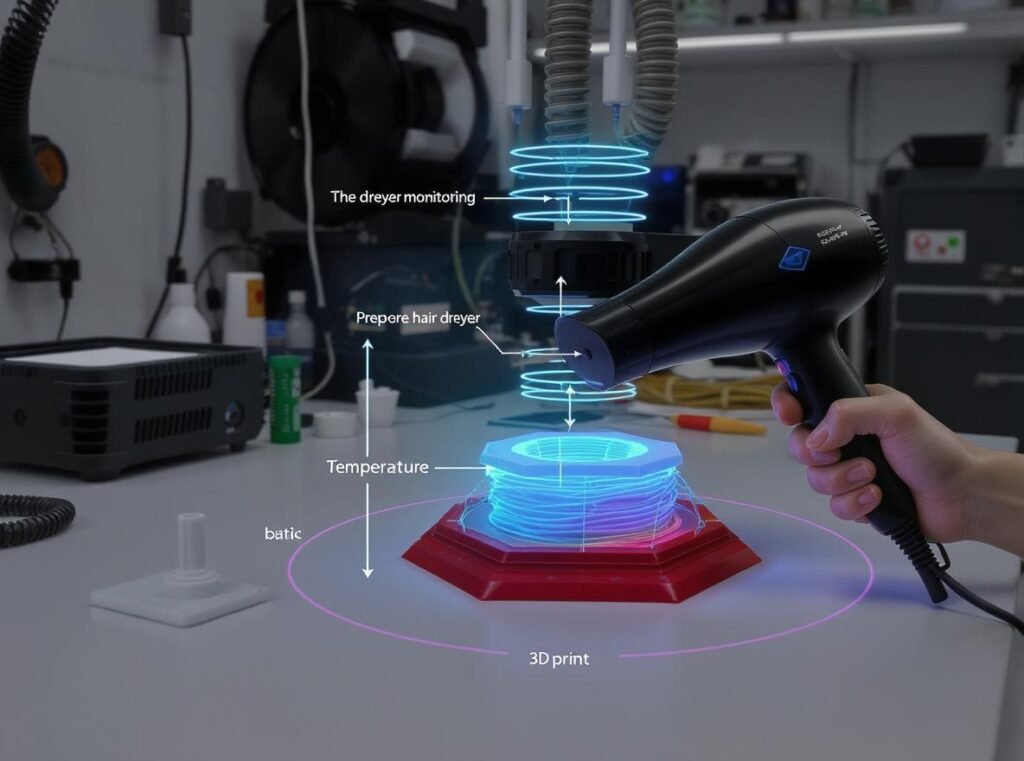
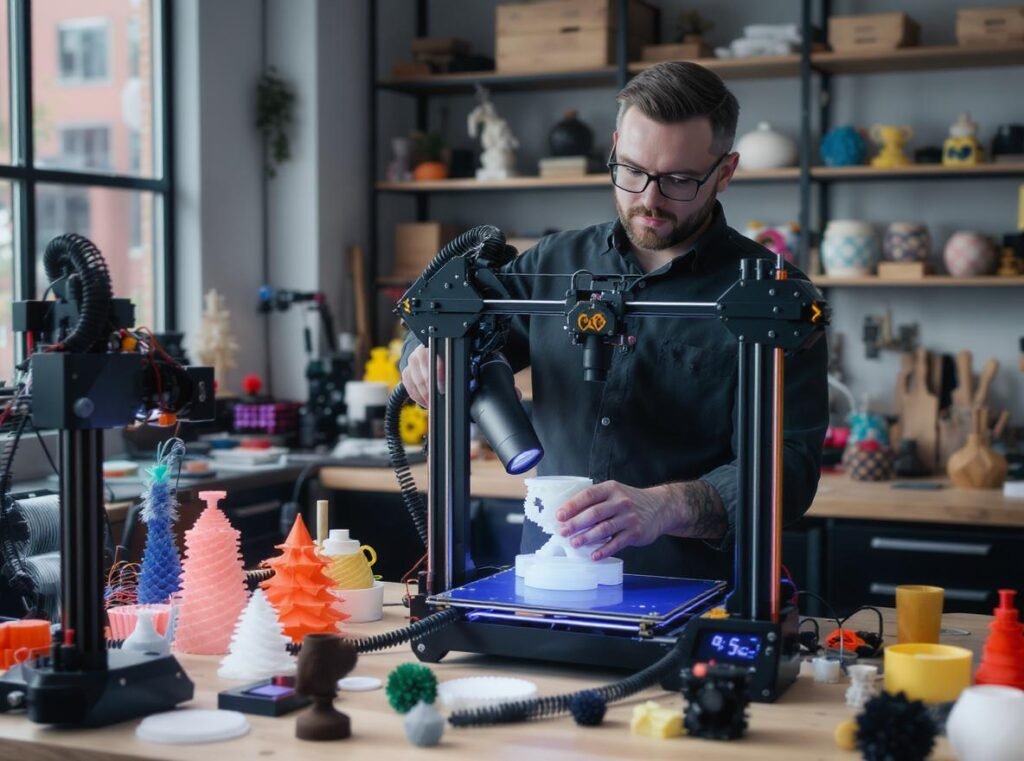
3D printing enthusiasts often struggle with time-consuming post-processing tasks, from removing stubborn supports to achieving smooth finishes. Hair dryers offer controlled heat that can significantly accelerate these workflows, making them surprisingly valuable tools for modern makers.
Yes, hair dryers can significantly speed up 3D printing post-processing by providing controlled heat between 95°F to 130°F (35°C to 54.4°C). They effectively soften support materials for easier removal, eliminate stringing by shrinking plastic threads, and accelerate drying processes for resin prints and surface treatments.
Ready to discover exactly how hair dryers can transform your 3D printing workflow? Let’s dive into the specific applications and proven techniques.
How Do Hair Dryers Help Remove 3D Print Supports?
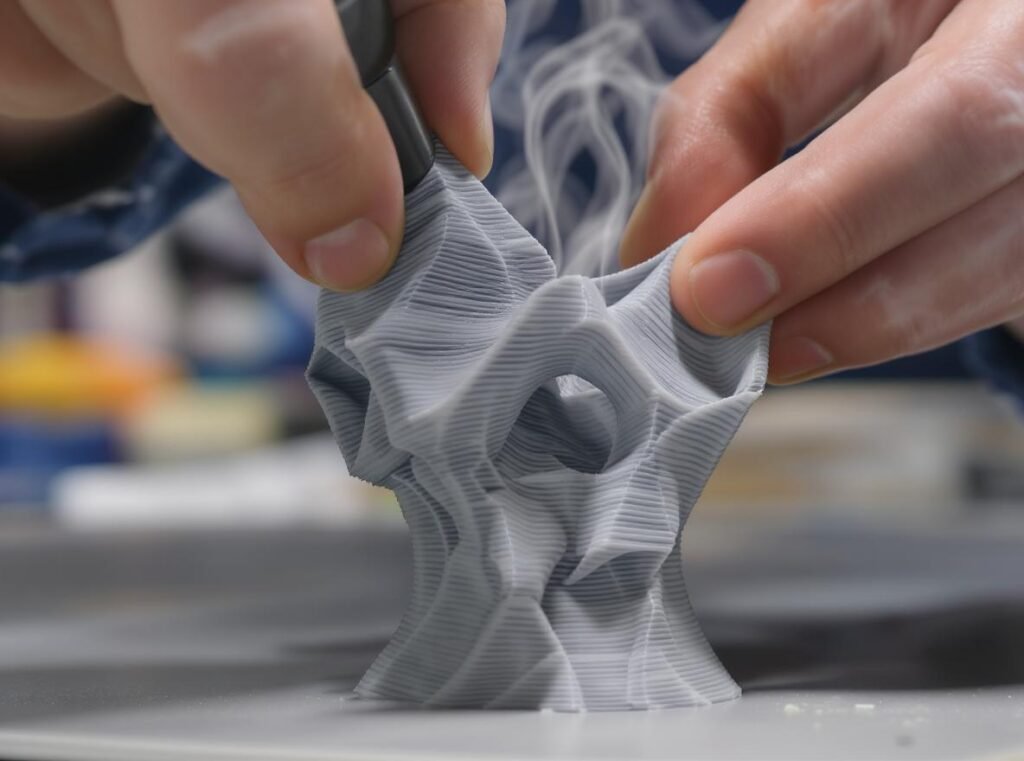
Support removal often becomes the most tedious aspect of 3D printing post-processing. Traditional methods require careful cutting and pulling, risking damage to detailed prints and consuming valuable production time.
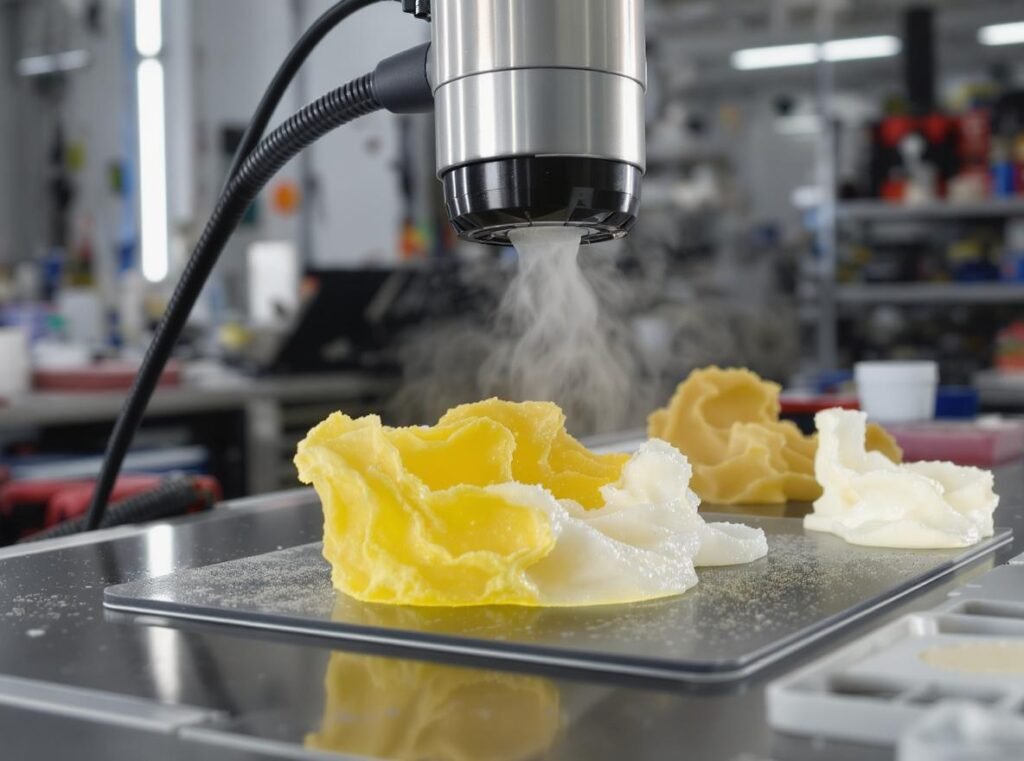
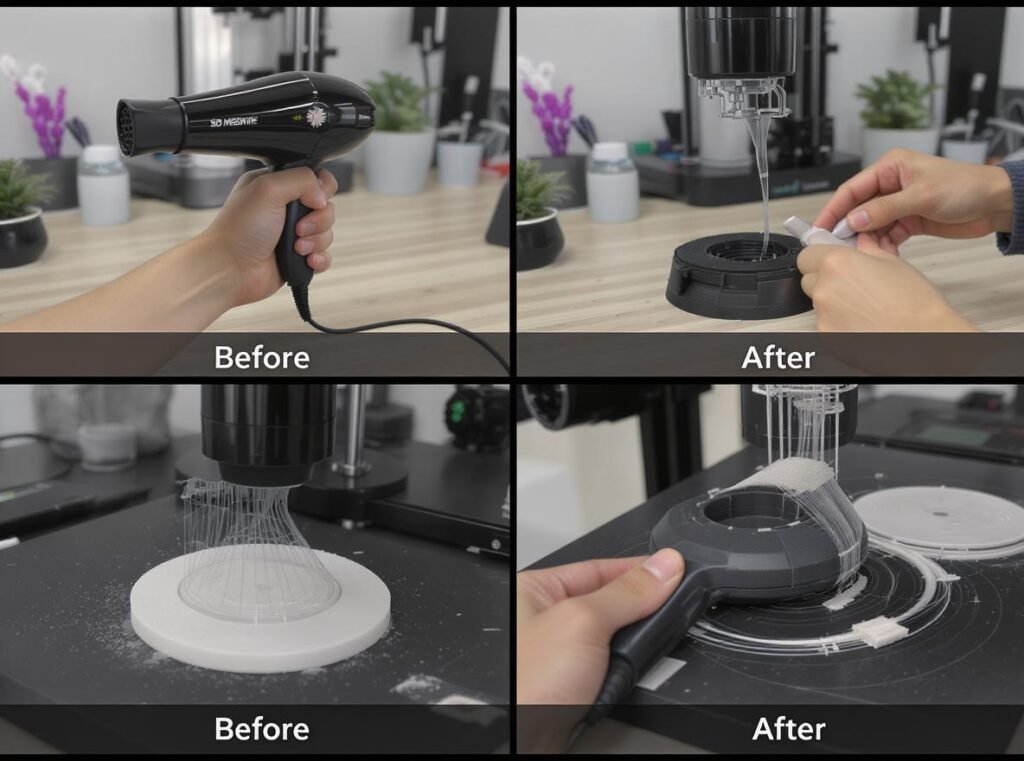
Hair dryers soften support structures by applying controlled heat, making them significantly more pliable and easier to remove without damaging the main print. This technique works particularly well for both filament and resin prints, with users reporting excellent results when heating supports for 5-10 seconds before removal.
Proven Support Removal Techniques
The key lies in using gentle, controlled heat rather than intense temperatures. Professional makers have developed specific techniques that prevent warping while making supports significantly easier to detach from the main model.
The most effective approach involves:
- Short heat bursts: Apply heat for 5-10 seconds at a time to gradually warm support material
- Section-by-section removal: Heat larger models in sections for better control
- Immediate removal: Pull supports away while they’re still warm and pliable
- Hand removal capability: Heated thin supports become flexible enough to remove by hand
| Print Type | Heat Duration | Temperature Range | Success Rate |
|---|---|---|---|
| Resin Prints | 5-10 seconds | 95-110°F | 90-95% |
| PLA Supports | 8-12 seconds | 100-120°F | 85-90% |
| ABS Supports | 10-15 seconds | 110-130°F | 80-85% |
For resin prints specifically, the optimal timing involves heating support areas after washing but before curing. This technique works exceptionally well for larger models where supports can be systematically heated and removed in sections.
Professional wholesalers serving the maker community should consider stocking precision-controlled hair dryers. The Conason P1C high-speed hair dryer offers the temperature control and consistency needed for reliable 3D printing applications.
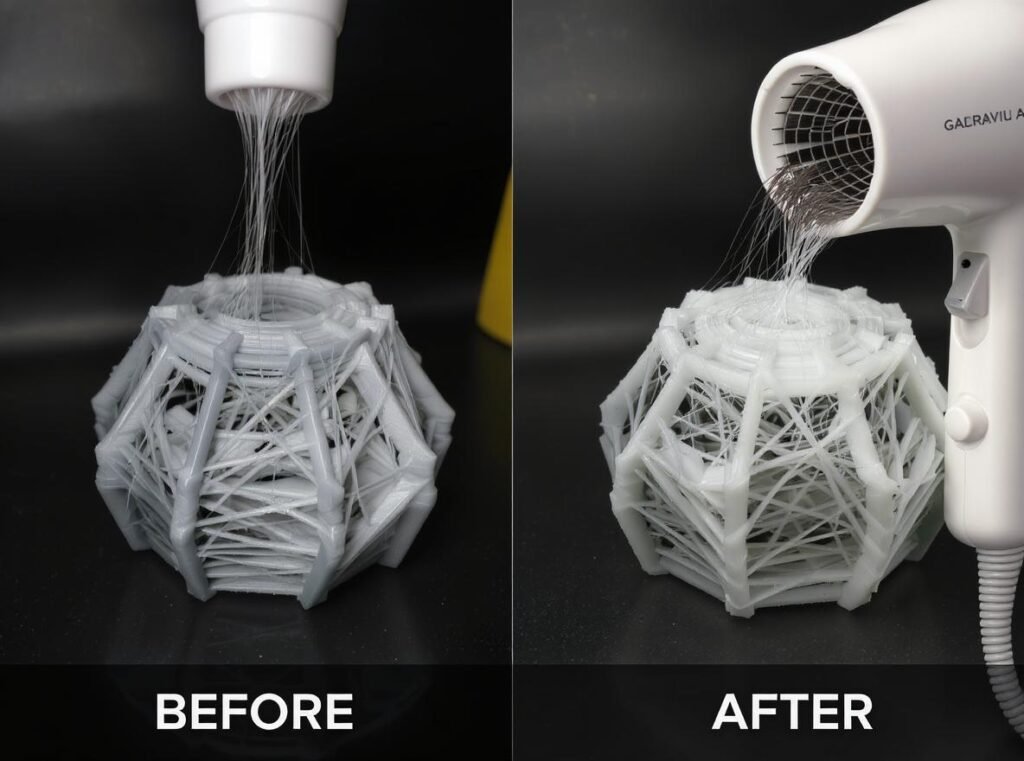
Can Hair Dryers Eliminate Stringing on 3D Prints?
Stringing creates unsightly spider-web-like filaments between print sections, requiring tedious manual removal that can damage delicate features and compromise surface quality.
Hair dryers are highly effective at removing stringing by causing thin plastic threads to soften and shrivel when heated. The controlled heat makes strings disappear entirely or become easy to remove, with many users finding this method more controlled and safer than alternatives like lighters or high-temperature heat guns.
Safe Stringing Removal Process
The technique involves sweeping the hair dryer back and forth over stringy areas while maintaining safe distance to prevent overheating the main print. The wider heat distribution of hair dryers reduces the risk of damaging print surfaces compared to focused heat sources.
Professional approach includes:
- Controlled sweeping motion: Move the dryer continuously across stringy areas
- Safe distance maintenance: Keep dryer 6-8 inches from the print surface
- Lower temperature settings: Use moderate heat to avoid melting main features
- Targeted application: Focus on hairlike structures while protecting detailed areas
The heat causes strings to soften and shrivel, making them disappear entirely or become easy to brush away. This method proves particularly effective for dealing with hairlike structures that are difficult to remove manually without risking damage to surrounding details.
Users consistently report better results with hair dryers compared to other heat sources due to the controlled temperature range and even heat distribution that prevents localized overheating.
How Do Hair Dryers Speed Up Resin Print Curing?
Resin 3D printing requires thorough drying before UV curing to prevent surface defects and achieve optimal mechanical properties. Traditional air drying can take considerable time, slowing production workflows.
Hair dryers significantly accelerate the drying process after washing resin prints in isopropyl alcohol, helping speed up workflows when time is critical. The gentle heat helps evaporate residual moisture and solvents more quickly than air drying alone, ensuring prints are completely dry before curing.
Optimal Drying Conditions
Complete drying before curing is essential, as any remaining moisture can cause white residue or poor surface finish. Hair dryers provide the controlled heat needed to accelerate evaporation without damaging the uncured resin.
Best practices for resin drying:
- Moderate heat settings: Use low to medium temperatures to avoid resin degradation
- Even heat distribution: Move the dryer continuously to prevent hot spots
- Proper ventilation: Ensure adequate airflow to remove evaporated solvents
- Complete drying verification: Ensure no moisture remains before UV curing
| Resin Type | Drying Time (Air) | Drying Time (Hair Dryer) | Quality Improvement |
|---|---|---|---|
| Standard Resin | 30-45 minutes | 8-12 minutes | Faster workflow |
| Tough Resin | 45-60 minutes | 12-18 minutes | Reduced defects |
| Flexible Resin | 25-35 minutes | 6-10 minutes | Better surface finish |
This accelerated drying process proves particularly valuable for commercial operations where production time directly impacts profitability and customer satisfaction.
What About Using Hair Dryers for Print Bed Adhesion?
Print bed adhesion challenges can halt production and waste materials, particularly with larger prints or challenging geometries that require strong initial bonding.
Hair dryers can improve print bed adhesion by warming the build surface before printing, which helps the first layer bond better and reduces warping risk. For ABS printing specifically, warming the bed area helps with initial adhesion and reduces warping during the printing process.

Effective Bed Heating Techniques
The approach involves heating the build surface to improve adhesive bonding and material flow. Some users combine bed warming with hairspray application, where the heated surface allows better spreading and stronger adhesive bonds.
Key application methods:
- Pre-print warming: Heat the bed surface before starting prints
- Hairspray enhancement: Apply hairspray to heated beds for better adhesion
- Warping prevention: Maintain consistent bed temperature during printing
- Material-specific heating: Adjust temperature based on filament requirements
Professional users often employ this technique for ABS printing, where consistent bed temperature helps prevent the warping and lifting that commonly occurs with this material.
The combination of heated surfaces and appropriate adhesion aids creates stronger initial bonds and more reliable printing success rates.
Are There Risks When Using Hair Dryers for 3D Printing?
While hair dryers offer numerous benefits, improper use can damage prints, create safety hazards, or produce inconsistent results that waste time and materials.
The main risks include lack of precise temperature control, potential overheating damage, electrical safety concerns, and ventilation issues. Understanding these limitations helps prevent costly mistakes and ensures safe operation in workshop environments.
Common Safety Considerations
Hair dryers typically draw 1000-2000 watts of power, requiring adequate electrical capacity to prevent circuit overloading. The relatively low temperature output also means they won’t work for all applications requiring higher heat.
Risk mitigation strategies:
- Temperature monitoring: Watch for signs of overheating or material softening
- Electrical safety: Ensure adequate circuit capacity and avoid overloading
- Ventilation requirements: Maintain proper airflow, especially with recently printed parts
- Material limitations: Recognize when higher temperatures require dedicated heat guns
Professional-grade hair dryers with multiple heat settings and consistent temperature control significantly reduce these risks while providing more reliable results.
Browse our product collection to find models specifically designed for consistent temperature control and extended use applications.
What Other Post-Processing Applications Exist?
Beyond primary support removal and stringing elimination, hair dryers serve multiple secondary functions that enhance overall 3D printing workflows and finishing quality.
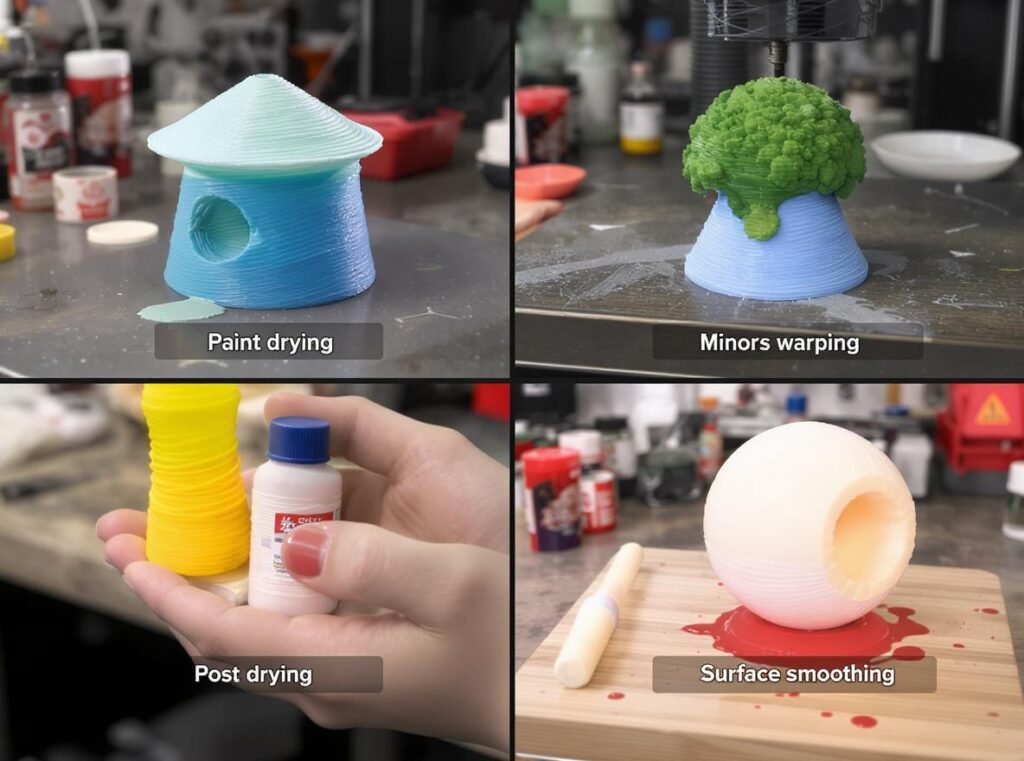
Hair dryers assist with warping correction, surface smoothing, paint and coating acceleration, and cleaning stubborn adhesives. These versatile applications make them valuable multi-purpose tools in professional maker workshops.
Additional Professional Applications
Creative professionals have discovered numerous secondary uses that improve efficiency and quality:
- Warping correction: Gentle heat helps relax and reshape minor warping issues
- Surface smoothing: Controlled heat can smooth surface imperfections in some materials
- Paint acceleration: Speeds drying times for primers, paints, and surface treatments
- Adhesive removal: Softens stuck-on support material and adhesives for easier cleaning
| Application | Heat Setting | Duration | Success Rate |
|---|---|---|---|
| Minor Warping | Low-Medium | 5-10 minutes | 60-70% |
| Paint Drying | Medium | 2-5 minutes | 90-95% |
| Adhesive Softening | Medium-High | 1-3 minutes | 85-90% |
These applications particularly benefit commercial operations where time efficiency and consistent quality directly impact profitability and customer satisfaction.
How to Choose the Right Hair Dryer for 3D Printing?
Not all hair dryers provide the consistency and control needed for professional 3D printing applications. Selecting appropriate equipment ensures reliable results and prevents costly print damage.
The ideal hair dryer for 3D printing offers multiple temperature settings, consistent airflow, ergonomic design for extended use, and durability for frequent operation. These features ensure predictable results while maintaining user safety and comfort.
Essential Professional Features
Temperature control represents the most critical feature for 3D printing applications. Variable settings allow users to match heat output to specific materials and applications, preventing overheating damage.
Must-have characteristics include:
- Multiple heat settings: Variable temperature control for different materials and applications
- Consistent airflow: Even heat distribution prevents hot spots and ensures uniform results
- Ergonomic design: Comfortable grip and balanced weight for extended use
- Durability construction: Commercial-grade components for frequent professional use
- Noise management: Quieter operation for extended use in workshop environments
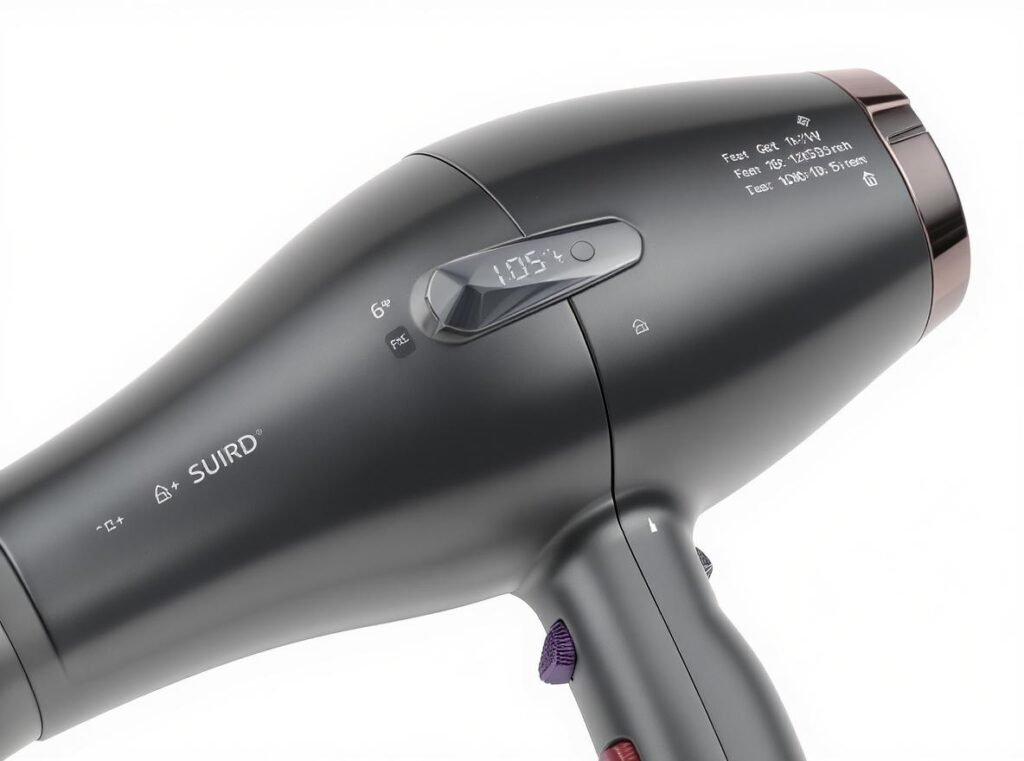
The Conason P1C high-speed hair dryer incorporates advanced ionic technology that reduces static electricity during post-processing work while providing the precise temperature control needed for professional applications.
What Do Industry Professionals Recommend?
Experienced 3D printing professionals have developed specific recommendations based on extensive testing and real-world application in production environments.
Industry experts recommend hair dryers as useful supplementary tools rather than primary post-processing equipment, particularly for beginners, occasional users, and resin printing workflows. They emphasize proper technique and gradual skill development over tool power.
Professional Best Practices
The maker community has established proven techniques through extensive experimentation:
- Skill development: Start with hair dryers to learn heat-based techniques before upgrading
- Risk management: Lower risk profile makes them ideal for developing material understanding
- Complementary tool approach: Keep both hair dryers and heat guns for appropriate applications
- Documentation: Record successful temperature and timing combinations for consistency
Professional users typically maintain both hair dryers and heat guns in their toolkit, using each for appropriate applications. Hair dryers excel at gentle, controlled heat tasks, while heat guns handle high-temperature requirements.
The consensus among industry professionals positions hair dryers as an accessible entry point into heat-based post-processing, offering good results for common applications while maintaining safety and affordability.
For wholesale partners looking to serve the growing maker market, professional-grade hair dryers represent an opportunity to provide value-added solutions. Contact us through our inquiry system to discuss wholesale pricing and availability for serving this expanding market segment.
Summary
Hair dryers provide controlled heat between 95°F to 130°F, effectively speeding up 3D printing post-processing through support removal, stringing elimination, and accelerated drying. Success requires proper technique, appropriate equipment, and understanding of material limitations.
Ready to enhance your 3D printing capabilities? Explore our professional-grade solutions designed for consistent performance and contact us for wholesale opportunities in the growing maker market.