Skip to content
Your expensive hair dryer just stopped working, and you’re wondering whether to grab your toolbox or call a repair service. With professional repairs costing $48-300, this decision significantly impacts your budget and business operations.
Many basic hair dryer problems can be safely repaired at home, potentially saving $50-300 in professional costs. Simple issues like clogged filters, blown thermal fuses, and loose connections are DIY-friendly. However, motor replacement, internal wiring repairs, and any situation involving burning smells or sparking requires professional expertise for safety.
Understanding which repairs you can handle yourself versus when to call professionals protects both your investment and your safety.
What Hair Dryer Problems Can I Actually Fix Myself?
Most hair dryer malfunctions stem from preventable maintenance issues or simple component failures. These common problems often have straightforward solutions that don’t require professional expertise.
The most DIY-friendly hair dryer repairs include cleaning clogged air intake filters, replacing blown thermal fuses, resetting GFCI plugs, tightening loose switch connections, and replacing basic heating elements. These repairs typically cost under $50 in parts and require only basic tools.
Won’t Turn On – The Most Common Issue
Power failures represent the majority of hair dryer problems, but most causes have simple solutions you can handle at home.
Check Power Supply Issues First
Before disassembling anything, verify the outlet works with other devices. Test different outlets throughout your home to eliminate electrical supply problems.
GFCI Reset Requirements
Many hair dryers feature GFCI protection built into the plug. Press the reset button on the plug, check bathroom outlets, or reset circuit breakers as needed.
Blown Thermal Fuses
Overheating commonly blows thermal fuses, causing complete power failure. These safety devices cost $5-15 and prevent fire hazards when hair dryers overheat.
| Problem Type | Repair Difficulty | Parts Cost | Time Required |
|---|---|---|---|
| Power supply check | Beginner | $0 | 5 minutes |
| GFCI reset | Beginner | $0 | 2 minutes |
| Thermal fuse replacement | Intermediate | $5-15 | 30-45 minutes |
| Switch connection repair | Intermediate | $10-25 | 20-40 minutes |
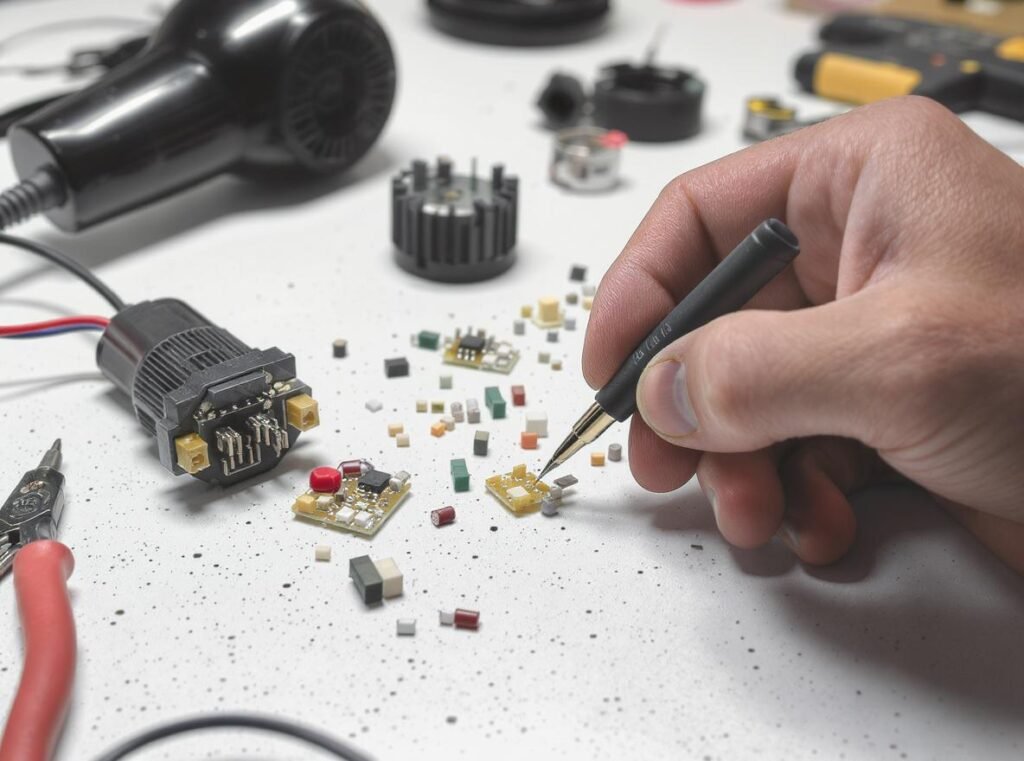
Which Hair Dryer Repairs Should Never Be DIY Projects?
Certain hair dryer problems present serious safety risks that require professional expertise. Attempting these repairs without proper training can result in electrocution, fires, or equipment damage beyond repair.
Never attempt motor replacement, internal wiring repairs, circuit board fixes, or GFCI plug replacement yourself. Additionally, any hair dryer producing burning smells, visible sparks, or unusual grinding noises needs immediate professional attention or replacement.

High-Risk Electrical Repairs
Motor replacement involves complex wiring and high voltage components that pose electrocution risks even when unplugged, as capacitors can retain dangerous charges.
Professional-Only Repair Categories
- Motor and fan assembly replacement
- Internal circuit board diagnostics and repair
- Complex wiring harness replacement
- GFCI plug internal component repair
Immediate Safety Concerns
Any hair dryer exhibiting these symptoms requires immediate discontinuation and professional evaluation:
- Burning plastic or electrical odors during operation
- Visible sparking or electrical arcing
- Grinding, scraping, or unusual motor noises
- Intermittent shocking sensations when touched
- Smoke production during normal use
Professional repair services typically charge $70-130 minimum service calls plus $50-125 per hour labor rates, but safety concerns make this investment worthwhile for these complex issues.
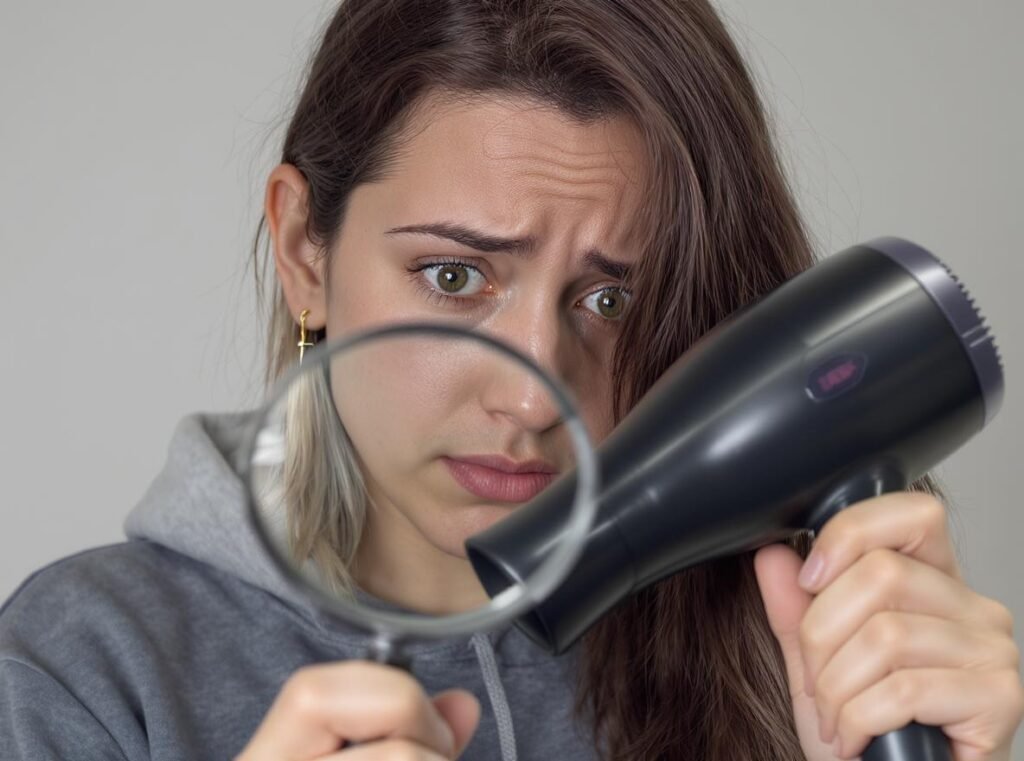
How Do I Know When My Hair Dryer Problem Exceeds DIY Capabilities?
Recognizing the limits of DIY repair prevents safety hazards and costly mistakes. Several clear indicators signal when professional intervention becomes necessary.
Key warning signs requiring professional repair include persistent electrical issues after basic troubleshooting, any burning odors, visible component damage, motor noise changes, and multiple simultaneous component failures. Age over 5-6 years with regular use also suggests replacement may be more economical.
Critical Safety Red Flags
Certain symptoms indicate immediate safety concerns that require professional attention or complete replacement rather than DIY attempts.
Immediate Professional Intervention Required
- Burning smells during operation indicate fire hazards
- Exposed wires or damaged cords create shock risks
- Sparking or arcing represents electrical danger
- Motor grinding noises suggest internal mechanical failure
Economic Decision Points
Professional repair costs often approach or exceed replacement costs for older or lower-quality units.
When repair costs exceed 50% of replacement value, consider upgrading to newer models with improved safety features and energy efficiency. Hair dryers over 5-6 years old with regular use typically justify replacement over expensive repairs.
Modern professional-grade units like the Conason P1C High-Speed Hair Dryer incorporate advanced safety systems that minimize repair needs while delivering superior performance.
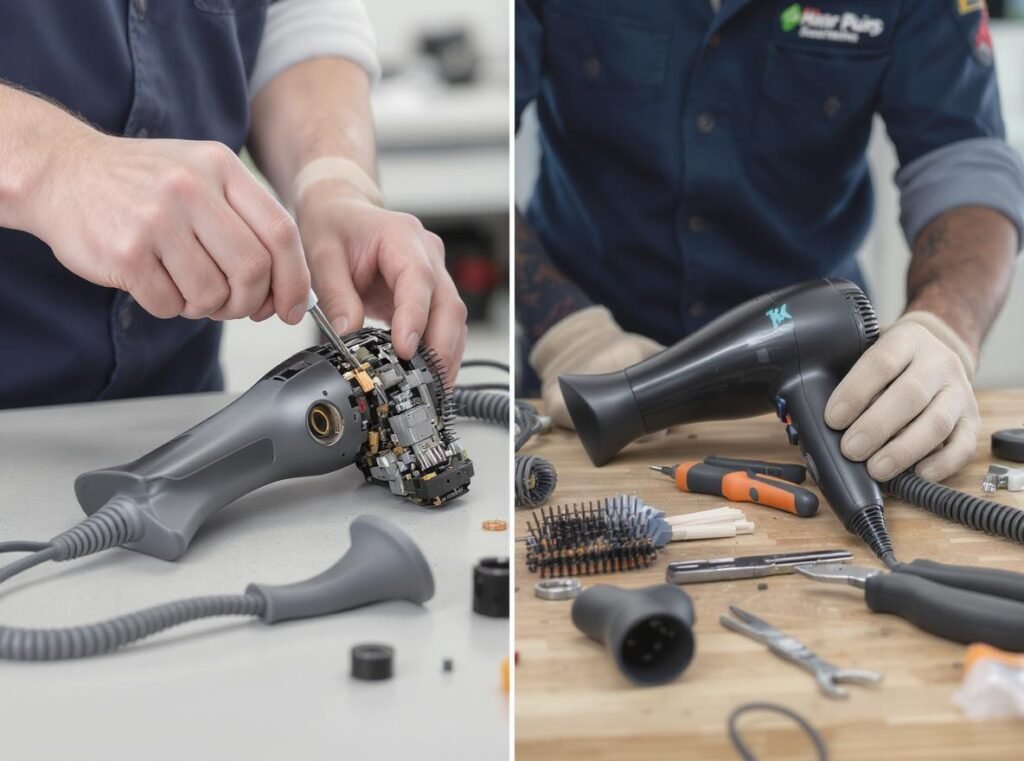
What Tools and Skills Do I Need for Basic Hair Dryer Repairs?
Successful DIY hair dryer repair requires specific tools and fundamental electrical safety knowledge. Most homeowners can acquire these capabilities with modest investment and basic education.
Essential DIY hair dryer repair tools include a multimeter for electrical testing, screwdriver sets (Phillips and flathead), needle-nose pliers, compressed air canisters, and basic safety equipment. Understanding electrical continuity testing and recognizing when to stop are equally critical skills.
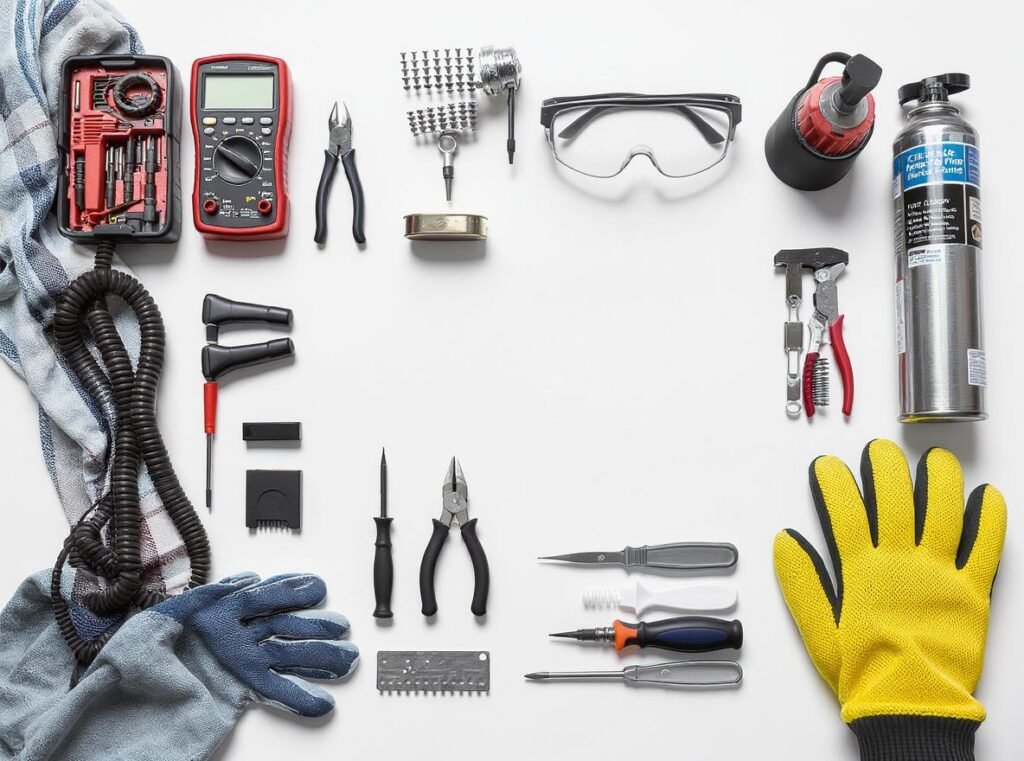
Essential Tool Requirements
Professional-quality tools ensure safer, more effective repairs while protecting both you and the appliance from damage during service.
Primary Tool Kit
- Multimeter for continuity and voltage testing
- Complete screwdriver set with various sizes
- Needle-nose pliers for wire manipulation
- Compressed air canister for thorough cleaning
- Anti-static wrist strap for component protection
Safety Equipment Investment
- Safety glasses protect from debris during disassembly
- Work gloves handle sharp edges and warm components
- Well-lit workspace with adequate ventilation reduces errors
Critical Skill Development
Basic electrical knowledge including voltage awareness and continuity testing forms the foundation of safe DIY repair. Manual dexterity for working with small components and patience for methodical disassembly prevent costly mistakes.
| Skill Level | Appropriate Repairs | Required Knowledge Base |
|---|---|---|
| Beginner | Filter cleaning, GFCI reset, basic inspection | Safety awareness, tool familiarity |
| Intermediate | Thermal fuse replacement, switch cleaning | Basic electrical concepts, multimeter use |
| Advanced | Heating element testing, minor wiring | Electronics knowledge, soldering skills |
How Much Money Can DIY Hair Dryer Repair Actually Save?
The financial benefits of DIY hair dryer repair vary significantly based on problem complexity and local professional service rates. Understanding potential savings helps make informed repair versus replacement decisions.
DIY hair dryer repairs typically save 60-90% compared to professional service costs. Professional repairs range from $100-300 total, while DIY parts usually cost under $50. For professional-grade dryers worth $100+, these savings often justify the time investment required.
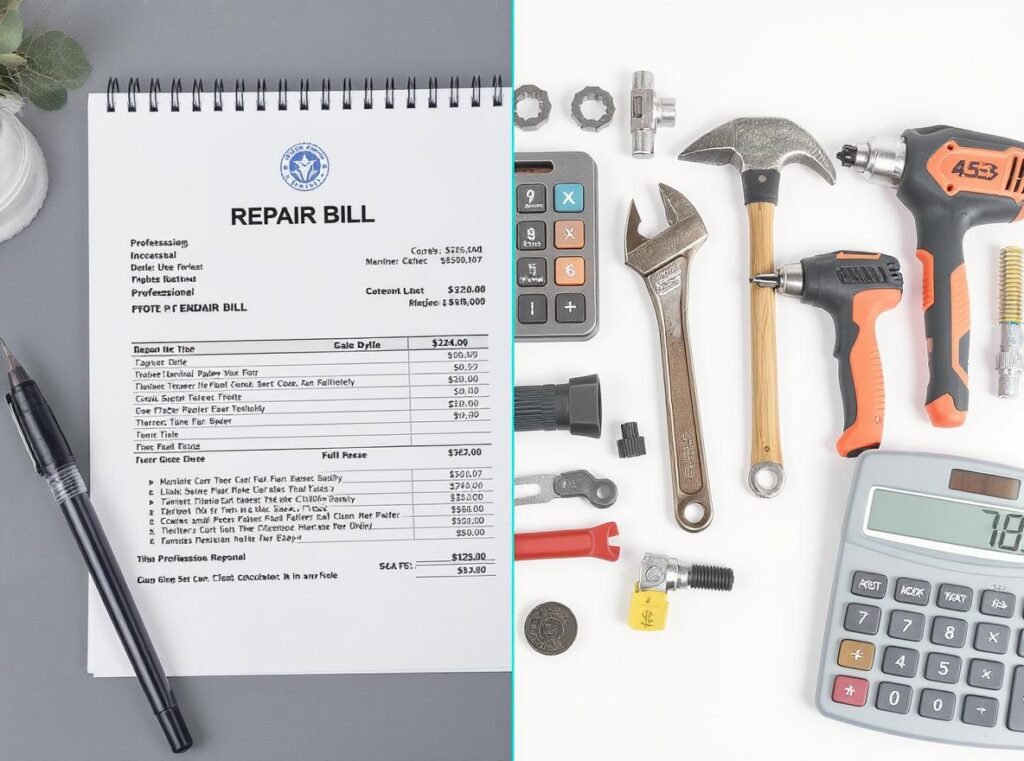
Professional Service Cost Breakdown
Professional hair dryer repair involves multiple cost components that quickly accumulate beyond simple parts replacement.
Typical Professional Service Expenses
- Minimum service call fees: $70-130
- Diagnostic charges: $25-50 additional
- Labor rates: $50-125 per hour
- Parts markup: 100-300% above retail cost
DIY Cost Advantages
Common replacement parts remain affordable for most basic repairs:
- Thermal fuses: $5-15 each
- Basic heating elements: $15-40
- Switch assemblies: $10-25
- Air intake filters: $5-20
For businesses managing multiple hair dryers, developing basic repair capabilities provides substantial long-term savings. A single thermal fuse replacement that costs $10 in parts versus $150 professionally demonstrates immediate return on investment.
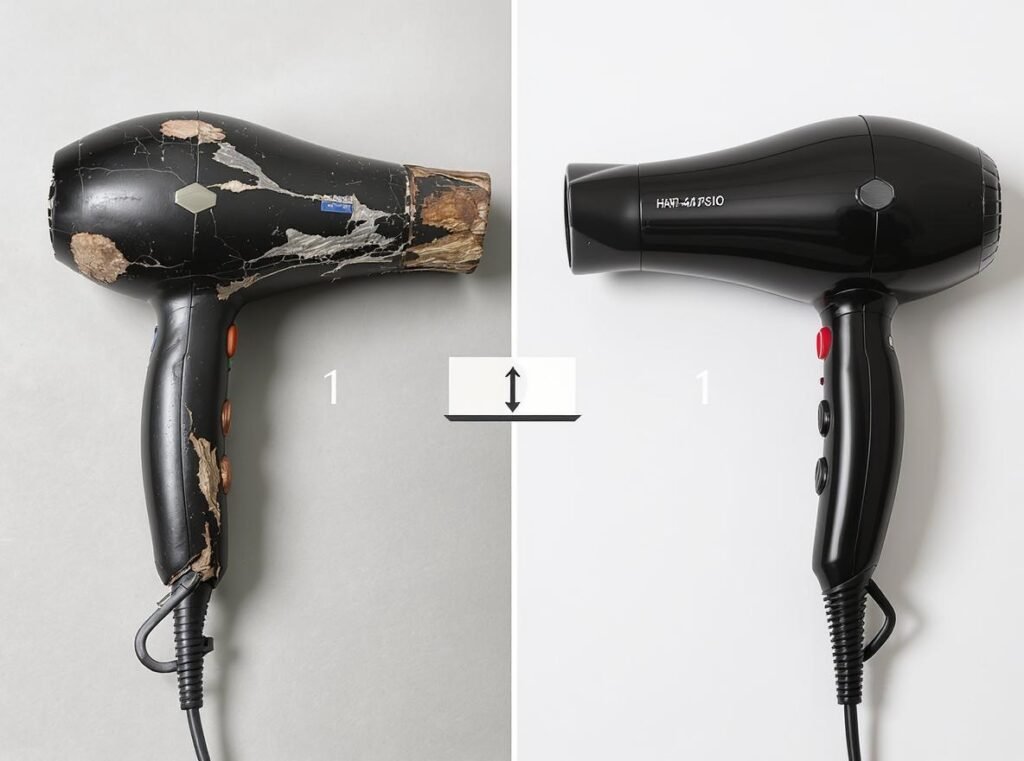
When Should I Replace Rather Than Repair My Hair Dryer?
Sometimes replacement proves more practical and economical than repair attempts, whether DIY or professional. Several factors beyond simple cost comparison influence this critical decision.
Replace hair dryers when repair costs exceed 50% of replacement value, when units exceed 6-8 years of regular use, when multiple components fail simultaneously, or when safety issues like burning smells occur. Modern hair dryers offer significantly improved safety features and energy efficiency.
Repair Versus Replacement Decision Matrix
Age plays a crucial role in repair economics, as older units often require additional repairs shortly after initial fixes.
Repair Makes Sense When:
- Unit is under 5 years old with normal use
- Single component failure with clear diagnosis
- Professional-grade model originally costing $100+
- Parts remain readily available from manufacturers
Replacement Becomes Preferred When:
- Multiple simultaneous component failures occur
- Age exceeds 6-8 years with regular use
- Repair costs approach 50%+ of new unit price
- Safety concerns like burning odors develop
Modern Technology Advantages
Contemporary hair dryers incorporate advanced safety systems, improved energy efficiency, and enhanced performance features that older models lack.
Wholesale buyers should consider recommending upgrades to models with proven reliability records. Our complete product collection features professionally engineered units designed for extended service life with minimal maintenance requirements.
What Safety Precautions Are Absolutely Critical During DIY Repairs?
Hair dryer repair involves unique safety challenges due to the combination of electrical components, heating elements, and typical bathroom usage environments. Proper safety protocols prevent injuries and equipment damage.
Critical safety precautions include always unplugging devices before starting work, ensuring completely dry hands and workspace, using properly insulated tools, never bypassing safety features like thermal fuses, and testing all connections before reassembly. Capacitors can retain dangerous charges even when unplugged.
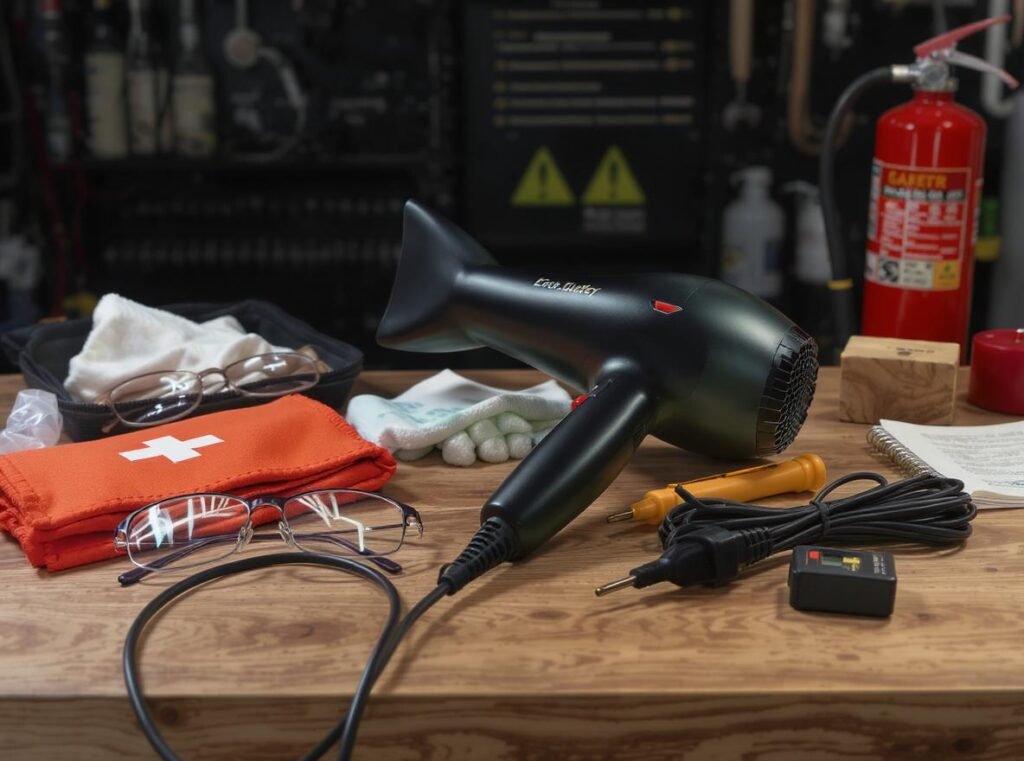
Pre-Repair Safety Protocol
Establishing safe working conditions before beginning any repair work prevents most accidents and ensures optimal repair outcomes.
Mandatory Safety Checklist
- Unplug device and wait 10+ minutes for complete cooling
- Verify dry hands and moisture-free workspace
- Ensure adequate lighting and ventilation
- Have appropriate fire extinguisher accessible nearby
- Use only properly insulated tools throughout process
During Repair Safety Measures
- Test components with multimeter before handling
- Take photographs during disassembly for reference
- Never bypass thermal protection devices or safety features
- Work methodically to avoid rushing and making errors
- Stop immediately if unexpected problems arise
Post-Repair Testing Requirements
- Visual inspection of all connections before reassembly
- Initial testing in safe, dry environment only
- Monitor for unusual sounds, smells, or performance issues
- Discontinue use immediately if problems persist
Remember that hair dryers from the 1970s-1980s may contain asbestos components, requiring special handling procedures during repair or disposal.
How Can I Prevent Future Hair Dryer Problems and Maximize Lifespan?
Preventive maintenance significantly reduces repair frequency and extends operational lifespan for all hair dryer quality levels. Simple routine care prevents most common failures before they develop.
Regular preventive maintenance includes monthly filter cleaning, proper storage in dry environments, avoiding cord stress, periodic plug and connection inspection, and allowing complete cooling before storage. These practices can extend hair dryer lifespan from 2-3 years to 6-7+ years for quality units.
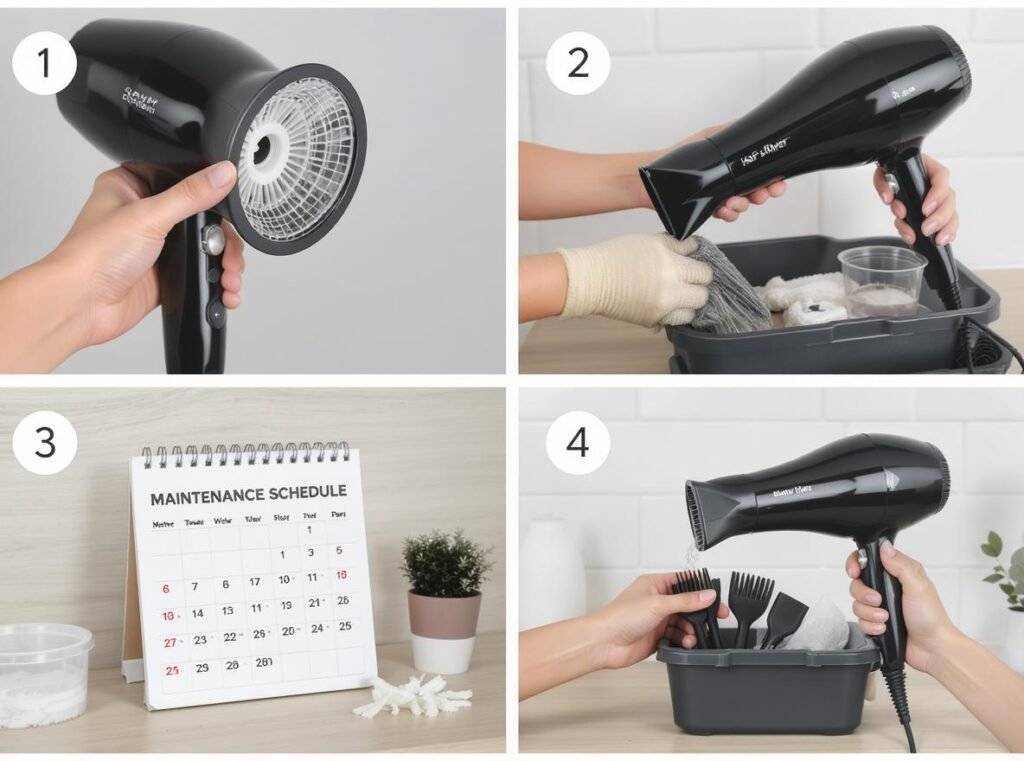
Comprehensive Maintenance Schedule
Establishing regular maintenance routines prevents most problems while optimizing performance and extending service life.
Monthly Maintenance Tasks
- Thoroughly clean air intake filters to prevent overheating
- Inspect power cords for wear, damage, or stress points
- Check plug connections for tightness and burn marks
- Test GFCI functionality on bathroom outlets
- Verify proper attachment connections and operation
Quarterly Deep Maintenance
Professional or thorough cleaning of internal components removes accumulated debris that monthly surface cleaning misses.
- Use compressed air to clear internal passages
- Inspect heating elements for proper positioning
- Verify thermal cutout switch operation
- Check motor mounting and bearing condition
Usage Best Practices for Longevity
- Allow complete cooling before storage or cord wrapping
- Store in dry locations away from bathroom moisture
- Avoid tight cord wrapping that stresses internal connections
- Use appropriate voltage settings for your electrical system
| Maintenance Frequency | Tasks | Lifespan Impact |
|---|---|---|
| Monthly | Filter cleaning, cord inspection | 40% improvement |
| Quarterly | Deep cleaning, component inspection | 30% improvement |
| Annually | Professional service (commercial use) | 50+ years total extension |
For businesses seeking reliable, low-maintenance hair dryers, contact us about wholesale pricing on our professionally engineered units designed for extended service life and minimal repair requirements.
Summary
DIY hair dryer repair offers significant cost savings for basic problems like filter cleaning, thermal fuse replacement, and simple electrical connections. However, motor failures, complex wiring issues, and any safety concerns require professional expertise. Always prioritize safety over savings, and consider replacement when repair costs exceed 50% of new unit value. Regular maintenance prevents most problems and can double your hair dryer’s useful lifespan.
Ready to upgrade to more reliable, professional-grade hair dryers? Explore our complete product collection or contact us for wholesale pricing on durable units engineered to minimize repair needs and maximize performance for your business.